cff

Saturday, 4 May 2013

Animating my Train and Creating Steam

After I animated my steam train yesterday I did a small playblast to check that it worked ok and since have added a steam particle effect.


When I was making the particle effect though I came across a problem which ended up with the steam being really discoloured by the lighting and orange steam just doesn't seem right! I ended up disconnecting the light and creating another one which was only connected to the steam which got rid of this strange colouring. I then added a bit of discolouring so that the steam wasn't just solid grey and looked more convincing.


Testing Render Layers- Camera Depth Pass

Now that the light wrap was sorted I wanted to look at how my camera depth pass was coming out so I took it into Photoshop and into the alpha channel, then using the lens blur played around with the look of it.

From the pass result it I looked at part that would be most in focus based on the camera and my personal preference of what I wanted people to look at. It seemed that the middle of the stand to the bottom should be most in focus with the trees in the foreground and the top of the stand being out of focus to make you look to the centre.
Below are my tests with the camera depth pass.


Testing Render Layers- Beauty and Light Wrap Passes

I wanted to test out the results of my render layers to make sure I was achieving something I was happy with when they were combined.

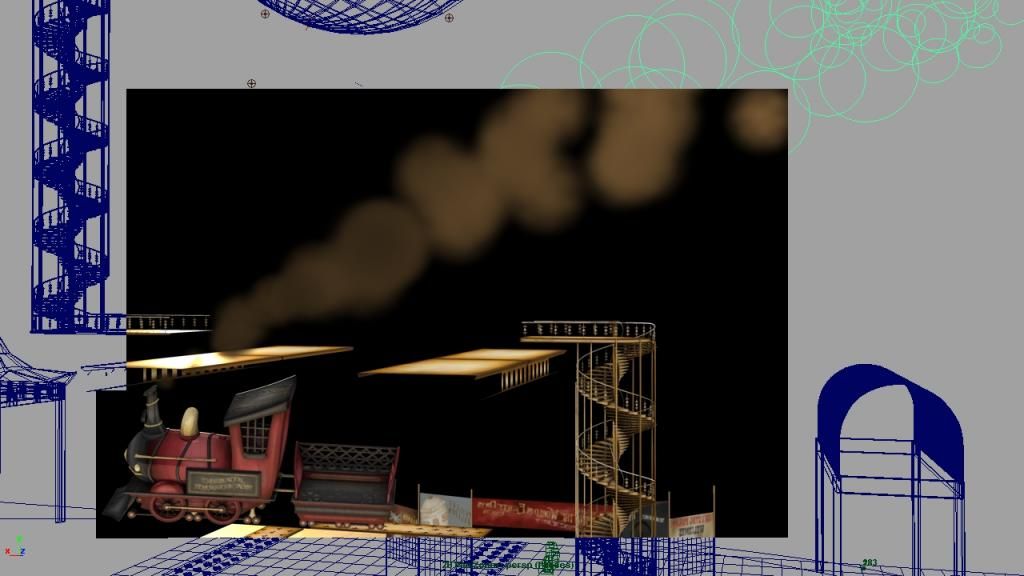
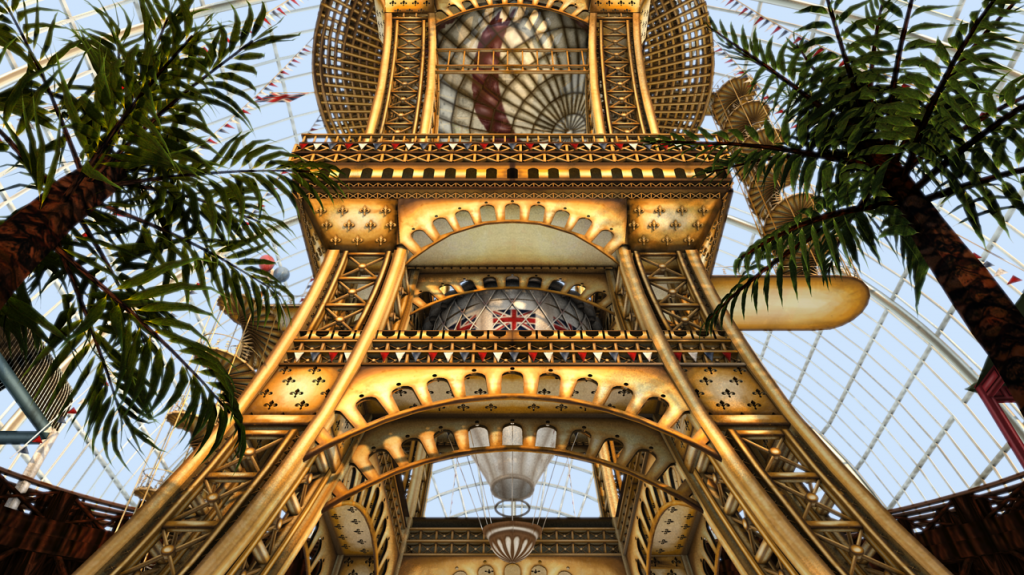
Firstly I rendered out the 'beauty pass' of a still that had a lot of important components in it as this would allow me to test these render passes out properly.
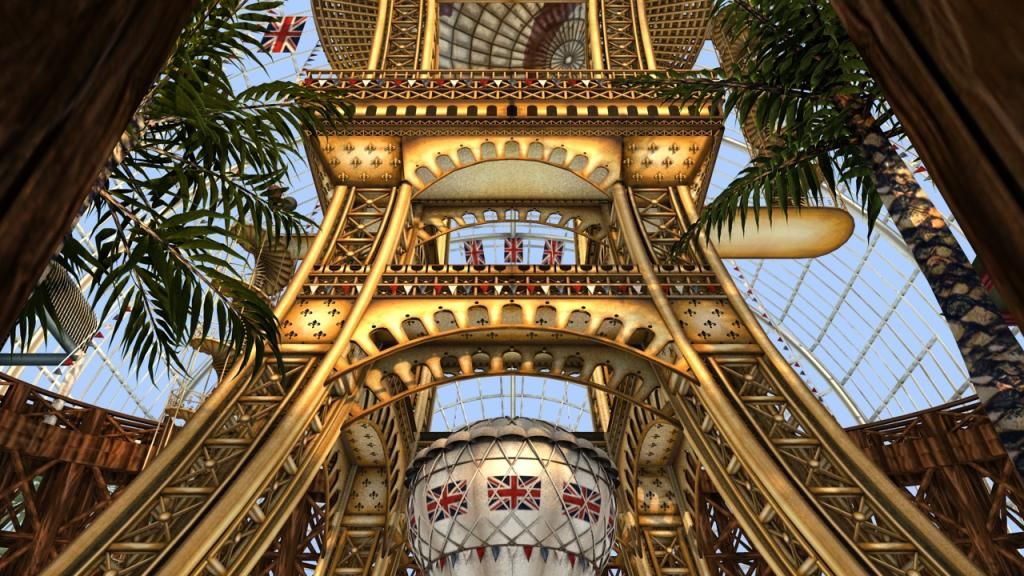
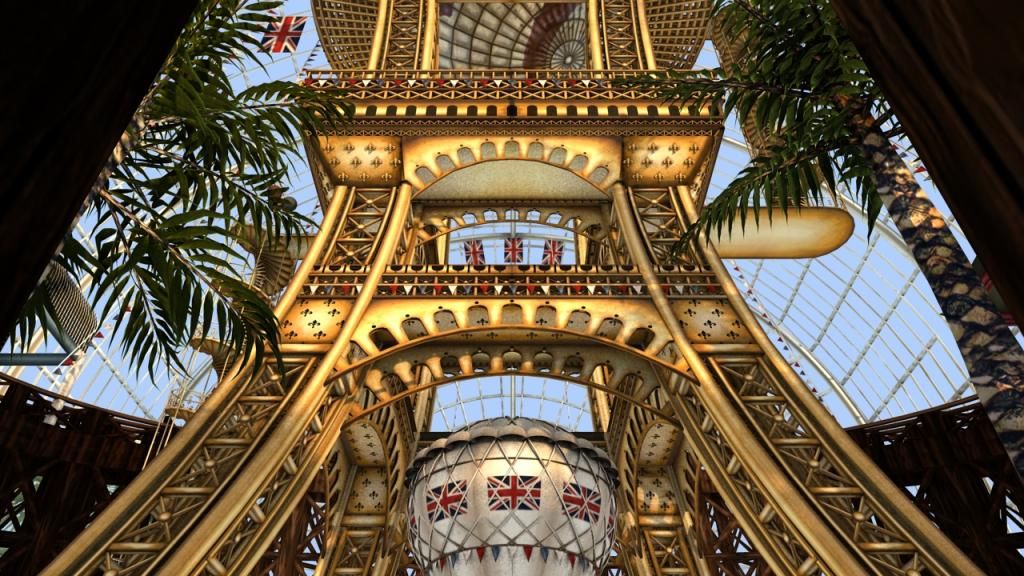
Beauty Pass
 
I'm pretty happy with this as it is and after upping the samples of all the ambient occlusions I had plugged into the occlusion nodes of my textures to 32 samples this has eliminated the previous dirty grain like quality I was getting on parts especially my shadows. So that's one improvement already as I felt that was really ruining my renders.
 
Next up was to improve the lighting even more with a quick cheat of another render pass that I could use during post-production to achieve the effect of the lighting really coming into the building. Alan had already shown me this earlier on in the week so now it was time for me to give it a go myself. :)
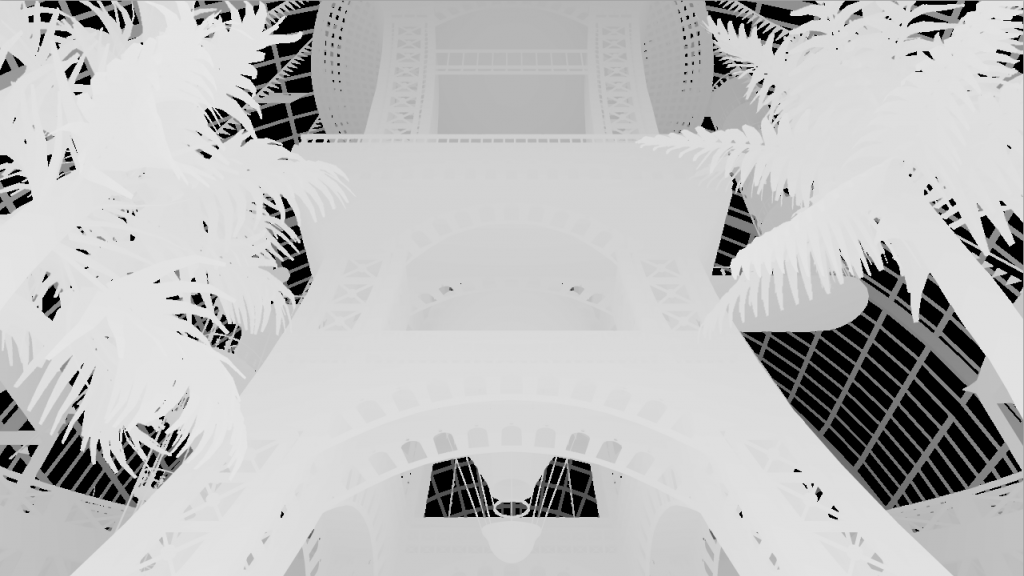
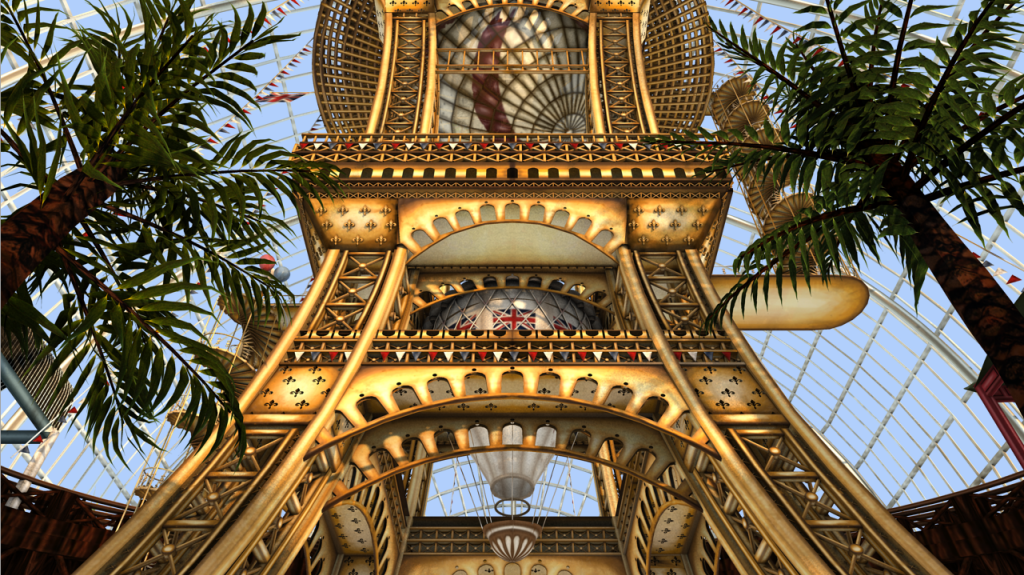
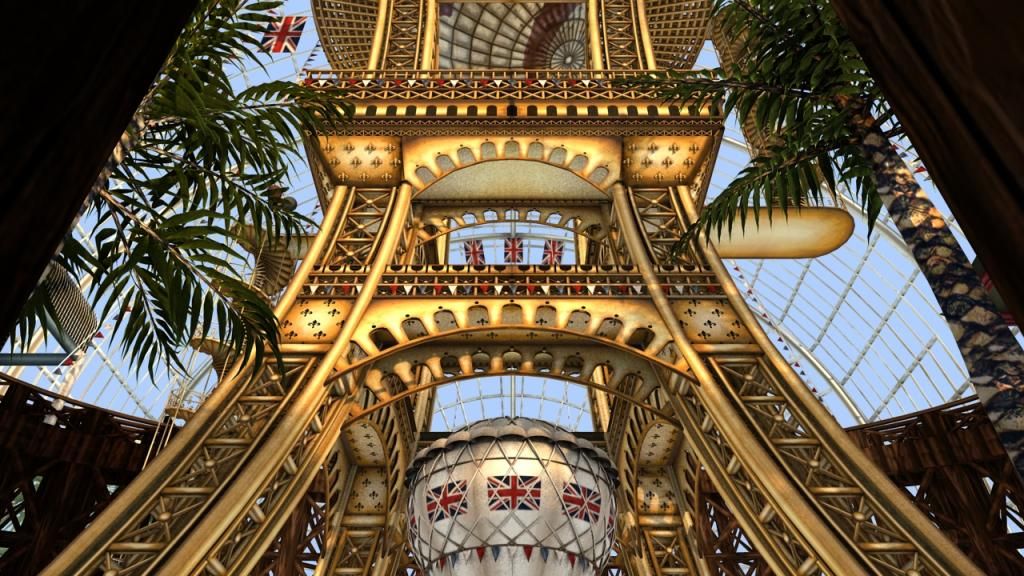
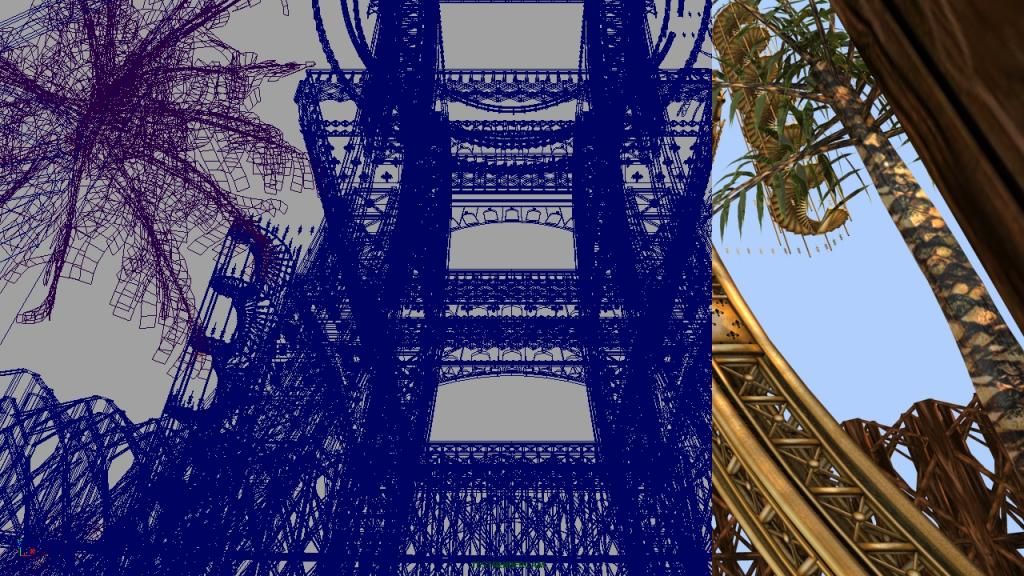
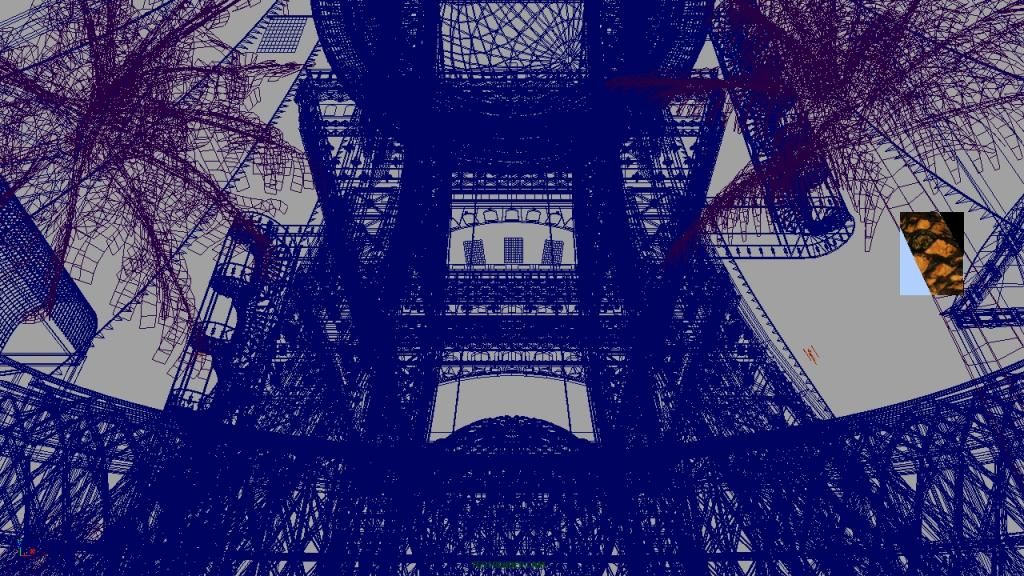
This render pass involves this image below...
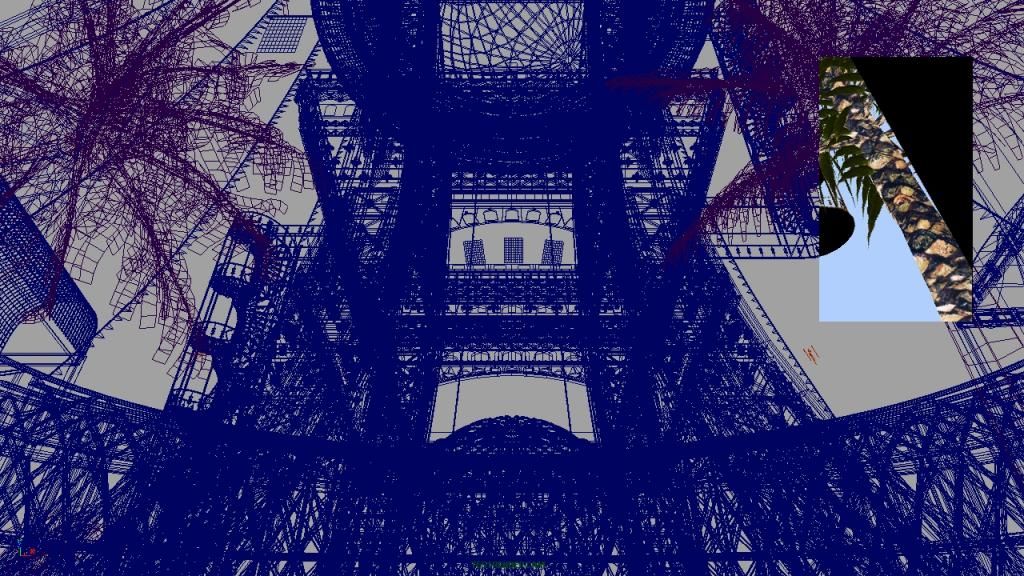
The idea is to create a 'light wrap' for the sky of my scene by rendering out a render pass which consists of just the scene's camera and the lights and nothing else. The camera has been assigned a background (light blue in my case).
 
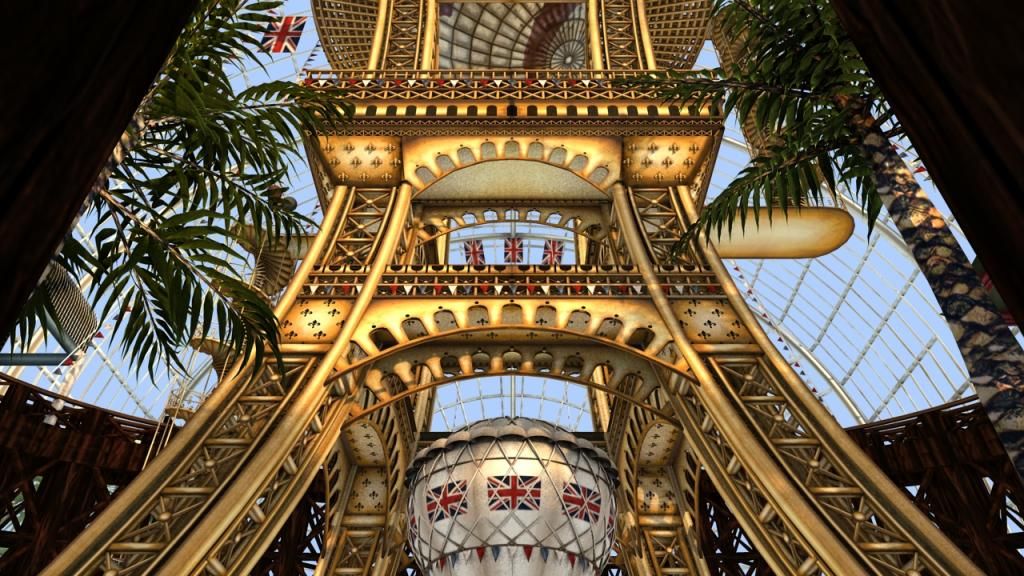
This background is layered on top of the beauty pass in post-production and then after selecting the alpha channel the selection is contracted a couple of pixels and then deleted leaving the 'light wrap' pass only where you see it through the window frames but a pixel or so more. this is then feathered and screened. Adjusting this until I was happy I ended up with this.
 
 
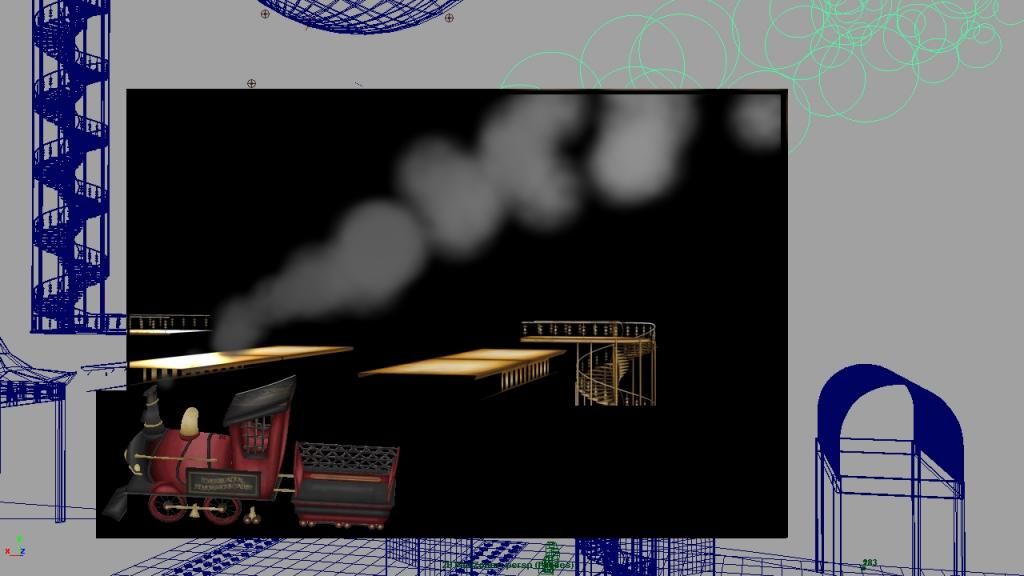
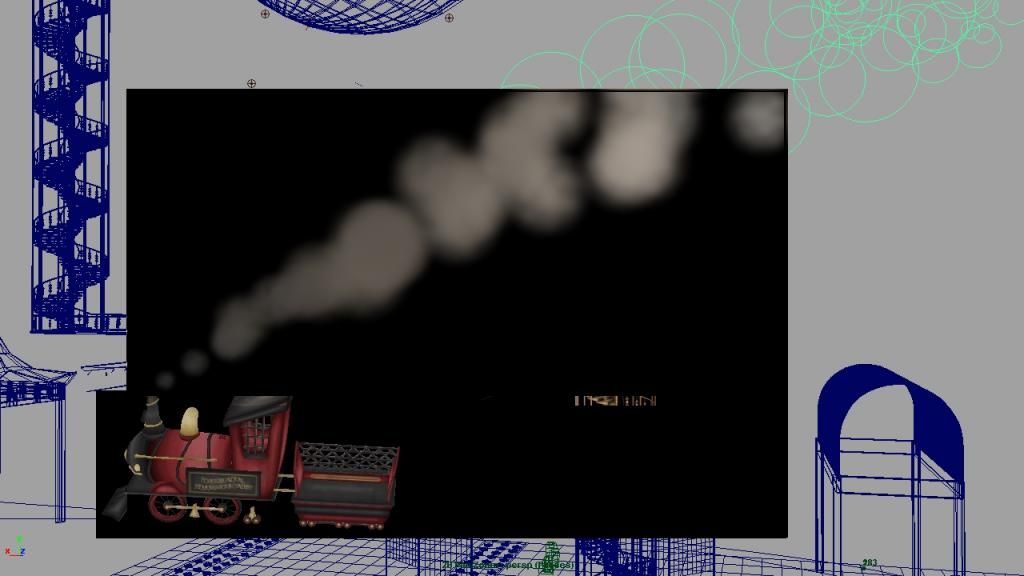
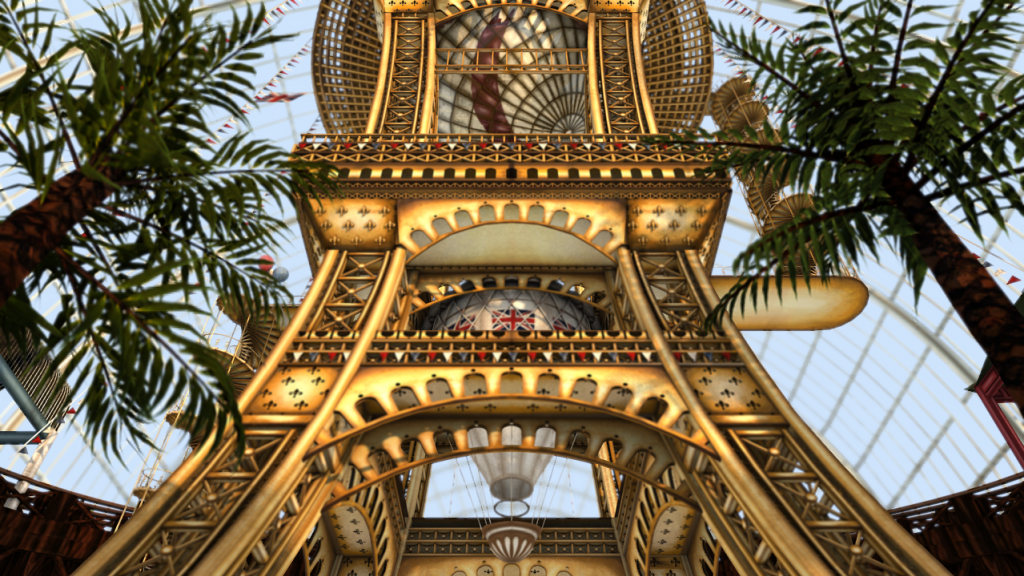
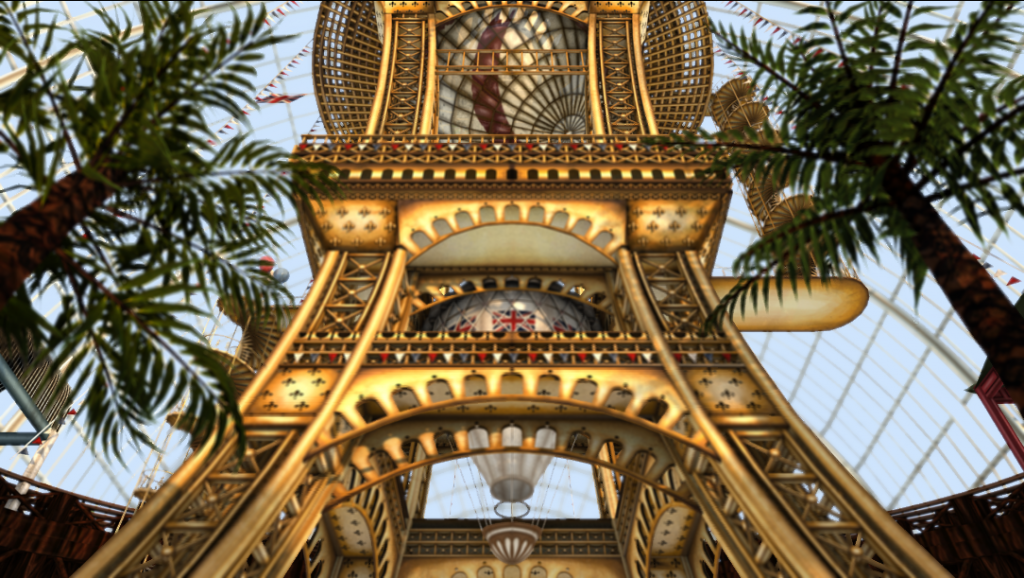
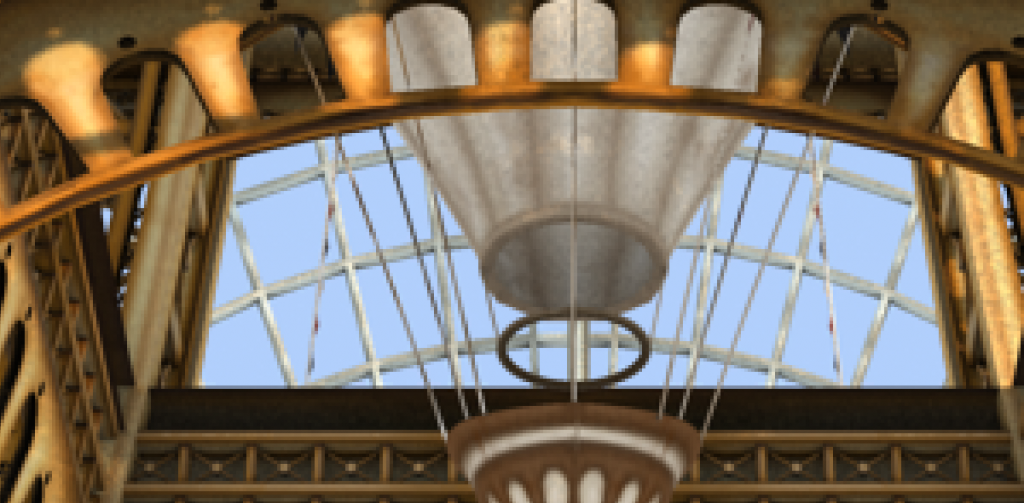
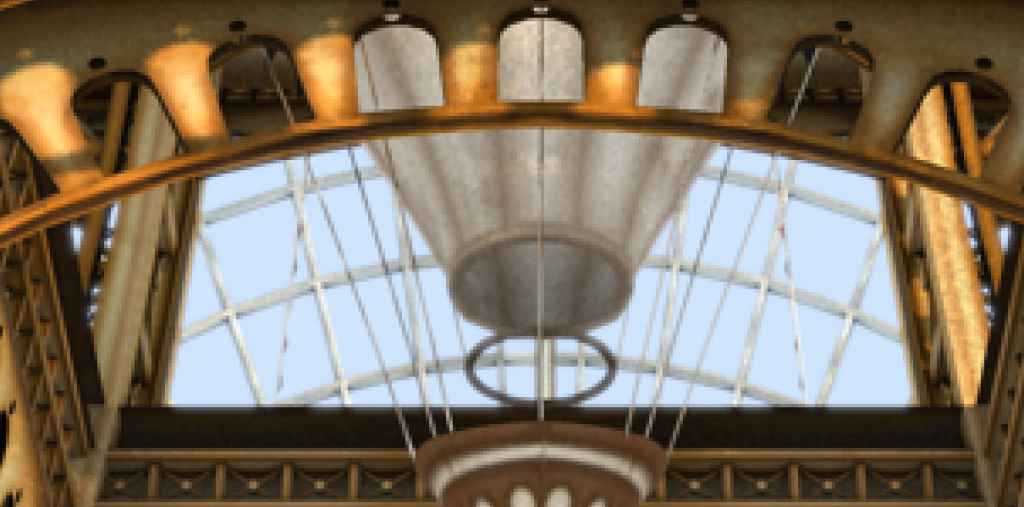
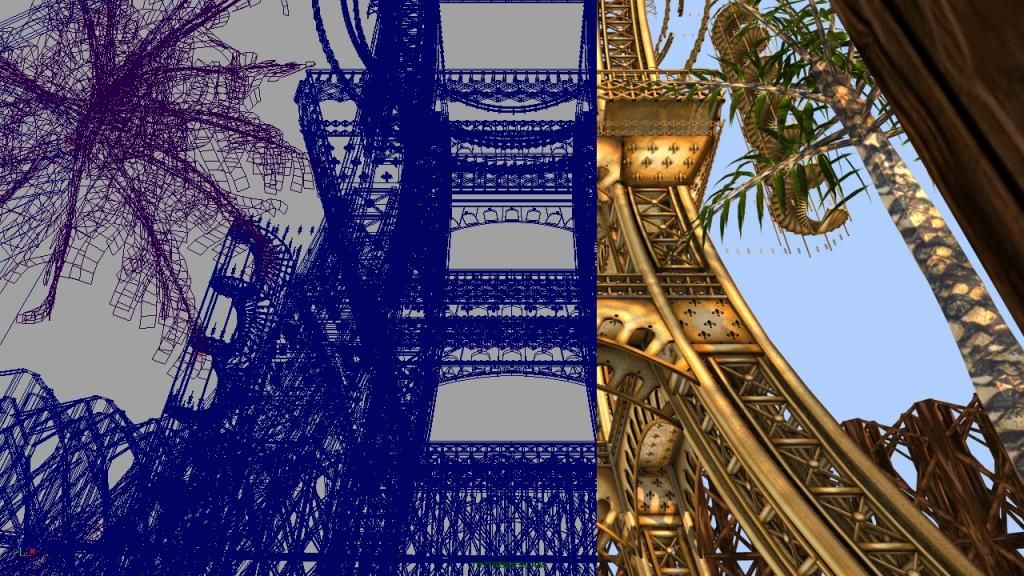
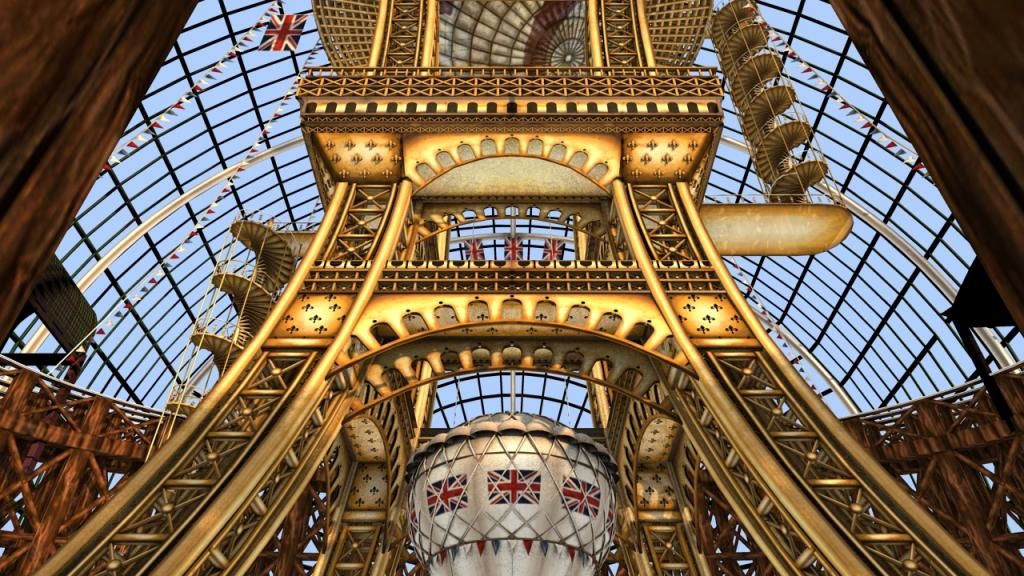
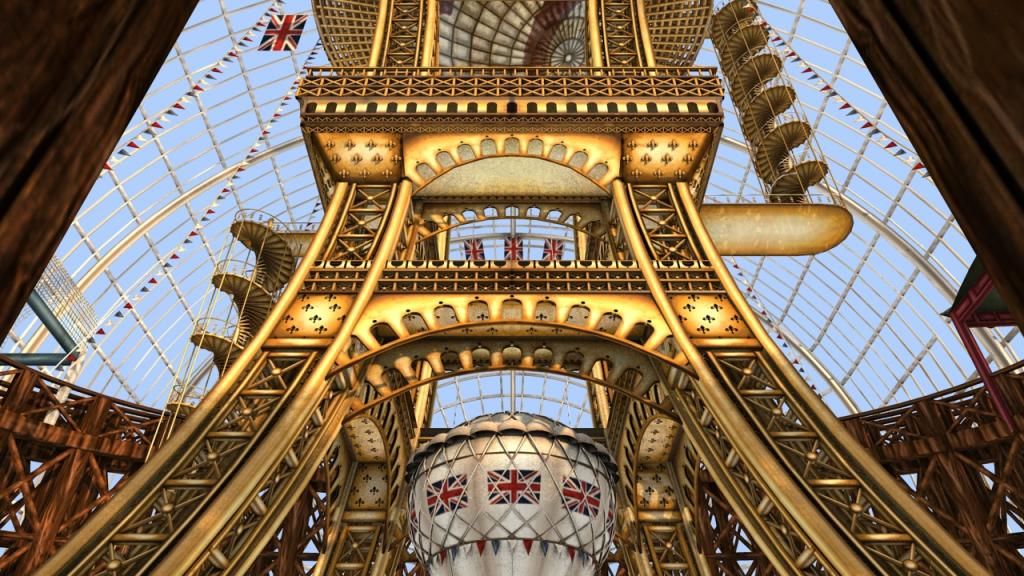
Here are two close ups showing before and after the light wrap was added so you can see how it makes the light hit and bounce off of objects in the scene.
 
Before
 
After

Final Lighting Adjustments

Before I set my digital set to render I needed to make some final adjustments to my lighting to really make my stand pop. The thing that seemed to be affecting this happening was the wood in my scene from the railway and trees while were similar in colour to the stand so rather than playing with the actual lights I needed to adjust my textures. Here are some progress shots of my working through darkening the railway so that it pops the stand out more.


The one before the image below just seemed a bit too dark so I dropped it back a little to achieve something in between. I have since repeated a similar step for the tree trunks but kept the nice green of the leaves as it is.


Wednesday, 1 May 2013

Planting Progress

Here are some progress shots of my inclusion of some of my trees into the scene, while making them I originally rendered them out as paint effects and was horrified with the icky trees I got up against my structure which reminded me of something out of the Sims. Alan explained that this can happen with paint effects especially when up close so it would be best to convert them into polygons and adjust their look even more after converted especially with an ambient occlusion plugged in.


And here is my result so far :)


Palm Tree Paint Effects Experiment

I've been spending today planting my palm trees and getting them to look right in my scene with their placement, form and colour which seems to be quite difficult with paint effects but I've given it a good go :) I then adjusted the paint effects' animation so that they are not crazily swinging across the screen but have a rather subtle movement which would be caused by any small bit of wind from the entrance to the exhibiton, windows, people rushing past and even the steam from the machinery such as the train on my railway.


Sunday, 28 April 2013

Window Frame Impact on Lighting

As part of today's list of work I textured the window frame which has made a really nice difference in how the lighting is perceived. Also a happy accident with the balloon where I have no idea what I did to get it like that happened so now the balloon has popped out of shadow!