One important part to making this Futurists' garden authentic and understood was to get a voice over which I could pretend was being played through speakers in the garden as if telling visitors why this is a correct garden compared to 'natural' ones. Because the Futurists were originally Italian it seemed right to try and get hold of an Italian man who could record it for me.
This was the original voice over I was given.
To make it more suitable for my use and more Futurist I went in to audition and gave it an old vinyl, tinny crackle.
Finally, I gave the voice over a megaphone effect. I found two different ways to achieve this, they are quite similar but there is still a noticeable difference to them so I am going to need to decide which seems better.

Sunday, 27 April 2014

Friday, 25 April 2014
@ Alan- Rendering Issue
Hi Alan,
I was wondering if you know what this error message is.
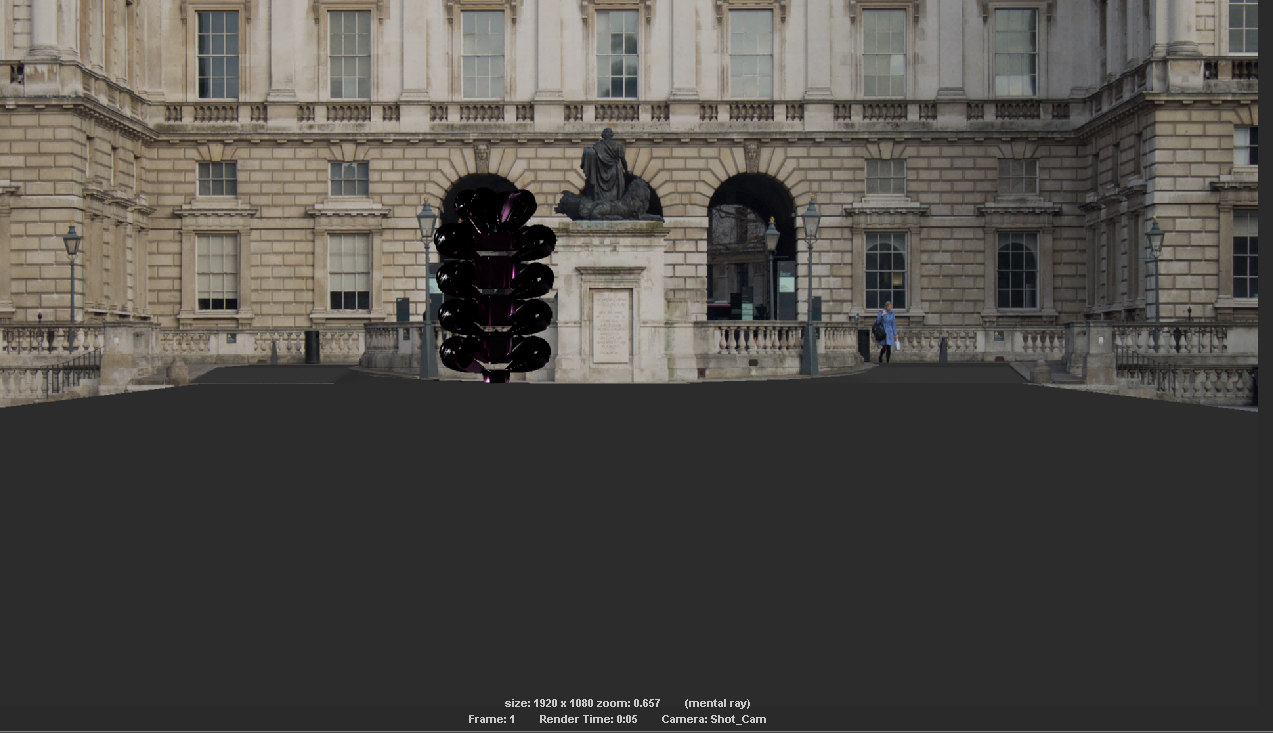
// Warning: (Mayatomr.Scene) : subdTessShape1: empty UV set map1 detected, ignored //
This comes up every time I have tried to render since I got home. It was rendering fine at uni and I have not done anything to my scene since I got home except try to render in the render view.
When I render it just renders black, I have made sure that I set the project and that everything is plugged in especially my HDR but am still getting the same message and black render.
Thanks! :)
Emma
I was wondering if you know what this error message is.
// Warning: (Mayatomr.Scene) : subdTessShape1: empty UV set map1 detected, ignored //
This comes up every time I have tried to render since I got home. It was rendering fine at uni and I have not done anything to my scene since I got home except try to render in the render view.
When I render it just renders black, I have made sure that I set the project and that everything is plugged in especially my HDR but am still getting the same message and black render.
Thanks! :)
Emma
Thursday, 17 April 2014
Image 2- Progress
I'm a bit further into getting image 2 complete, it is taking a while because I am still trying to get to grips with lining everything up and there are a lot of things to put in! Just the one plant wall must have 20 plants or so carefully organised to show up well. I can feel that I'm getting quicker at it now though so no need to panic just yet.
I decided I wanted to get a rough lighting in too because when testing out the render result I was presented with some black blobs where the glass plants should be which is really not helpful in seeing if I'm happy with it. So at last my HDR dome went in and I got this after the first render.

This was really exciting to see! I think it still needs a lot of work though because I still can't distinguish the purple plants from the green ones on the wall.


I decided I wanted to get a rough lighting in too because when testing out the render result I was presented with some black blobs where the glass plants should be which is really not helpful in seeing if I'm happy with it. So at last my HDR dome went in and I got this after the first render.
This was really exciting to see! I think it still needs a lot of work though because I still can't distinguish the purple plants from the green ones on the wall.
I thought I would have a further play to see if I could improve the look a bit and to figure out the settings as this is all new to me. I ended up with the rendered sections below.
I'm going to stick with the first result for now as it is definitely better to work with and see how things are looking compared to what I had before.
Tuesday, 15 April 2014
Image 2- Starting to Build Up & a Few Adjustments
Today I took the scary step into beginning to fill up my 'scenes' with anything and everything Futurist garden. I chose image 2 to start with as I felt I knew the placement of everything for this image best from my original plan. I wanted to get a floor plane in to begin with so that I had something to place the bottoms of all my objects on that way nothing would be floating or sinking. However, I knew from my visit and image that strangely enough the ground of the courtyard is not flat but instead slopes downwards into the main courtyard area when you reach the statue.
Speaking to Alan about this he told me that I would need to move my grid further back and build up the building section in the background to work out where the highest part of the ground is before it slopes. Using this I could place the lowest part of ground in and then build up the slope back to the highest level.


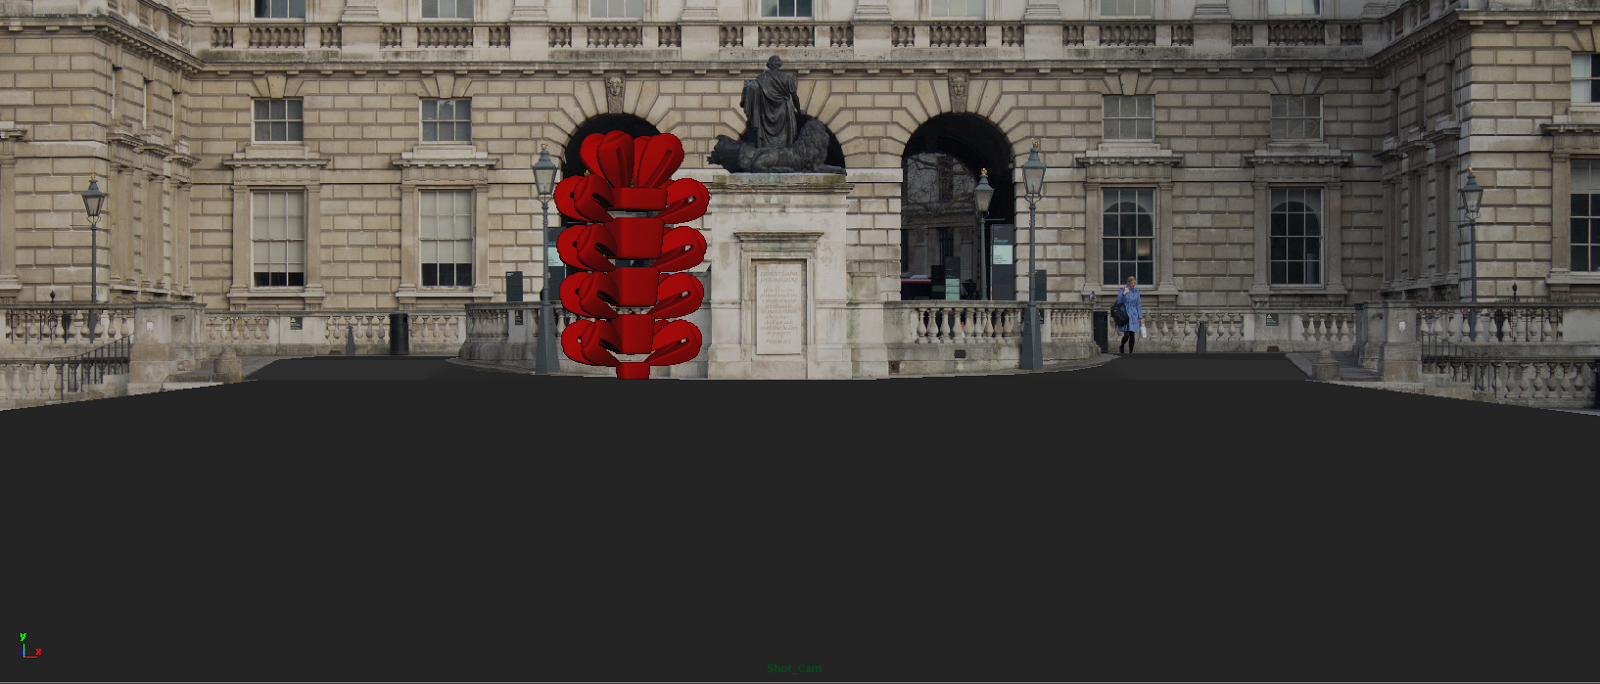
Speaking to Alan about this he told me that I would need to move my grid further back and build up the building section in the background to work out where the highest part of the ground is before it slopes. Using this I could place the lowest part of ground in and then build up the slope back to the highest level.
And now it's time for some planting!
I think that works there :)
And in case you're wondering what the plant looks like rendered, it looks like the below black blob at the moment because I have not set up my lighting.
Modelling the Plant Pots
I have a few plants in pots scattered around my Futurists' garden so I have modelled the ones I thought looked best with those plants but also some extra ones in case I feel some of the plants could do with a pot.
I'm especially happy with the way pot 6 came out because I was finding it difficult to get the pentagon shapes to fit together but I managed to do it in the end!

I'm especially happy with the way pot 6 came out because I was finding it difficult to get the pentagon shapes to fit together but I managed to do it in the end!
Monday, 14 April 2014
Setting up the Scene (Images 2-10)
I've now set up all of my images in separate scenes, testing them out by placing block shapes in line with the pictures. I have also cropped my images to fit a 1080p camera set up otherwise I will end up with a black border on screen. Below are the resulting set ups.


Image 2
Image 3
Image 4
Image 5
Image 6
Image 7
Image 8
Image 9
Image 10
Friday, 11 April 2014
Setting up the Scene (Image 1)
Before I could start bringing any of my modelled components into my photographs I needed to set the camera up with the photo attached to it. I then needed to make sure the perspective was working with the photograph by adjusting the placement of the grid and the focal length of the camera to make the photograph.
I have done this below for my first image. You can see that the previous ones are making the back of the test object too high or low in perspective whereas in the photograph the back seems level with the front.


I have done this below for my first image. You can see that the previous ones are making the back of the test object too high or low in perspective whereas in the photograph the back seems level with the front.
Finished set up
Subscribe to:
Posts (Atom)