cff

Wednesday, 30 April 2014

First Scene Process- Maya Layout

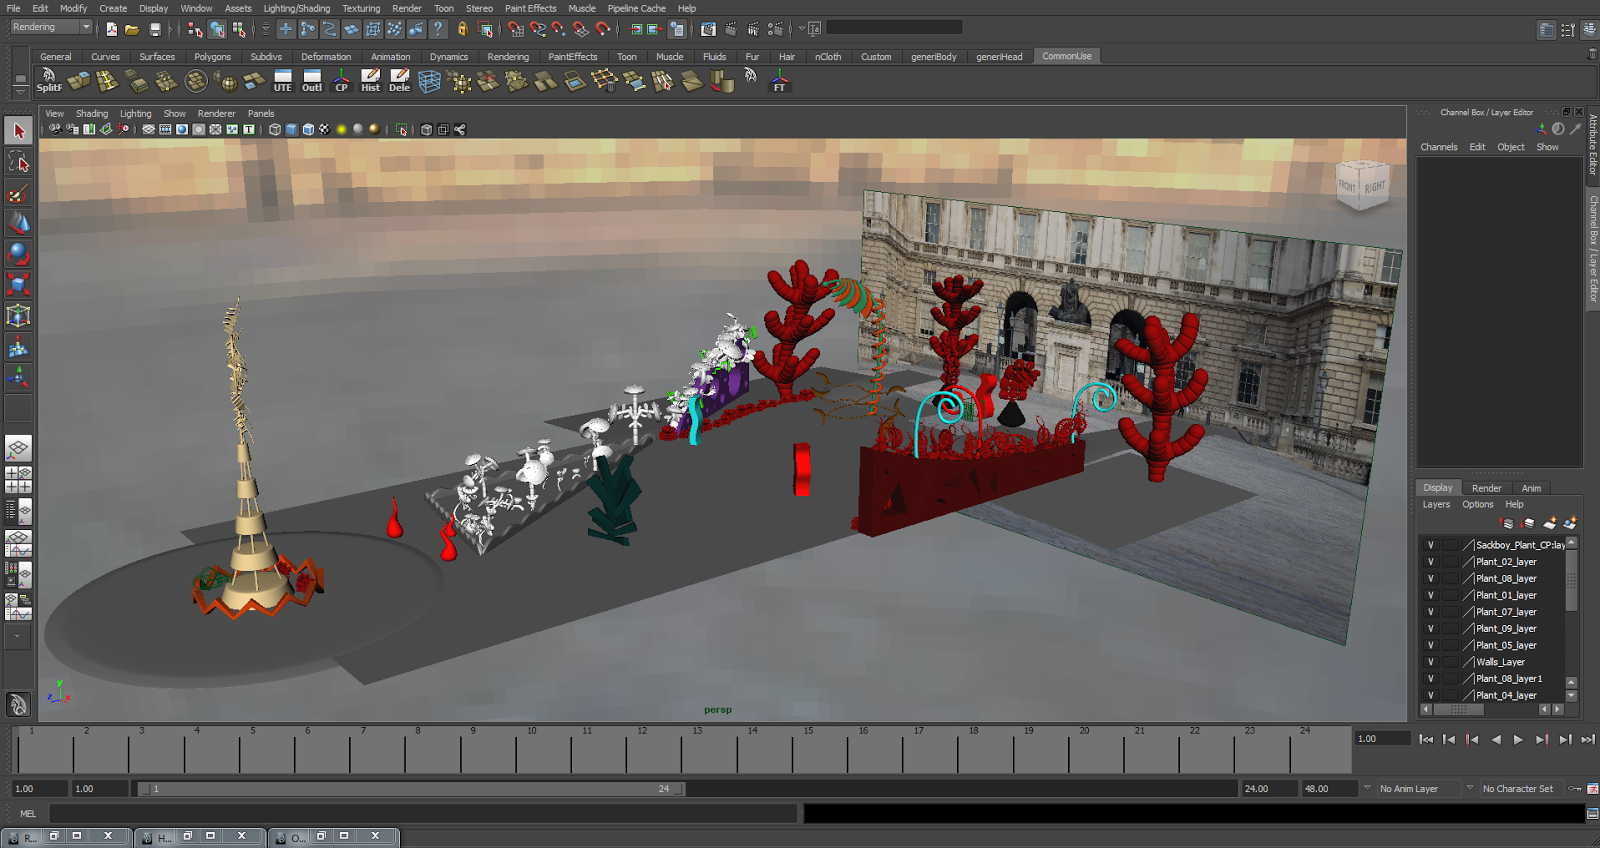
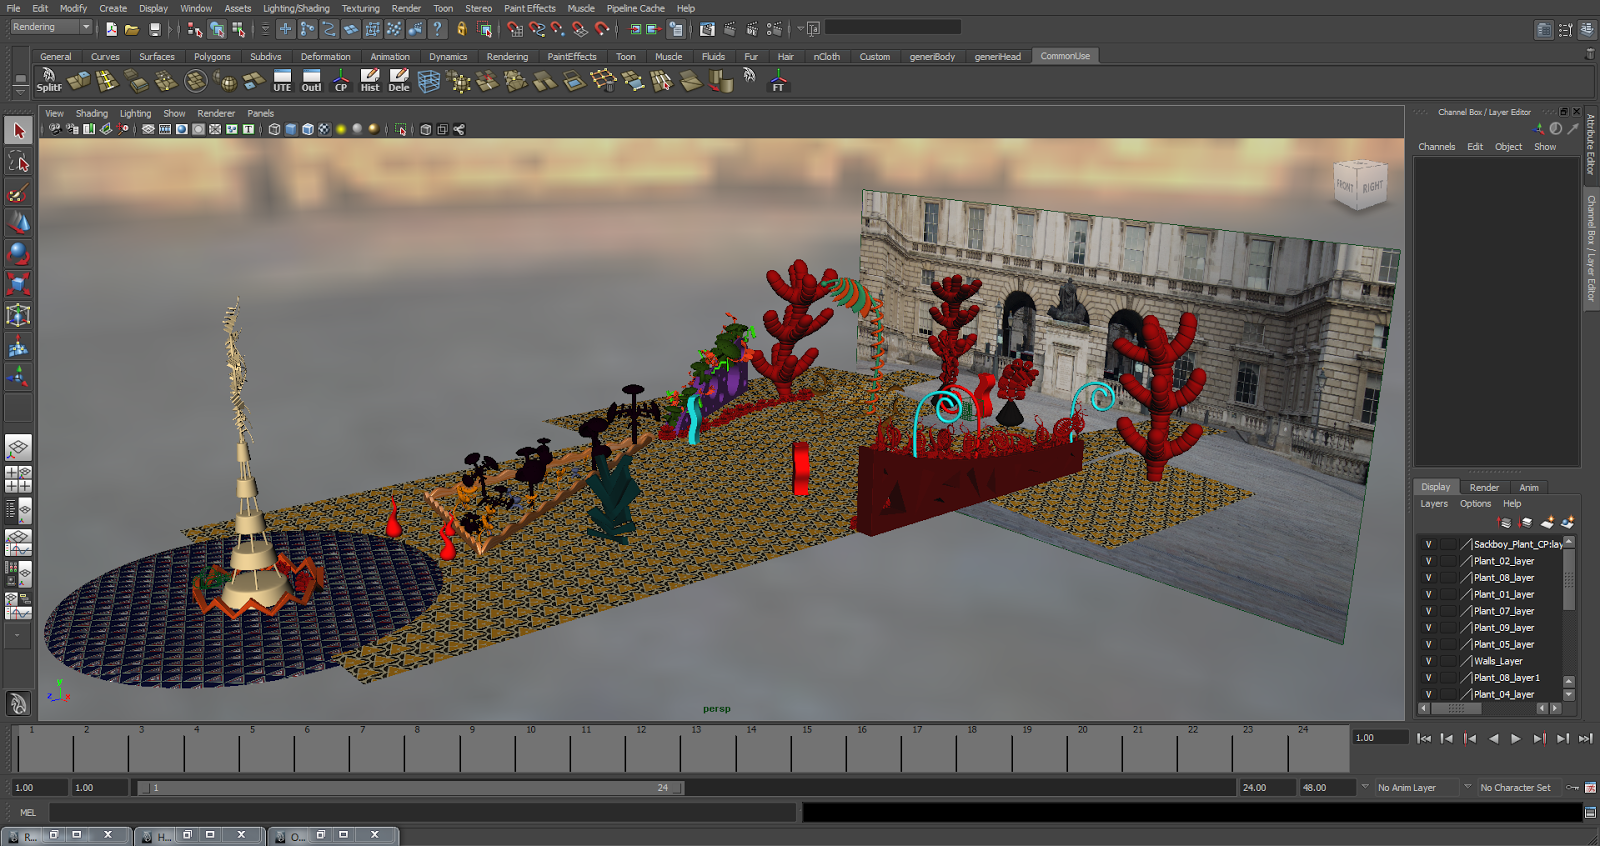
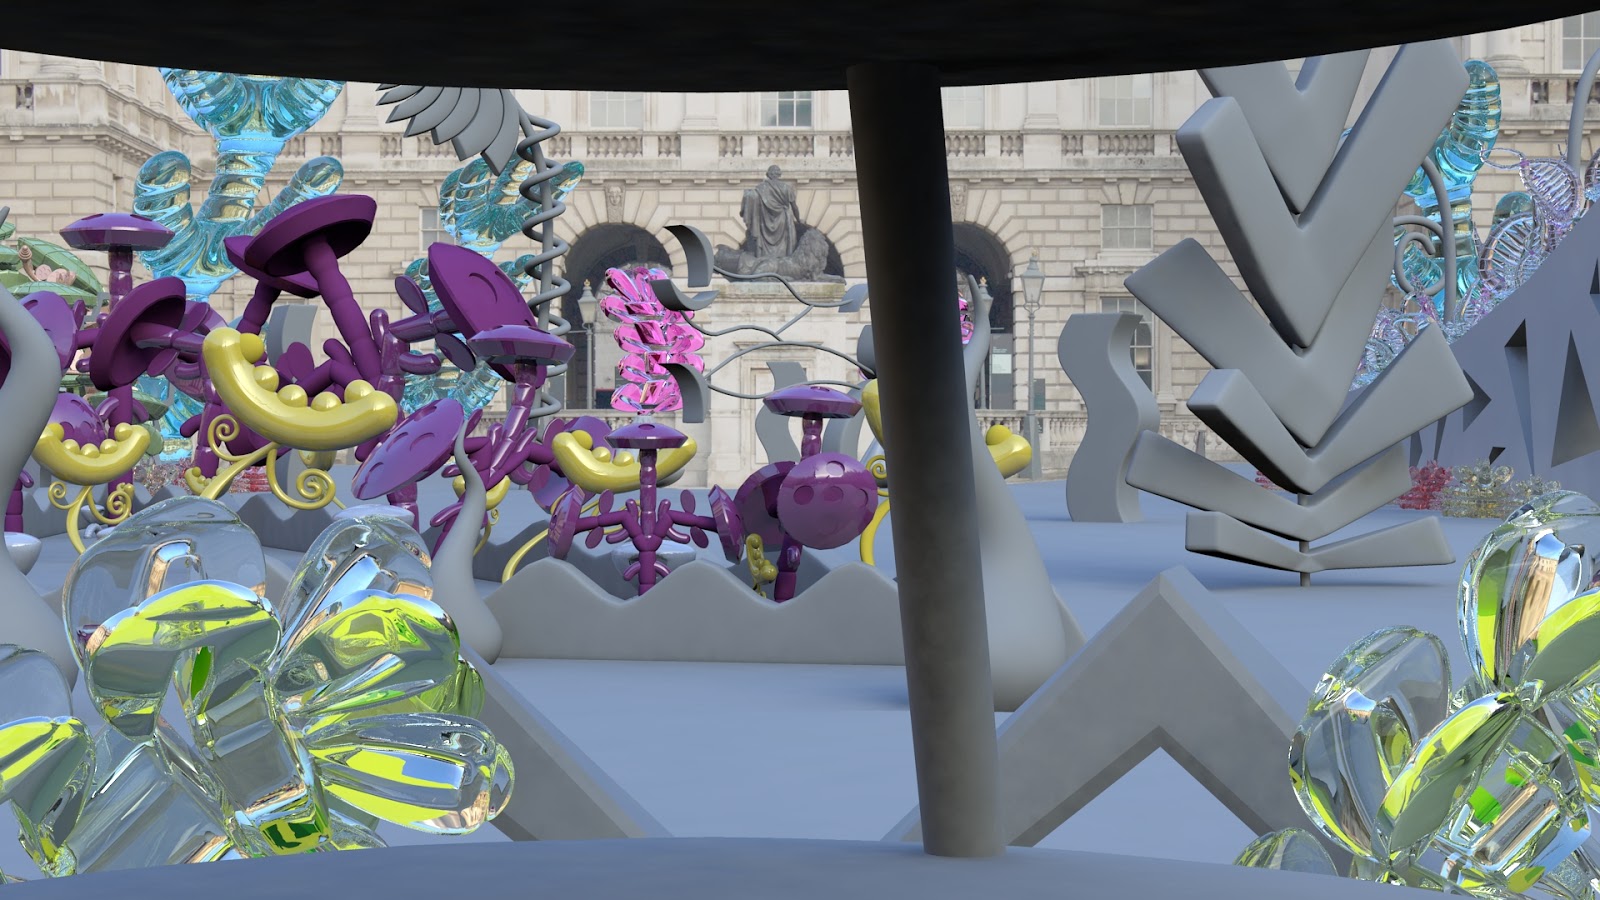
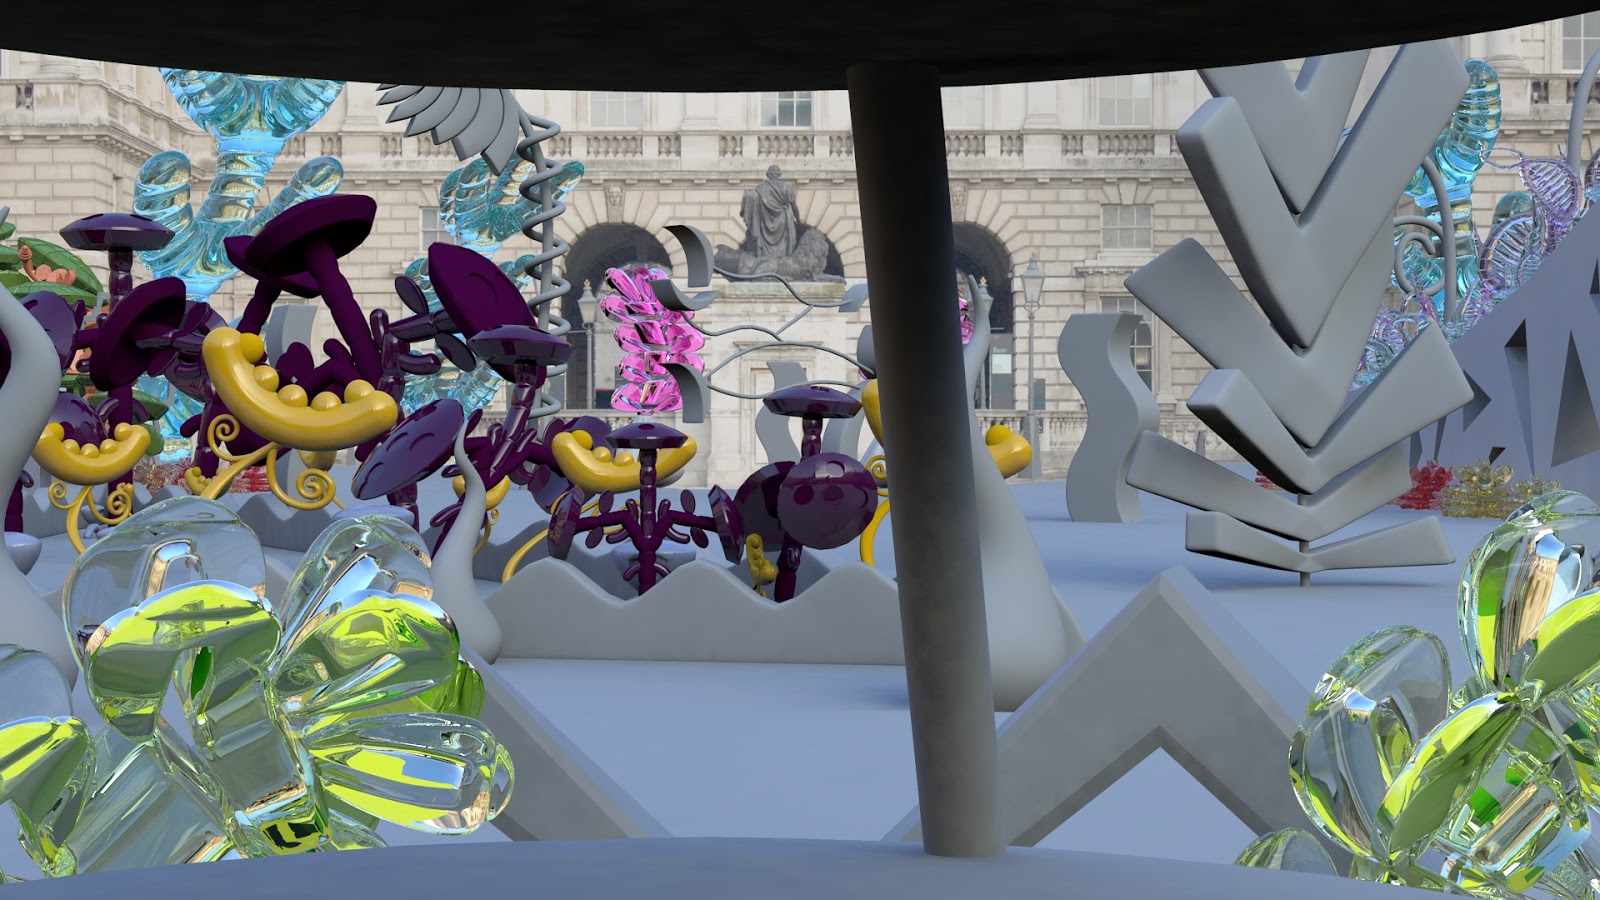
My first scene is nearly ready for rendering, I just have a few things to fix and some things to try out but I will have to finish this off at uni tomorrow as my scene is wrecking havoc on my computer at the moment. I noticed that I had not yet put up some shots of my my scene in the maya viewport to show how it has been laid out.
Below are some screenshots showing my scene organised so that it lays out well for the camera and image plane. It looks very odd in places with some gaps but these do not show up in the render and objects further in the foreground cover up these spaces. I have learnt that these gaps are better off than placing objects in them which are going to not be seen in the shot as it stops my render times getting further out of control.


Tuesday, 29 April 2014

Ground UV Mapped and Textured

I finally have a textured ground for my garden! Using Futurist shapes and inspired by their patterns I created my own pattern. Now that the ground is textured it really has made the scene look right, I just need to get rid of the grey on the rest of my untextured components and we'll be getting somewhere!

UV mapped ground.

First attempt at texturing. Pixelating and blurry texture needed making bigger.

Still blurry so UV snapshot made even bigger to 4096 to suit the larger scale of the ground.

Much better but not happy with the pattern scale.

Scaled down the pattern to a more reasonable scale.

Textured the rest of the ground on the slope.

Adding the Neon Lights!

Throughout my test renders I have had these strange untextured shapes floating about my scene. I have now textured them to create neon lights! These will vary in appearance from constant light, flashing light and gradient light.

Thanks to Jordan we have improved the appearance of the lights to make them sit better with the other objects in the scene. I am really happy with how they are coming out because they add some really nice glows to the plants especially the glass ones.

The colours of these neon lights are just placeholders at the moment to check they are working.


Monday, 28 April 2014

Linear Workflow Set Up

Throughout working on one of my scenes it has been bothering me that my 'glass' plants in the top right corner have last their vibrancy. Originally it was suggested that this could be due to my HDR image needing colour correction because of the strong blue colour it was omitting into my scene. I adjusted this but it didn't seem to resolve the issue. Today I asked Alan if it could be the fact I am not working in linear workflow that is causing the issue.

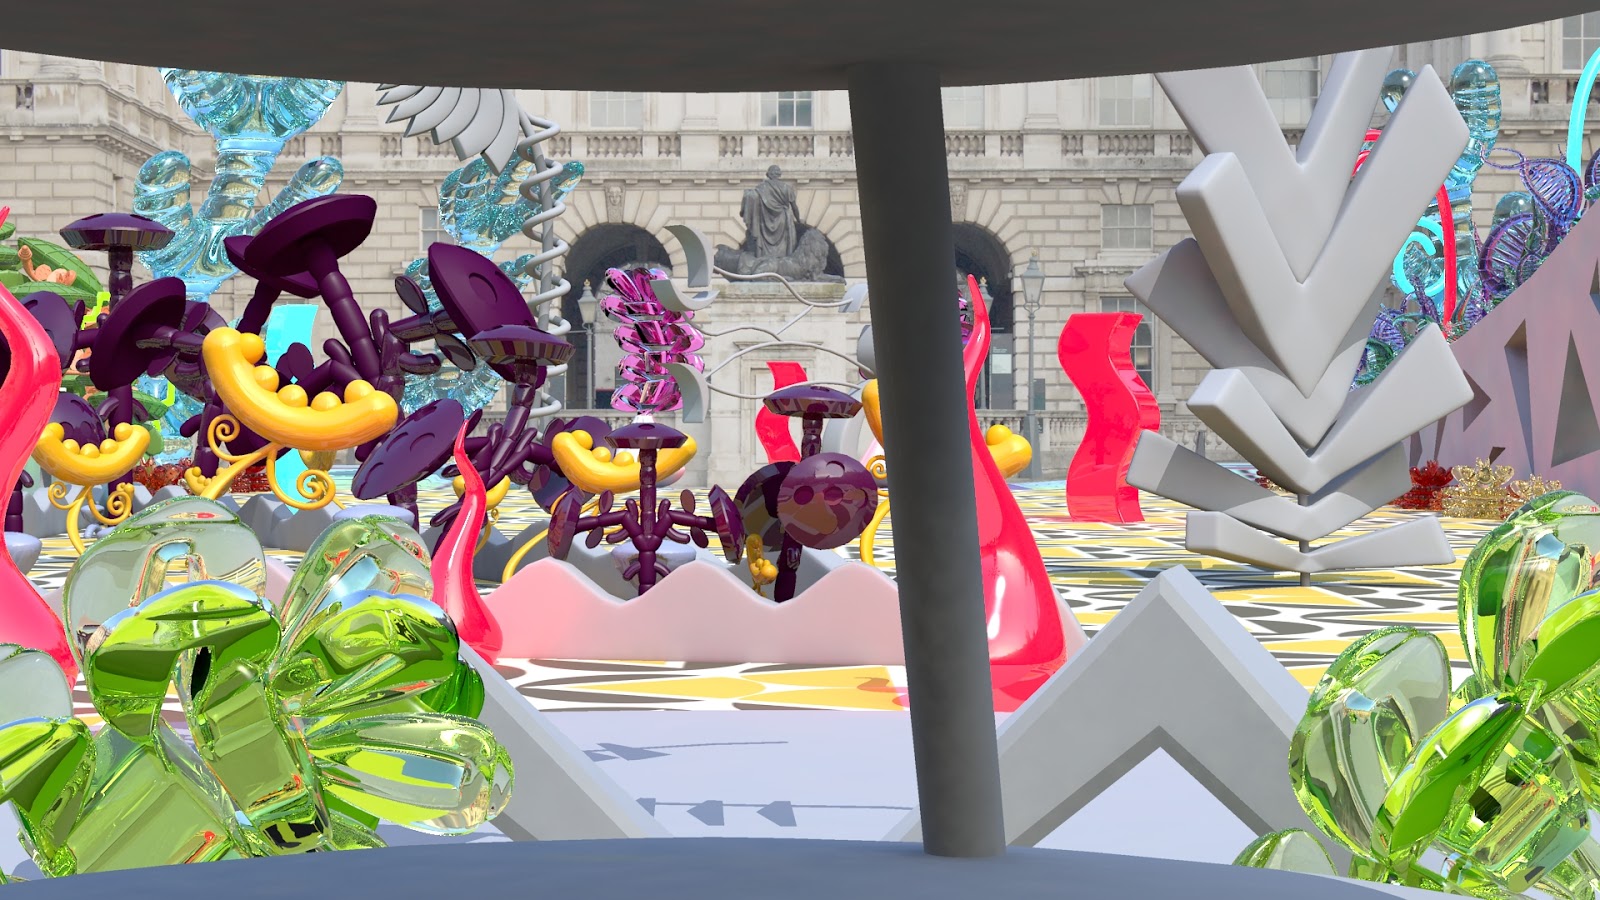
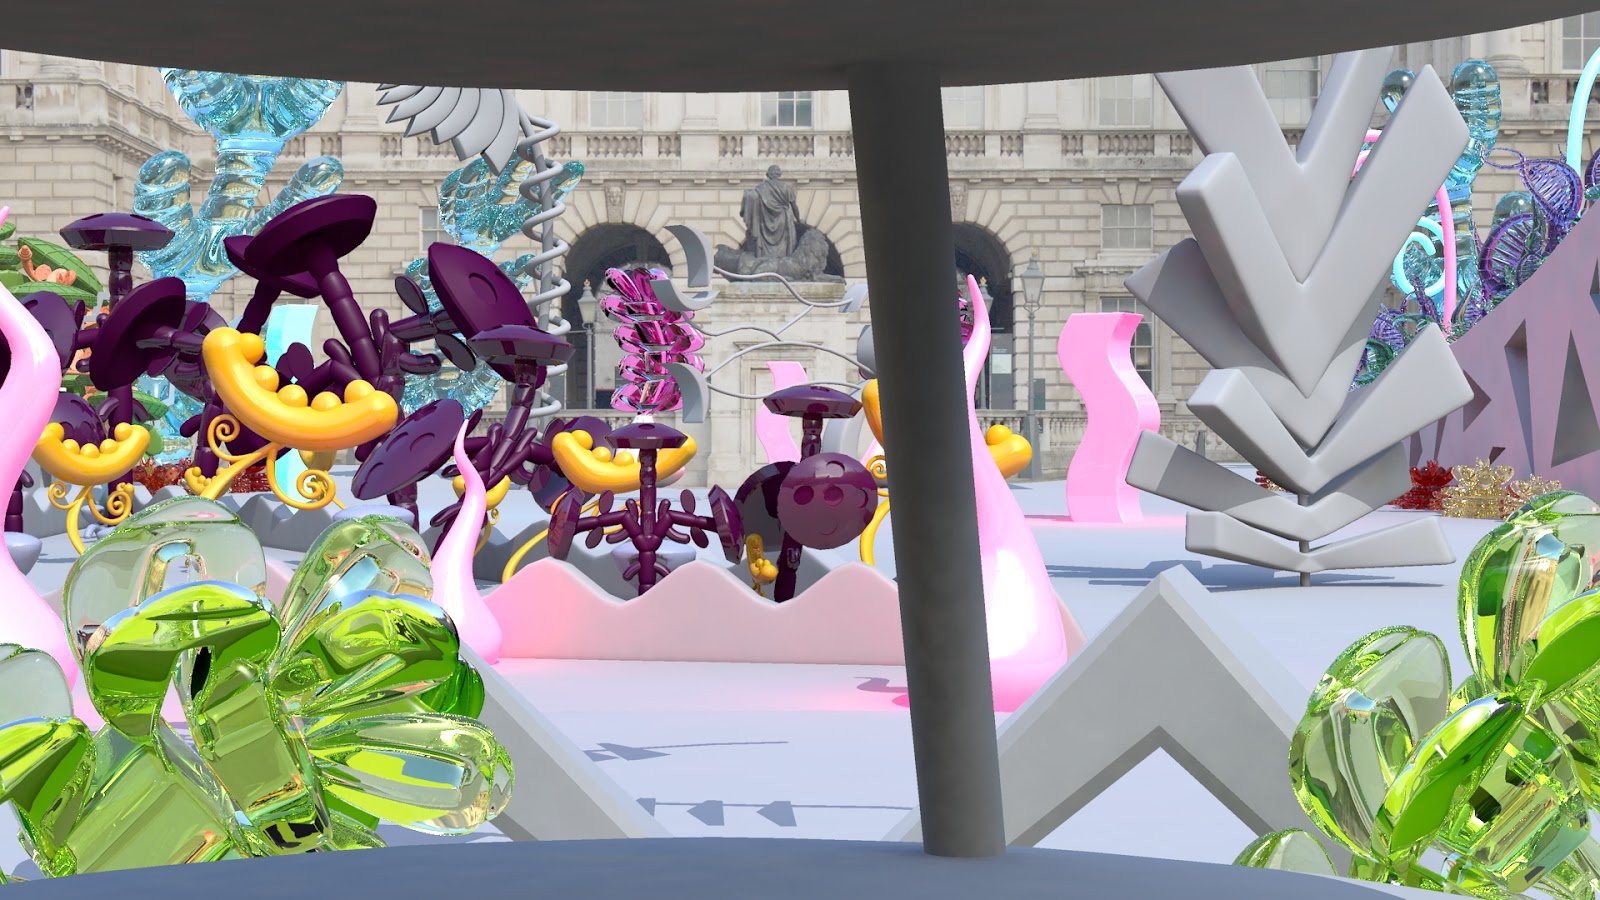
I decided to give this a go as even if it didn't resolve the issue it would still clean up the colours in my scene. After doing this it is shocking how different my scene looks!

Originally it was rendering like the below image. This shows the lack of colour in the top right glass plants and the coating of blue on everything.


This was then my process of setting up my linear workflow. At first my colours are all washed out but they gradually got better and the blue coating was beginning to go.

Beginning to gamma correct my shaders.

After this point the glass plants still seemed washed out so after some help from Alan it was decided that in order to get the colours back to as I had them in my Minor project I would need to adjust the gamma to a figure that gave me this result. This seems to be a strange characteristic to the dielectric shader.
I adjusted the gamma accordingly to several of my glass plants as they all seemed like they could do with a bit more pop.
This also seemed to fix another issue I was having where the green glass in the foreground had some parts appearing completely clear. They are now tinted and a bit more cloudy.
Finally I added a directional light into the scene where the sun would be (using my HDR dome as reference). This was a last minute addition after Alan pointed out that I had left one out when it was needed to work with the HDR. Adding this has definitely cleaned up the blue coating and given me some proper shadows to work with. I will have to play around with it until I am happy.

Sunday, 27 April 2014

Italian Futurist Voiceover

One important part to making this Futurists' garden authentic and understood was to get a voice over which I could pretend was being played through speakers in the garden as if telling visitors why this is a correct garden compared to 'natural' ones. Because the Futurists were originally Italian it seemed right to try and get hold of an Italian man who could record it for me.

This was the original voice over I was given.


To make it more suitable for my use and more Futurist I went in to audition and gave it an old vinyl, tinny crackle.


Finally, I gave the voice over a megaphone effect. I found two different ways to achieve this, they are quite similar but there is still a noticeable difference to them so I am going to need to decide which seems better.


Friday, 25 April 2014

@ Alan- Rendering Issue

Hi Alan,

I was wondering if you know what this error message is.

// Warning: (Mayatomr.Scene) : subdTessShape1: empty UV set map1 detected, ignored //

This comes up every time I have tried to render since I got home. It was rendering fine at uni and I have not done anything to my scene since I got home except try to render in the render view.

When I render it just renders black, I have made sure that I set the project and that everything is plugged in especially my HDR but am still getting the same message and black render.

Thanks! :)

Emma

Thursday, 17 April 2014

Image 2- Progress

I'm a bit further into getting image 2 complete, it is taking a while because I am still trying to get to grips with lining everything up and there are a lot of things to put in! Just the one plant wall must have 20 plants or so carefully organised to show up well. I can feel that I'm getting quicker at it now though so no need to panic just yet.
I decided I wanted to get a rough lighting in too because when testing out the render result I was presented with some black blobs where the glass plants should be which is really not helpful in seeing if I'm happy with it. So at last my HDR dome went in and I got this after the first render.


This was really exciting to see! I think it still needs a lot of work though because I still can't distinguish the purple plants from the green ones on the wall.

I thought I would have a further play to see if I could improve the look a bit and to figure out the settings as this is all new to me. I ended up with the rendered sections below.


I'm going to stick with the first result for now as it is definitely better to work with and see how things are looking compared to what I had before.