Here is my completed animation for my major project!

Friday, 9 May 2014
Thursday, 8 May 2014
CD | CD CASE ARTWORK.
Here is the artwork for my CD and case. I decided to just stick a still of one of my scenes on the CD because I think it speaks for itself. I made a border and lowered the opacity so that I could put my name and details on there otherwise it all sank into the colour and wasn't very easy to read.


Wednesday, 7 May 2014
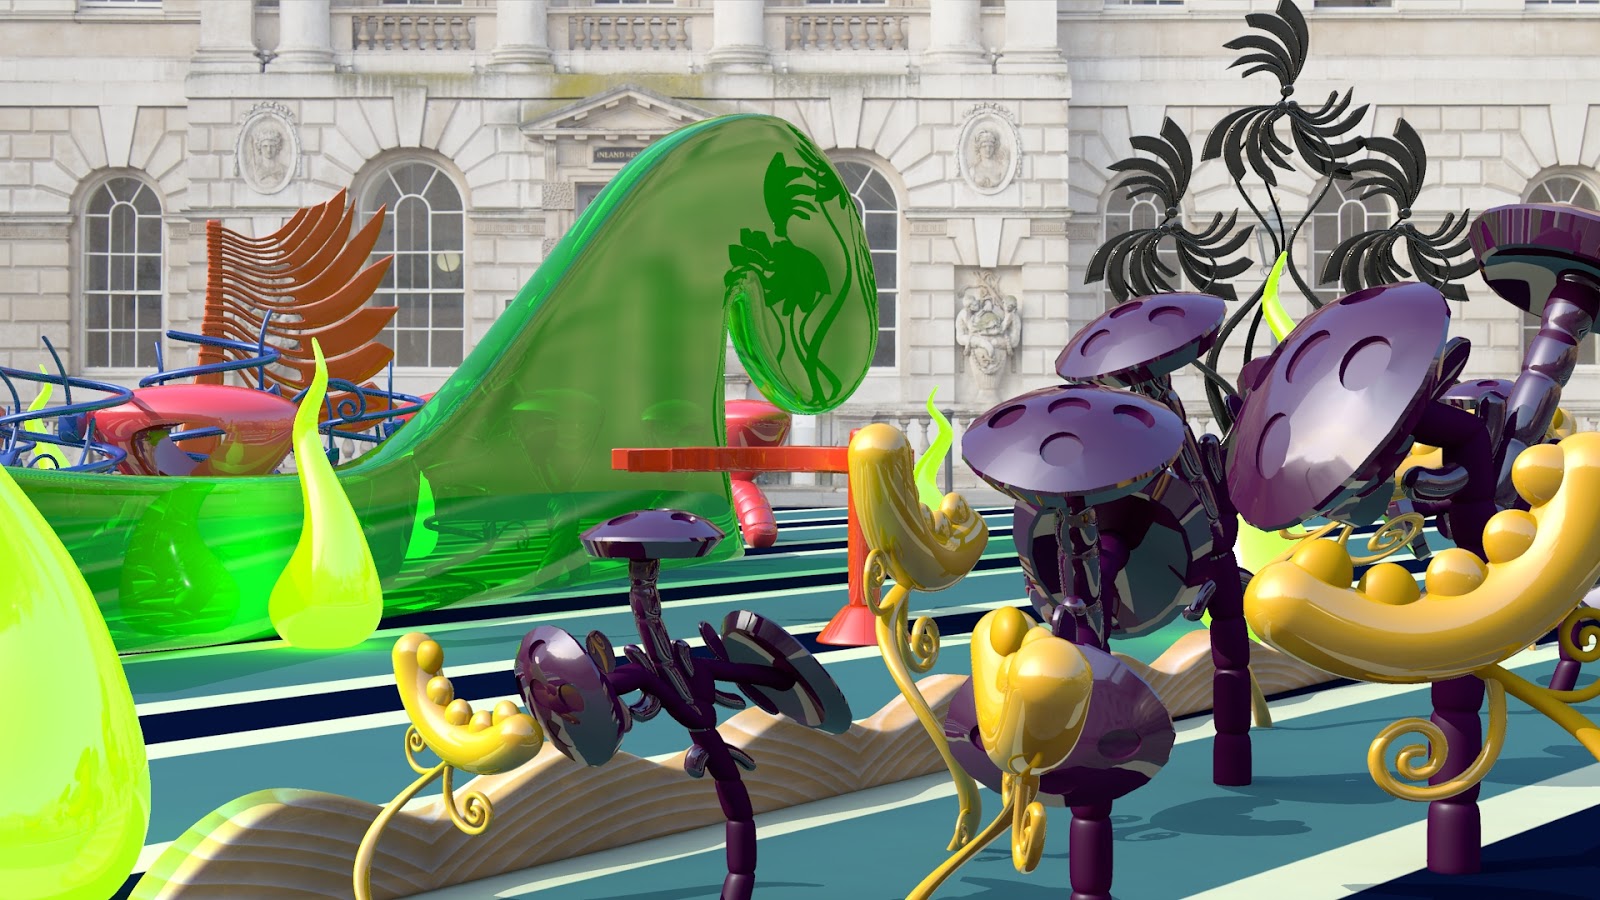
SCENE 3 PROGESSION.
My third and final scene is finally finished! I have set some of this to render at uni but unfortunately did not have enough PCs to render the rest on so I will be setting this up tomorrow over the ones which are finished and fingers crossed I will be able to get it all rendered by tomorrow evening so I can take my time compositing it all properly!
This scene has some repeated elements in it from other scenes as it sits as an in between for them both but I really wanted to show the sculptures in this one as they are quite different to the other two scenes and it is important to show the most interesting three scenes out of the whole courtyard for the moment.


This scene has some repeated elements in it from other scenes as it sits as an in between for them both but I really wanted to show the sculptures in this one as they are quite different to the other two scenes and it is important to show the most interesting three scenes out of the whole courtyard for the moment.
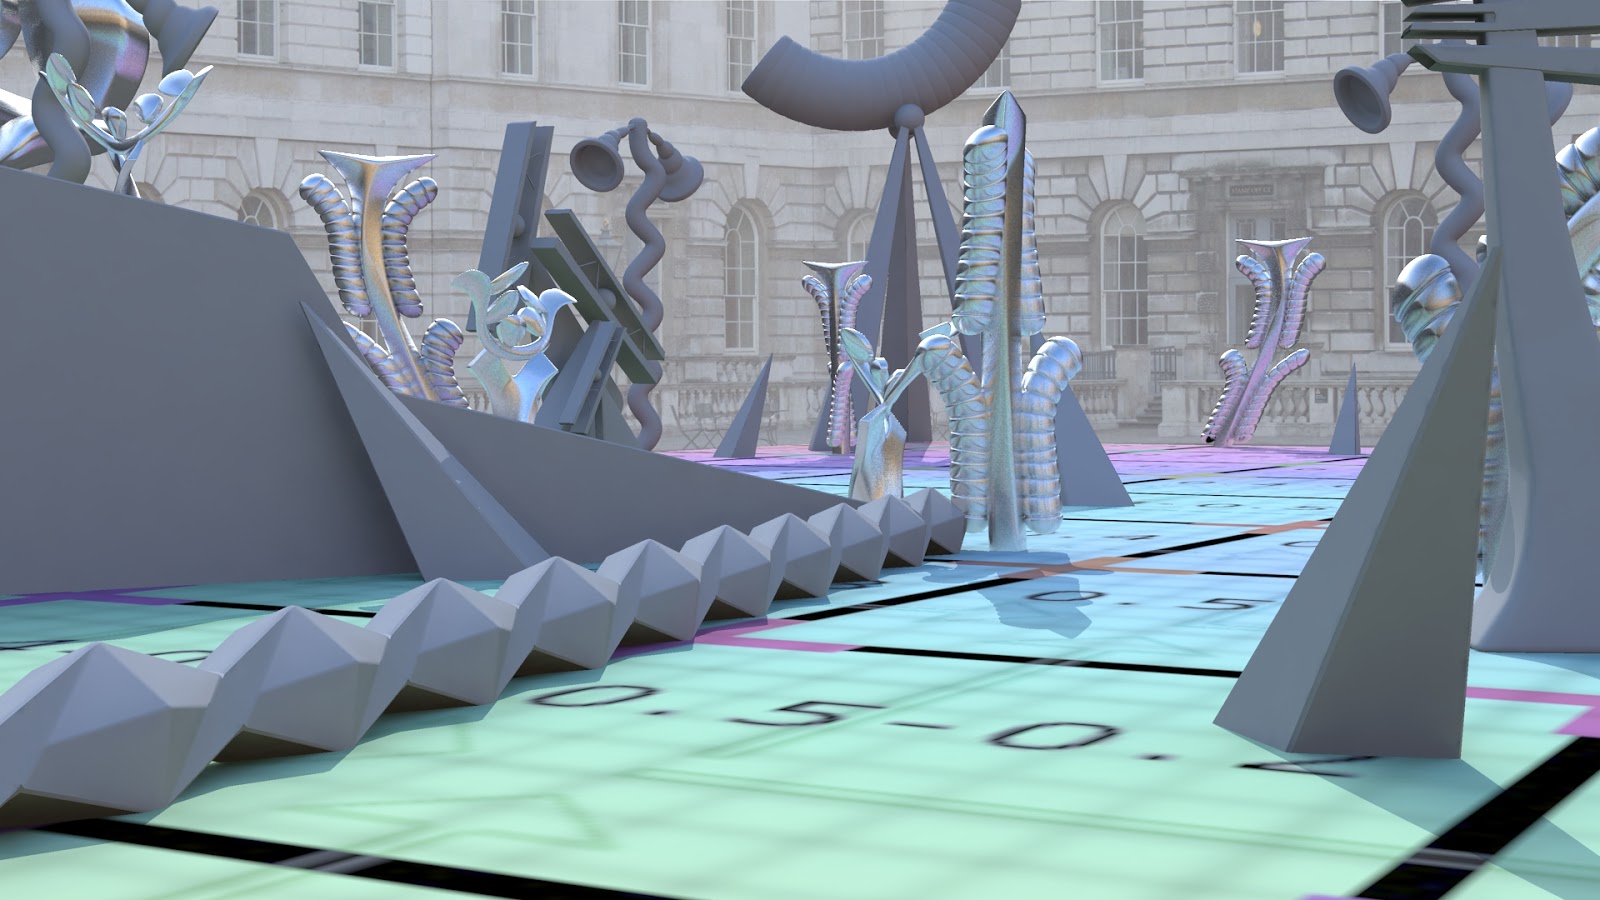
SCENE 2 PROGRESSION.
Here are some shots of my second scene progressing to show how I worked it all out and made adjustments to make things fit into the scene better. This scene is rendering as we speak and it is just my final scene left to complete before I can composite it all. Please excuse the gap in the progress, this was when my computer at home decided it had had enough of cooperating with me and would no longer render the scene similarly to my first one so the gap between is me going by instincts with the arrangement of things, then I adjusted this accordingly.


Sunday, 4 May 2014
Linear Workflow & HDR- Scene 2
One of the first things I wanted to do when starting scene 2 was to set up my HDR and linear workflow pretty much straight away as this was something I didn't do with the first scene which meant I was working with the wrong lighting and colours for quite a while.


With HDR (Before linear workflow) Like my last scene it is very blue and definitely incorrect.
Linear workflow now set up, everything is bleached out but this will change once the textures are assigned. A lot of the blue from the HDR has been taken out but there is still some left.
Remembering what Alan said I've added a directional light where the sun is on the HDR image, this has added my shadows and corrected the colours further. Now the only thing incorrect is the image plane in the background but this doesn't matter as it will be removed and added below everything else in After Effects.
Saturday, 3 May 2014
Render Layers Composited Test
I wanted to make sure I was achieving the right results before I set my scene to render so using my render layer stills I composited them into After Effects. Apart from a few minor issues which have been corrected since for the rendering as well as removing the foreground sculpture I am happy with the effect I am getting. I think the blur using the depth pass still needs some tweaking but I will finalise this properly for hand in.

Fitting the Light Animation to the Scene
The difference between the lights exported into an unlit scene like the previous post and my final piece is that the animation cannot be shown through the lights completely disappearing so I needed to adjust the colour of the lights beneath the glow colour to make sure they looked like they were flashing in daylight while still being visible. Before I made changes to this there was barely any change to the way the lights looked when on and off that there wouldn't be a point to animating them.


(Lights are on. Before adjustments were made the lights looked similar when animated as off.)
(With adjustments. The lights just look like coloured tube lighting and you can tell the difference between on and off with the red wave light which is on and off.)
Animating the Lights
Yesterday before I set up my renders I spent some time animating my decorative lights. I wanted a variation so while the green ones are static, the blue ones flash and the red ones involve the light glow moving up and down. I had never done this before so I was really happy to actually get it to work!
I decided to export my lights into a separate scene because I knew I would have to render some sequences out to check the speed and that the animation was working. If I had done this in my final scene I would still be waiting for a sequence!
Once I was happy I just imported the lights and animation back into the scene.
I liked the speed of the red lights in this so made no further changes to it.
I was a lot happier with the speed of the flashing lights now but wanted to try out them all flashing at different times.
Alternating the flashing and gradients seemed more interesting and dynamic so I decided to go with this. To do this I had to duplicate the shaders and move the animation for each along the graph editor to different times.
I decided to export my lights into a separate scene because I knew I would have to render some sequences out to check the speed and that the animation was working. If I had done this in my final scene I would still be waiting for a sequence!
Once I was happy I just imported the lights and animation back into the scene.
I decided that the blue lights were not flashing quick enough in this test.
I liked the speed of the red lights in this so made no further changes to it.
I was a lot happier with the speed of the flashing lights now but wanted to try out them all flashing at different times.
Alternating the flashing and gradients seemed more interesting and dynamic so I decided to go with this. To do this I had to duplicate the shaders and move the animation for each along the graph editor to different times.
Friday, 2 May 2014
Small Adjustment to Scene
I have made a small adjustment to my first scene based on feedback I have received. This is the removal of the foreground sculpture because people felt that it would only work there if my camera was going to pan across and past it. As this is not possible for the deadline but might be for New Designers I am removing it. It doesn't seem like removing it has changed the look of the scene so this is a good sign!

Before adjustment.
After adjustment.

Final Render Layers
Part of setting up my scenes was to figure out what render layers I would need. I knew I may need a depth pass and an ambient occlusion was always an option but this could take a lot of time to render. Alan suggested I render each of these render layers out for one frame to see whether they were reasonable to render out. The ambient occlusion was way too high varying between 8-10 minutes but after lowering the samples it is now down to a reasonable time to render out.
I have ended up with four render layers, now including a matt pass as this pass is used to help stop my glass plants losing their reflections to the alpha channel in the beauty pass. Instead the beauty pass uses the matt pass alpha channel to cut out the black background.


I have ended up with four render layers, now including a matt pass as this pass is used to help stop my glass plants losing their reflections to the alpha channel in the beauty pass. Instead the beauty pass uses the matt pass alpha channel to cut out the black background.
Beauty Pass- 4mins 23secs
Ambient Occlusion Pass- 4mins 53secs
Luminance Depth Pass- 5secs
Matt Pass- 36secs
Thursday, 1 May 2014
Adjusting the Neon Light Colours
I felt it was important to get some neon lights into my scenes as it would add a bit more interest and difference between the materials being used. Also one of the materials the Futurists used was neon tubing! If the garden was getting dark these would also light it up, unfortunately I can't show this but they still look nice glowing in daylight.
I have been experimenting with possible colours for the lights but some just didn't seem right to me. I finally settled on the last image in this post.


I have been experimenting with possible colours for the lights but some just didn't seem right to me. I finally settled on the last image in this post.
Subscribe to:
Comments (Atom)