
Thursday, 28 February 2013
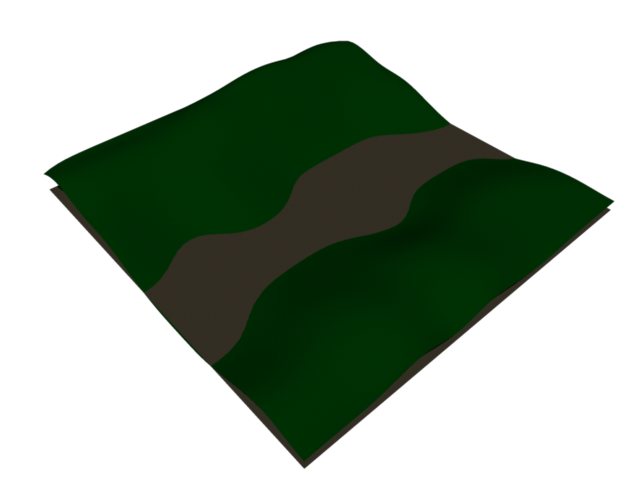
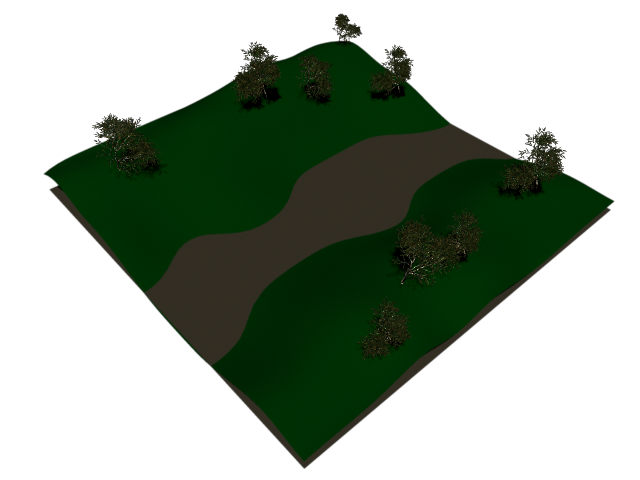
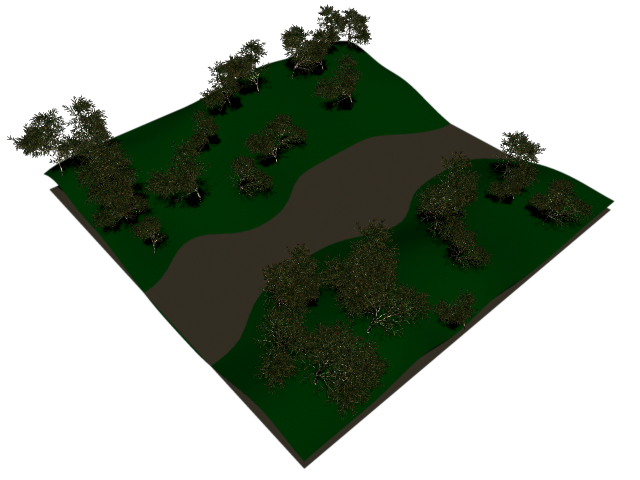
Instancing Part 9: Instances & Paint Effects (Trees)
I've been trying to render this tutorial out properly into a video a few times now but it still isn't doing it right and I have repeated the tutorial at least 3 times now so I'm just gonna post up still images showing it at work for now, I can definitely say I can make random trees in my scenes now though :)
Sunday, 24 February 2013
Main Ironwork Girder Pattern Tests
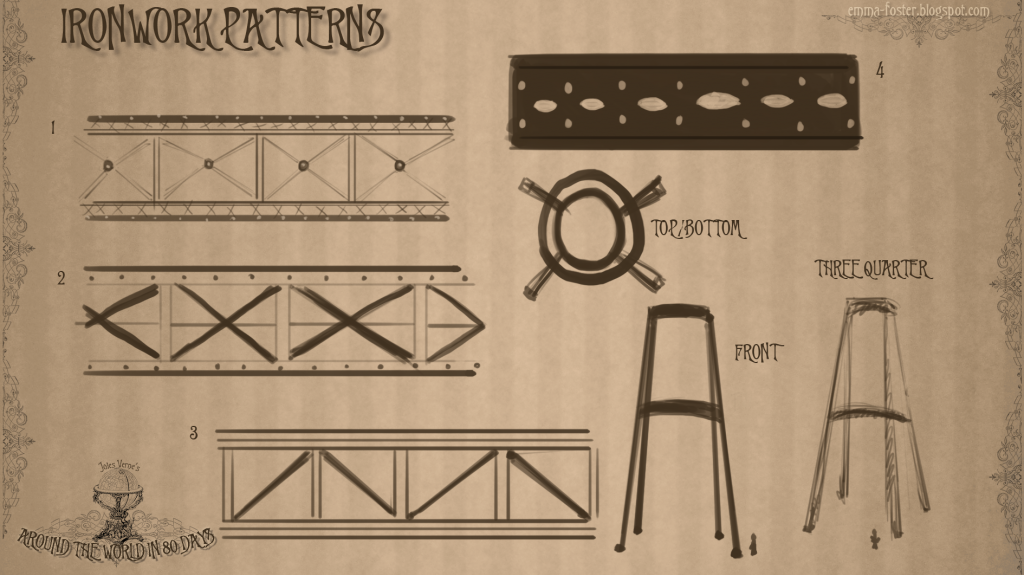
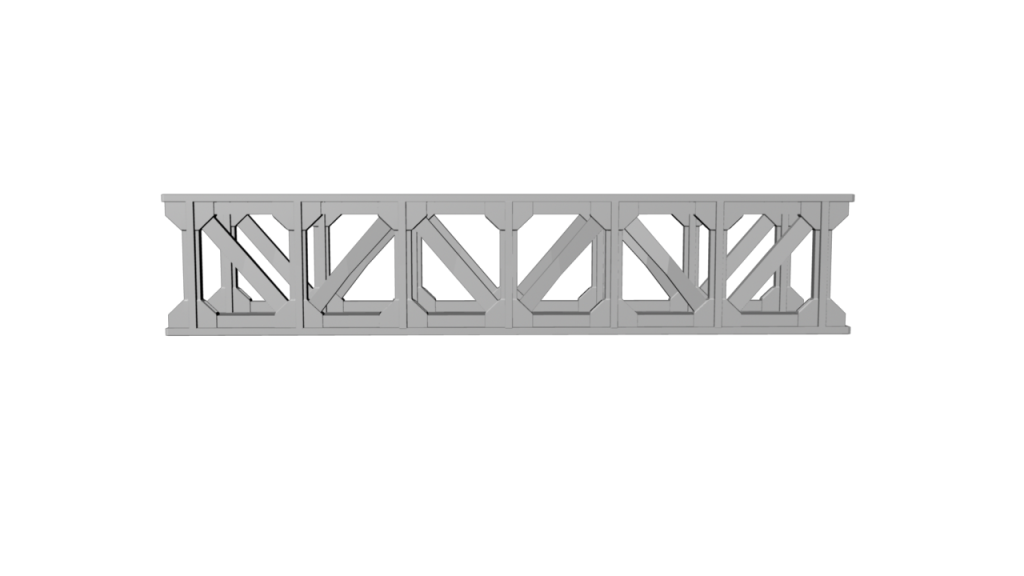
The main structure of my Phileas Fogg stand is made up of Victorian ironwork girders. There are many different styles of girders, some more suited to bridges than others however there are also some qualities that my stand needs for its girders to help the whole grand display work better. A few of the most important qualities that are needed are for the girders to act as a strong main structure, be able to look through and see other elements of the stand and finally have an industrious feel but also be overstated, embellished and magnificent.
I have created 4 variations of girders and alongside it drawn the parts of my stand that will be made of them so that I can keep track of all the different patterns and scales of elements without confusion. I think out of the 4 designs #1 or #2 convey these qualities the best. #4 would probably obscure too much from view and I don't think #3 is embellished enough.
I have created 4 variations of girders and alongside it drawn the parts of my stand that will be made of them so that I can keep track of all the different patterns and scales of elements without confusion. I think out of the 4 designs #1 or #2 convey these qualities the best. #4 would probably obscure too much from view and I don't think #3 is embellished enough.
Saturday, 23 February 2013
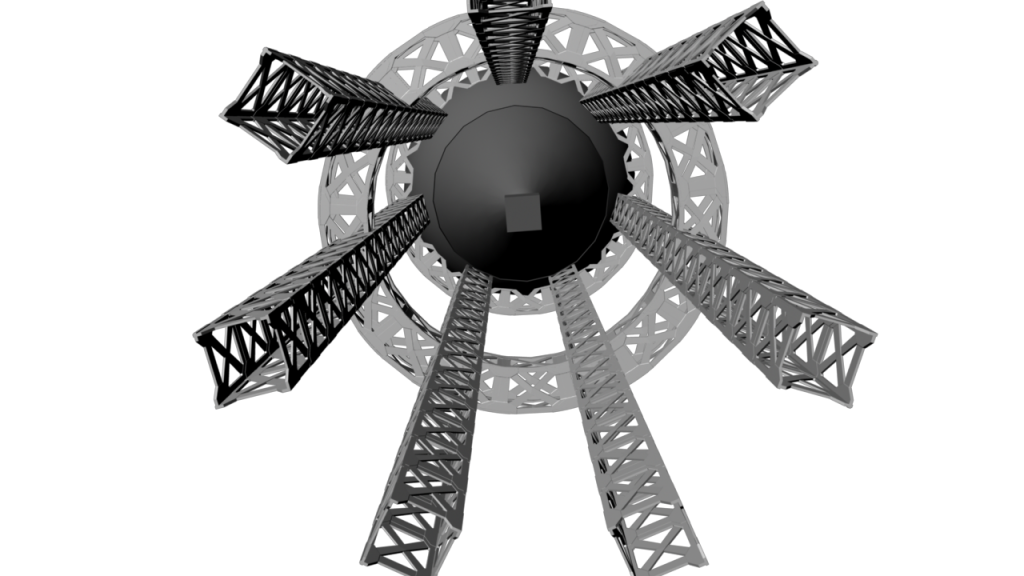
Experiments with Perspective
Trying to break away from the view of my stand I have been doing and instead showing it's grandness in scale. I've been trying to figure out how my stand would fit in the scene but I'm still not sure what would surround it which I need to know before I can move on and properly place it in a 'space'. Another thing I'm not sure about is whether the room it is in should be circular so it doesn't look like its in a corridor or whether a straight rectangular room would be ok and if this roof is high enough to show how big the stand is.

Straight room/roof
Circular room/roof
Normal Maps 3: Using Photoshop & Nvidia (Corridor)
It was really interesting applying photoshop created normal maps to a full scene in maya and seeing the difference in the renders and how much more the render pops with the normal map.
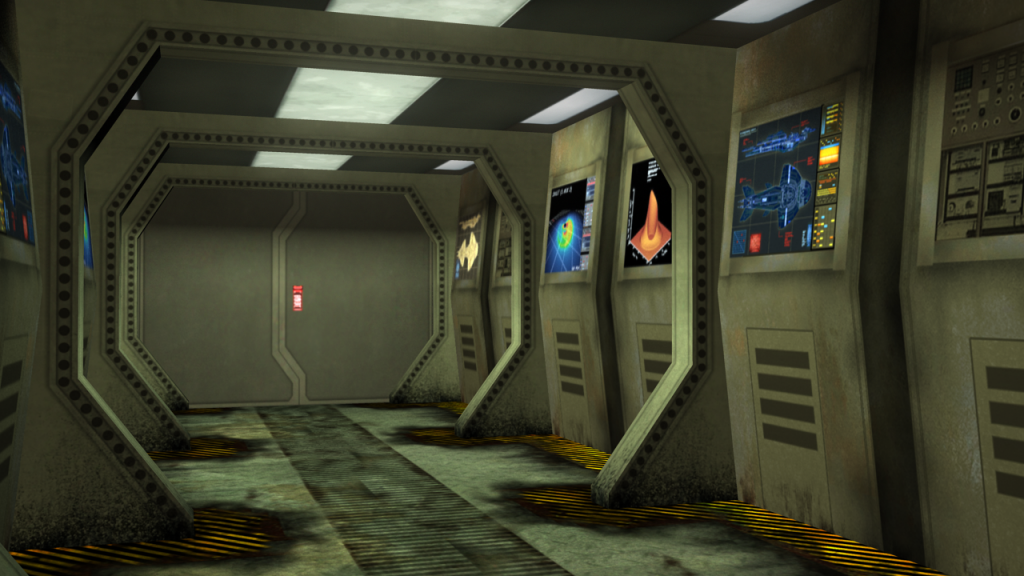
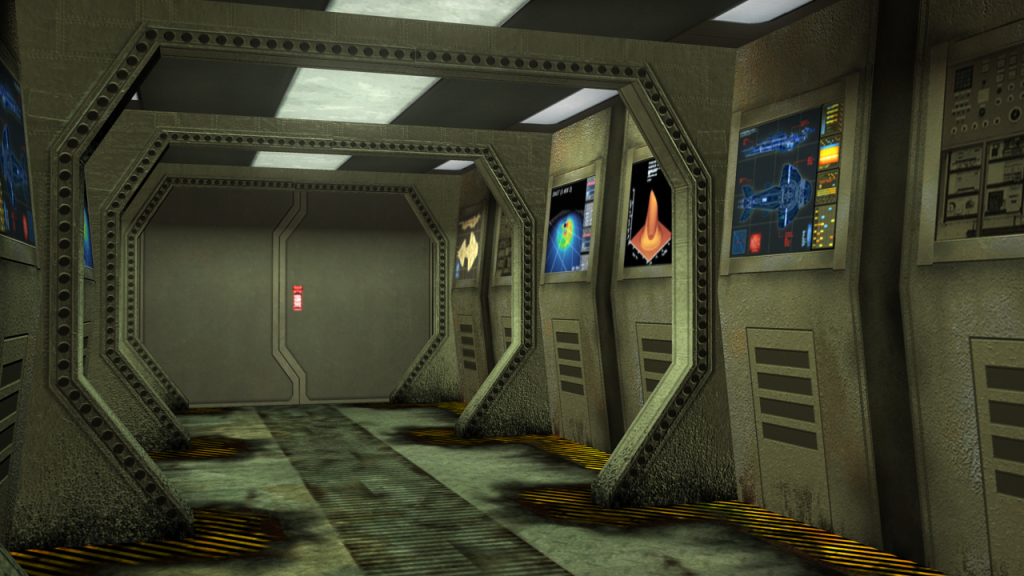
Render-No normal Map
Render- With Normal Map
Normal Maps 2: Using Photoshop & Nvidia
I downloaded the Nvidia normal maps plug-in and had a play around with that for the next tutorial to see how different the results could look.
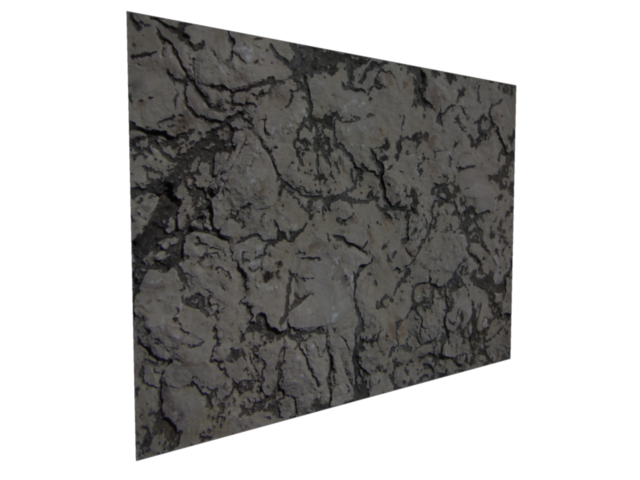
No normal map just texture.
With normal map created with Nvidia plug-in.
Normal Maps 1: From Geometry
We have started learning uses of normal maps in games modelling and now I can understand how they have achieved certain effects in games I have played.
The first tutorial was about making normal maps from geometry.
The first tutorial was about making normal maps from geometry.
Geometry Normal Map- Rendered in Maya Software
Geometry Normal Map- Rendered in Mental Ray
Friday, 22 February 2013
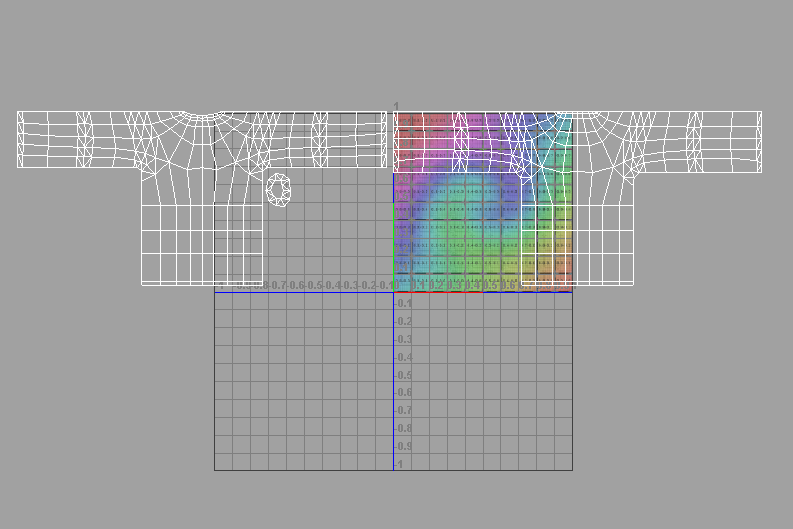
Games UV Layout Part 6: Texture Space (UV Map)
I have now laid out the UVs on the map to fit nicely and combined the model together again.
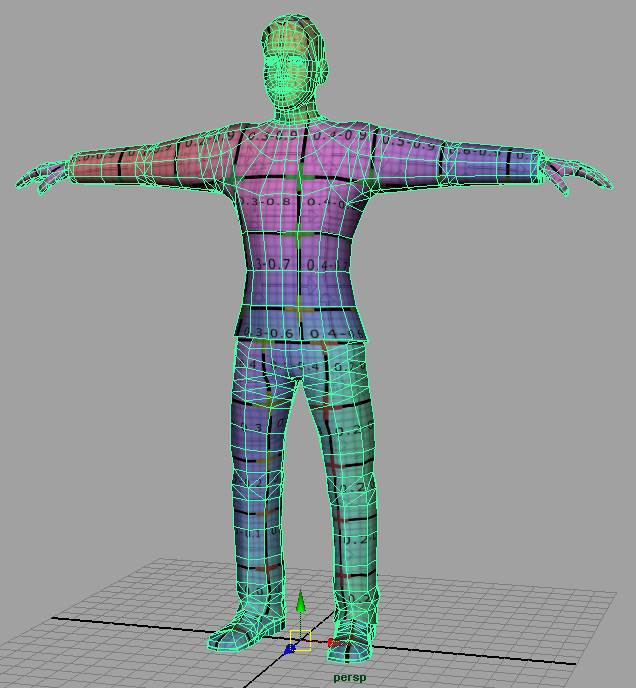
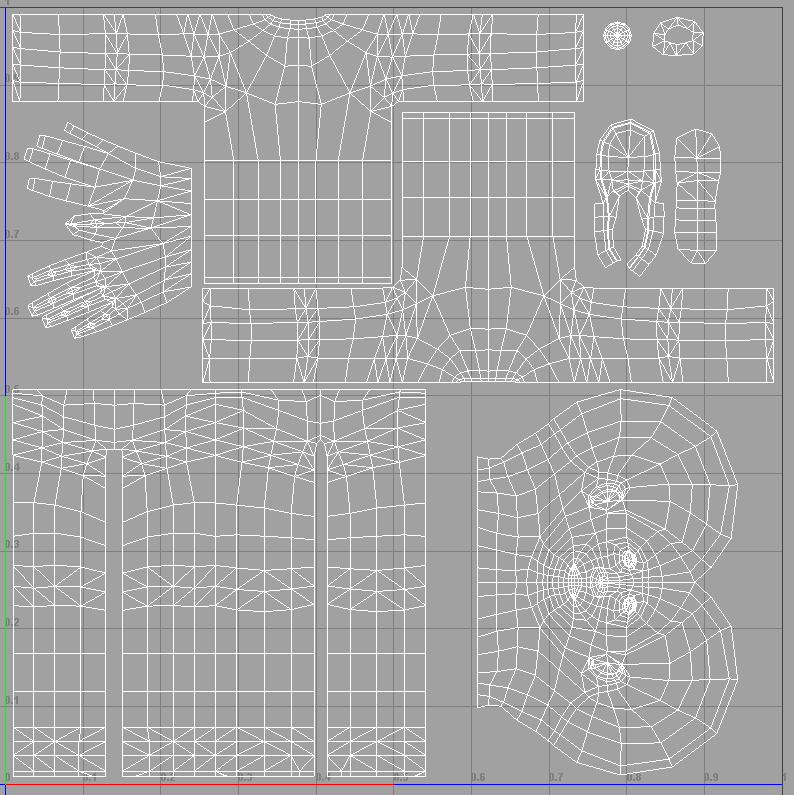
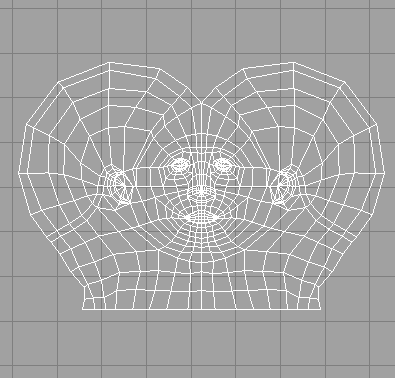
Games UV Layout Part 5: Upper Body (Head)
All the UV mapping is complete for the games character but Alan told us that it is important to lay out the maps efficiently for games.
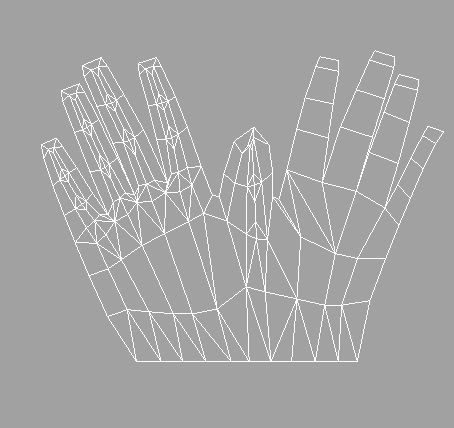
Games UV Layout Part 4: Upper Body (Hands)
The hands with the rest of the body are shown below, just the head to do then sorting out texture space on the UV map.

Thursday, 21 February 2013
Wednesday, 20 February 2013
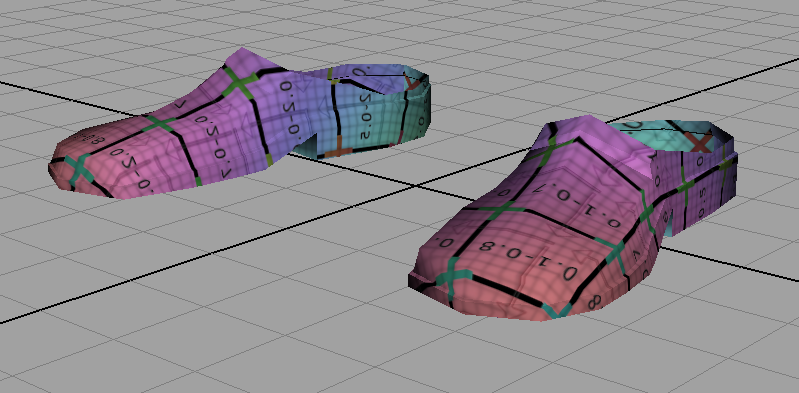
Games UV Layout Part 3: Lower Body (Shoes)
The shoes are now fully UV mapped and like Alan was saying in the lesson about economising on space on the UV grid and saving painting time the shoe UVs are sitting on top of each other.

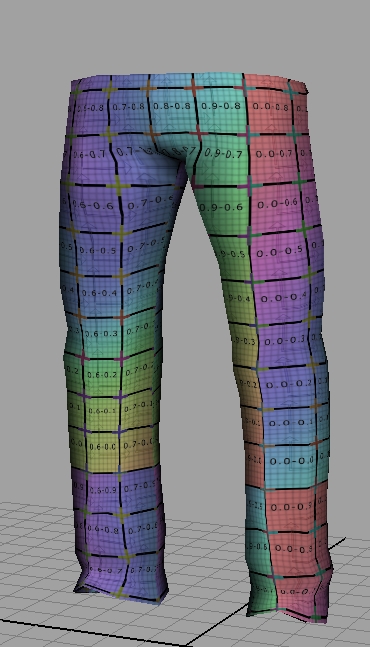
Games UV Layout Part 2: Lower Body (Trousers)
I've now finished UV mapping the trousers so the main body is complete.

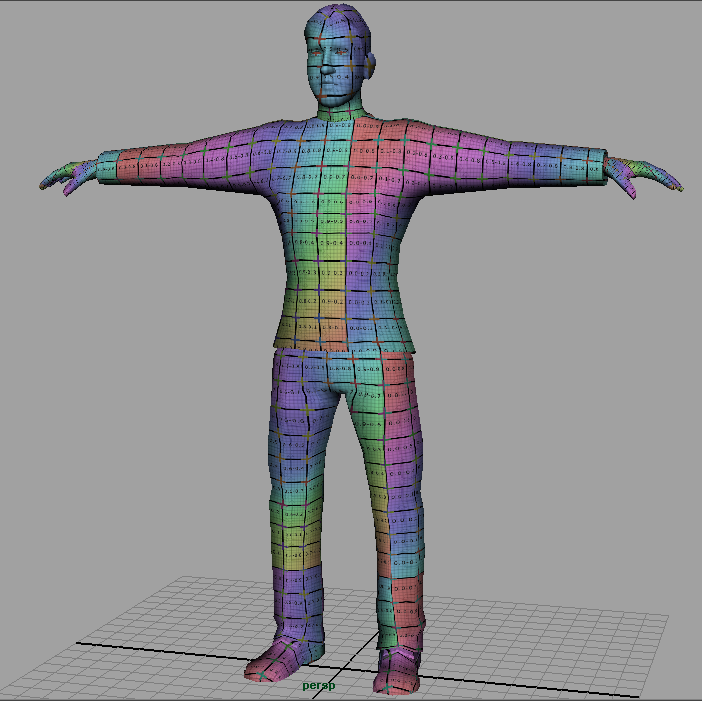
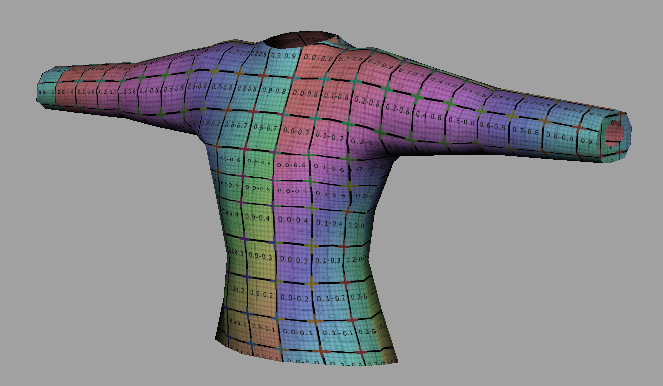
Games UV Layout Part 1: Upper Body (Shirt)
Now that the whole games character is modelled I have started UV mapping it extracting components to help UV it out better.
Tuesday, 19 February 2013
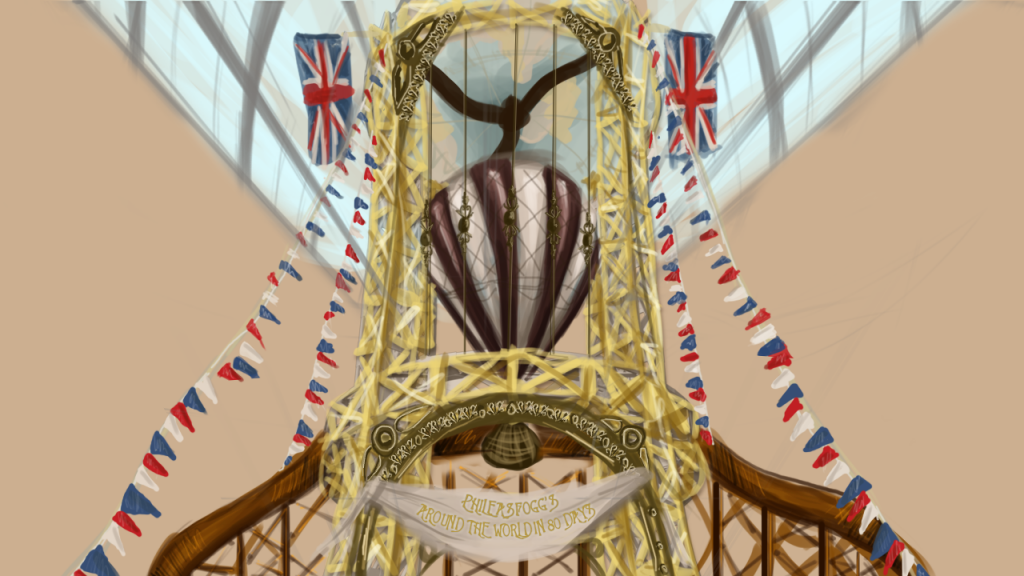
Phileas Fogg Stand Maya Experiments
I did some more maya experiments with the structure of my stand, this time lengthing the girders and really showing the scale. I also popped in one of the figures from the crowd tutorial just to help me sort out the scale of the balloon against it as it had been previously discussed that it may be too big in my drawings I've done.
I also used a bend deformer to make a round girder which actually looks like it would be realistically possible and the lattice deformer to bend the straight girders a bit so that they didn't seem boring and had a bit more character and architecture design to them.
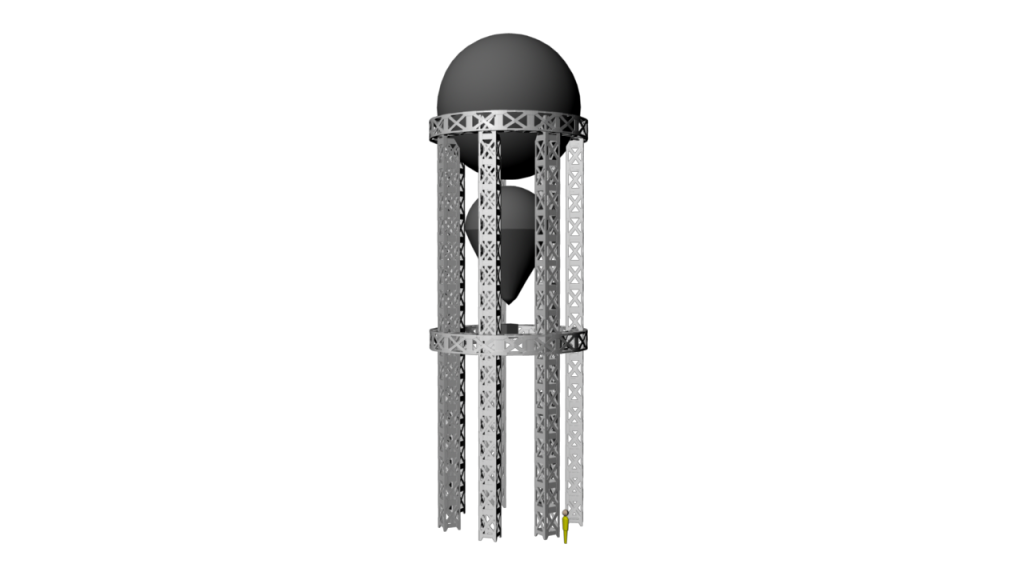
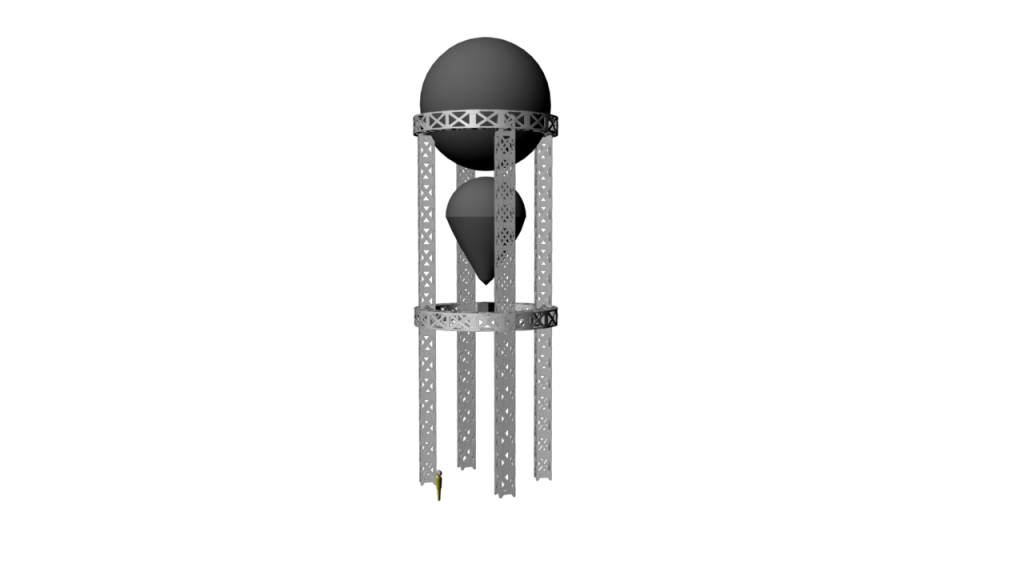
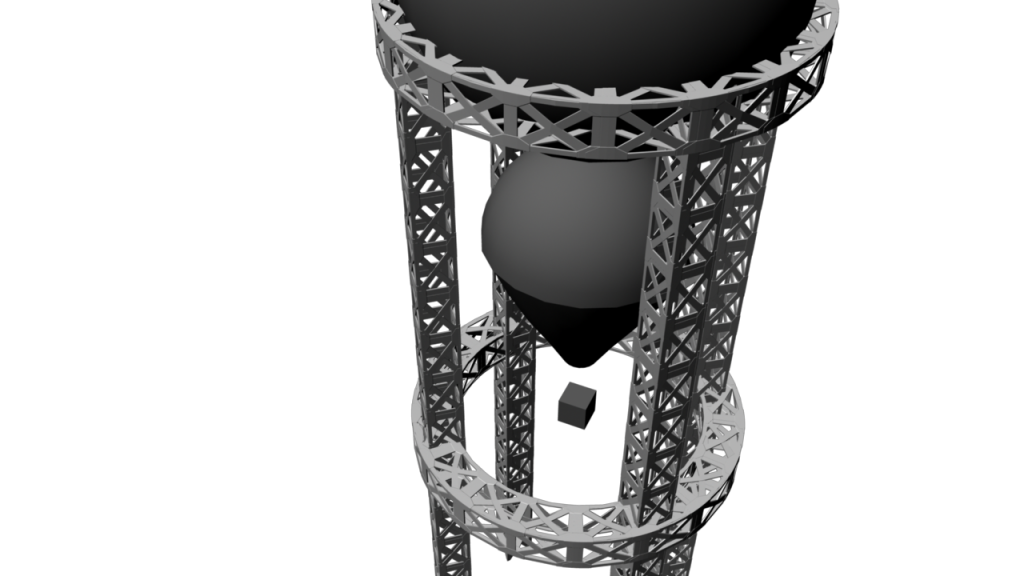
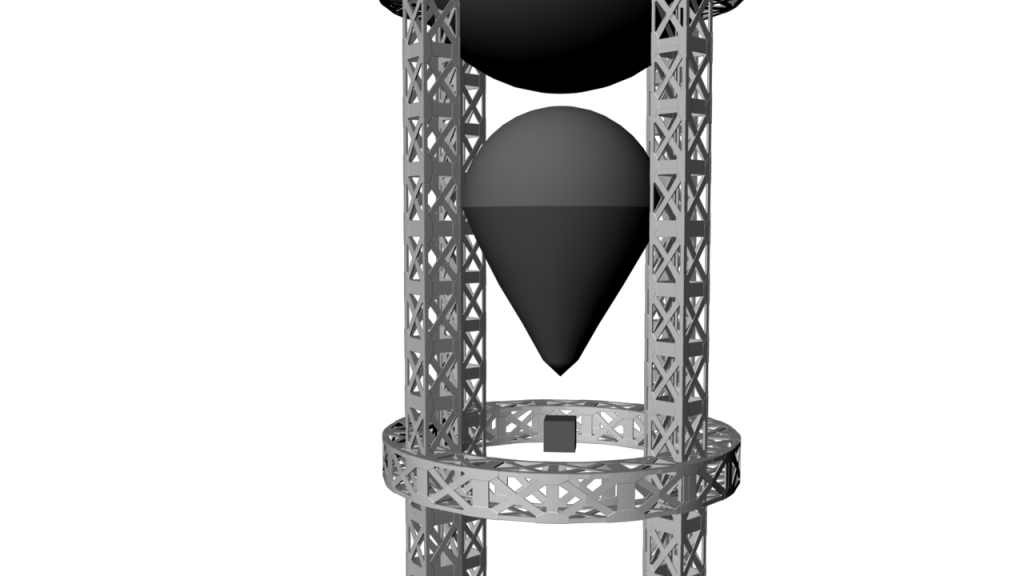
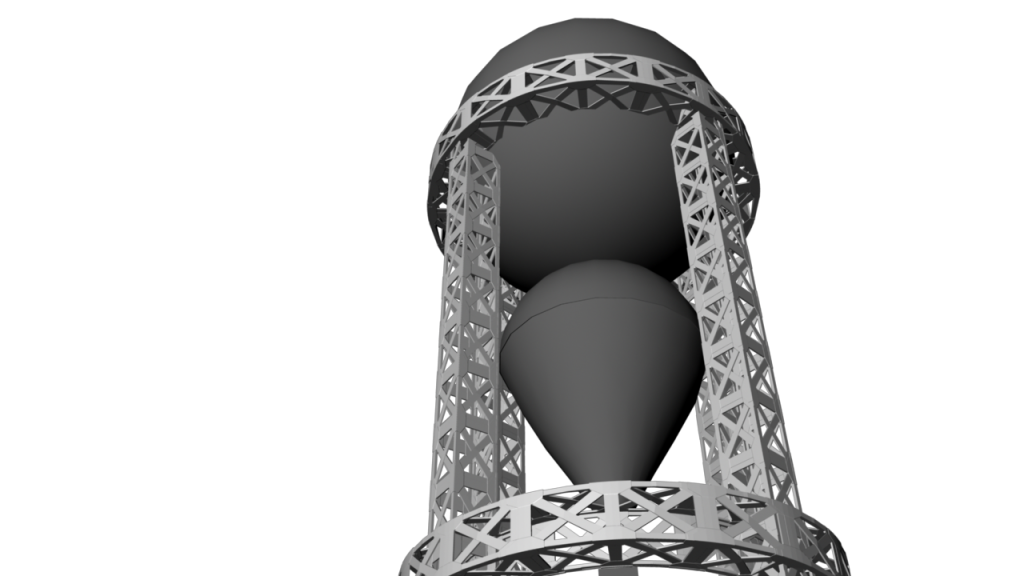


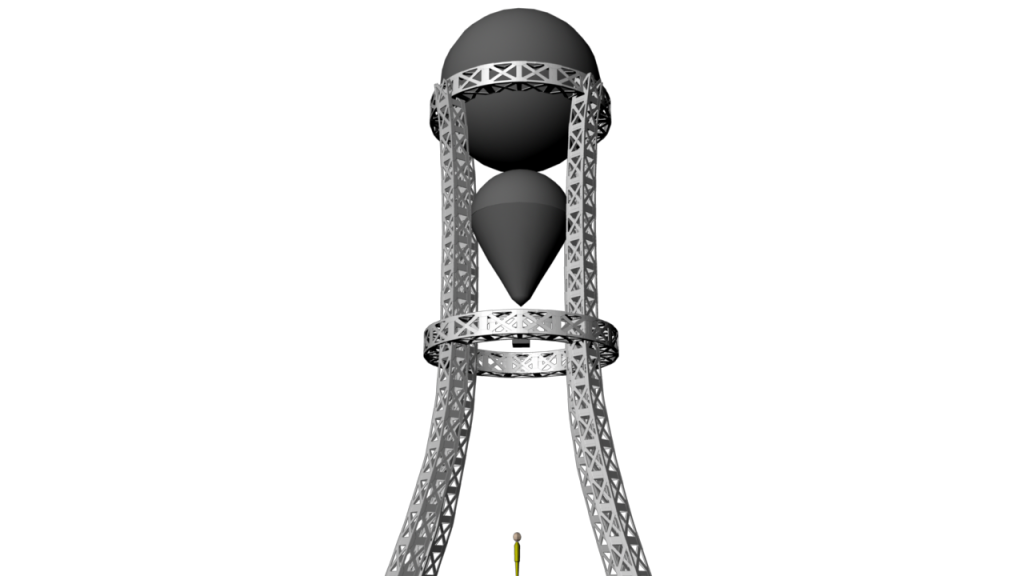
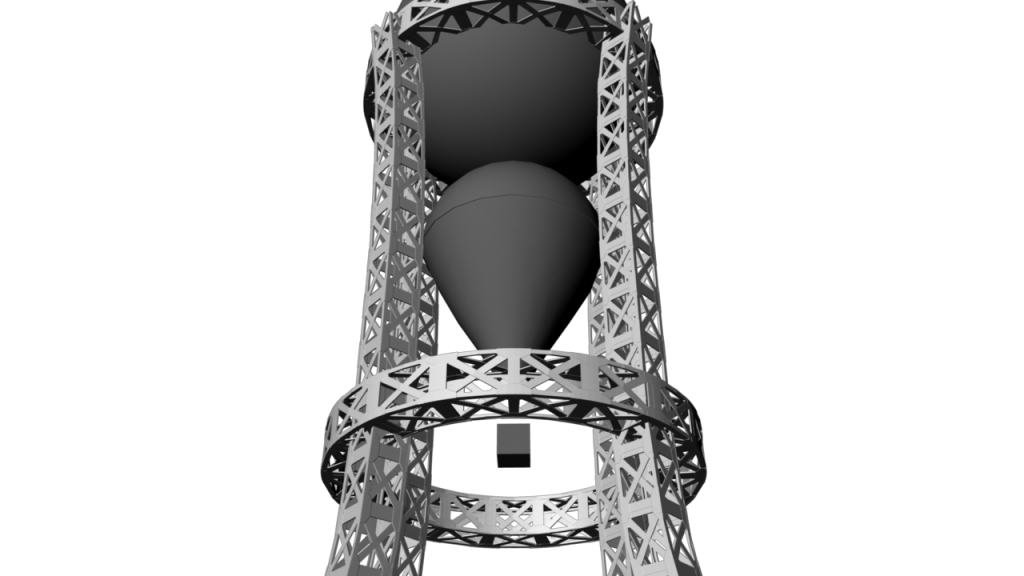
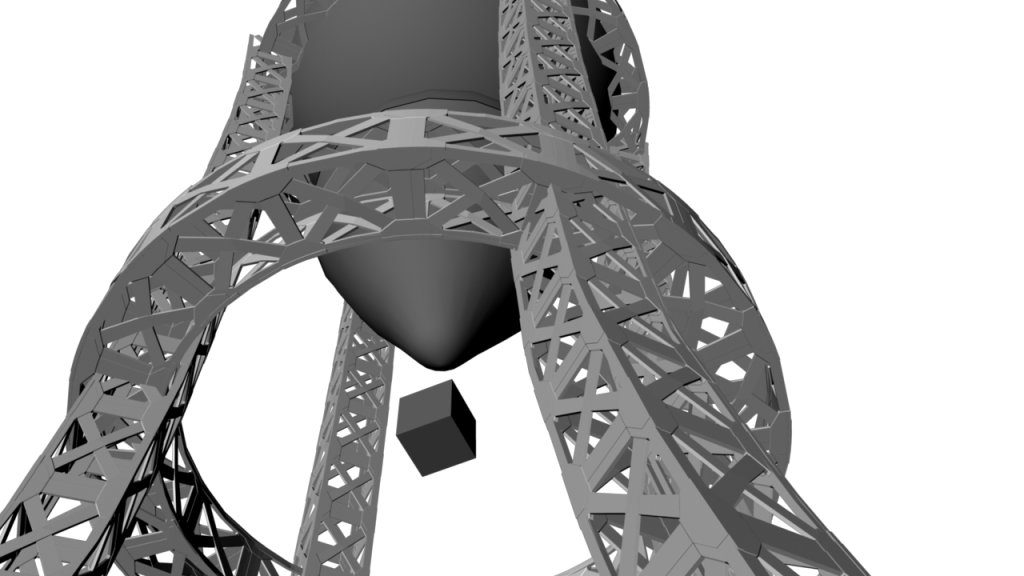
I also used a bend deformer to make a round girder which actually looks like it would be realistically possible and the lattice deformer to bend the straight girders a bit so that they didn't seem boring and had a bit more character and architecture design to them.
Monday, 18 February 2013
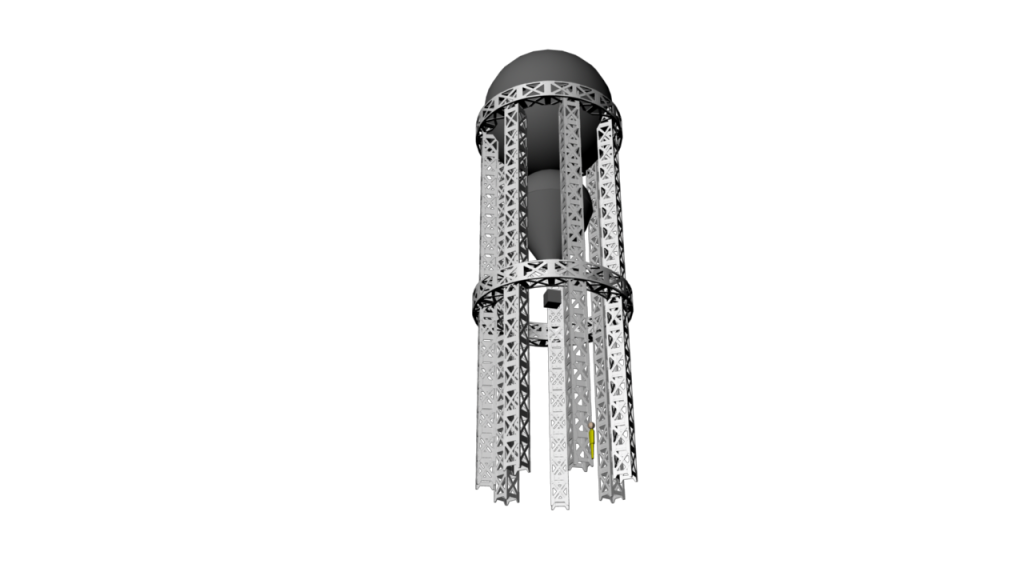
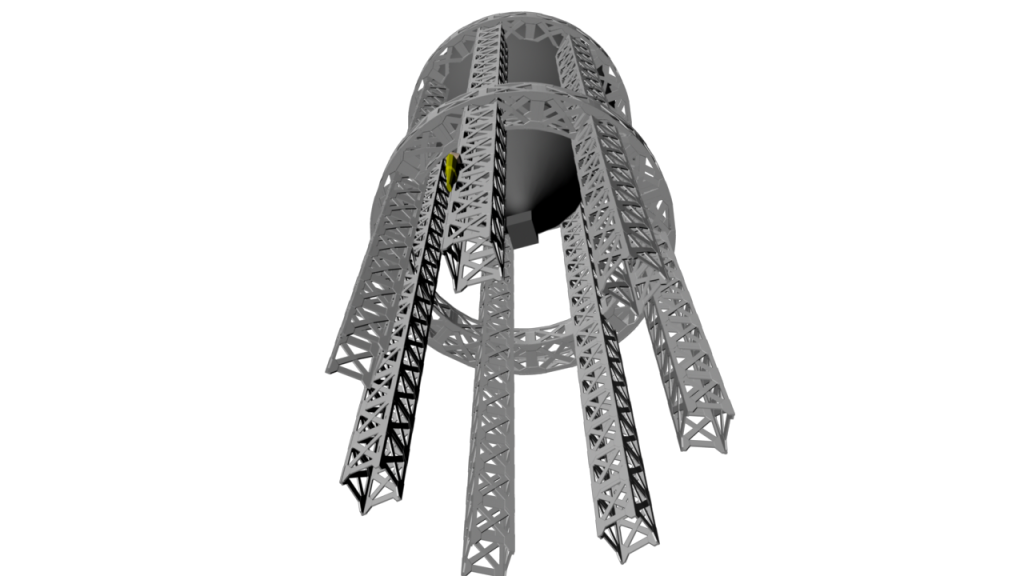
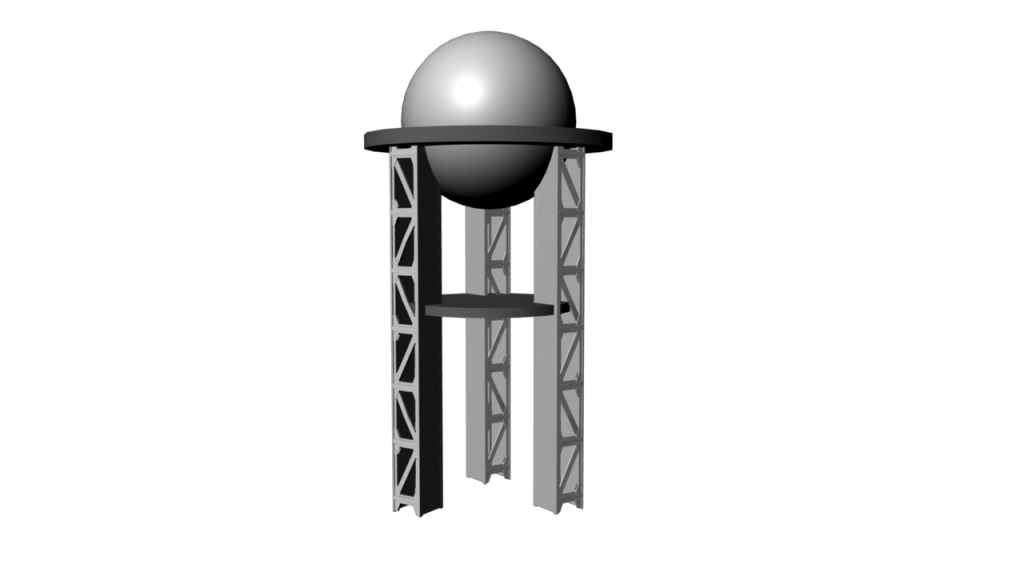
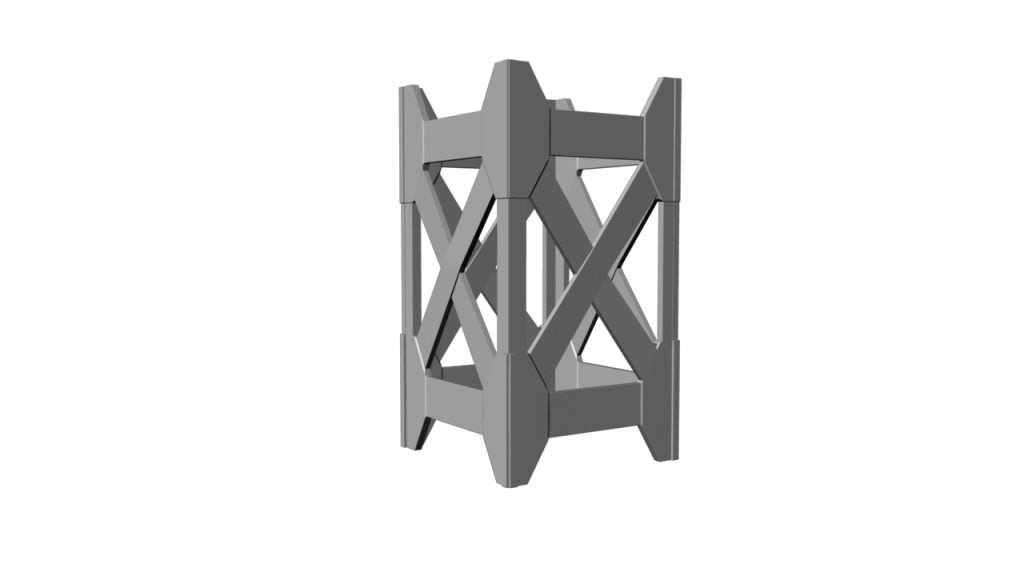
Maya Girder Experiments
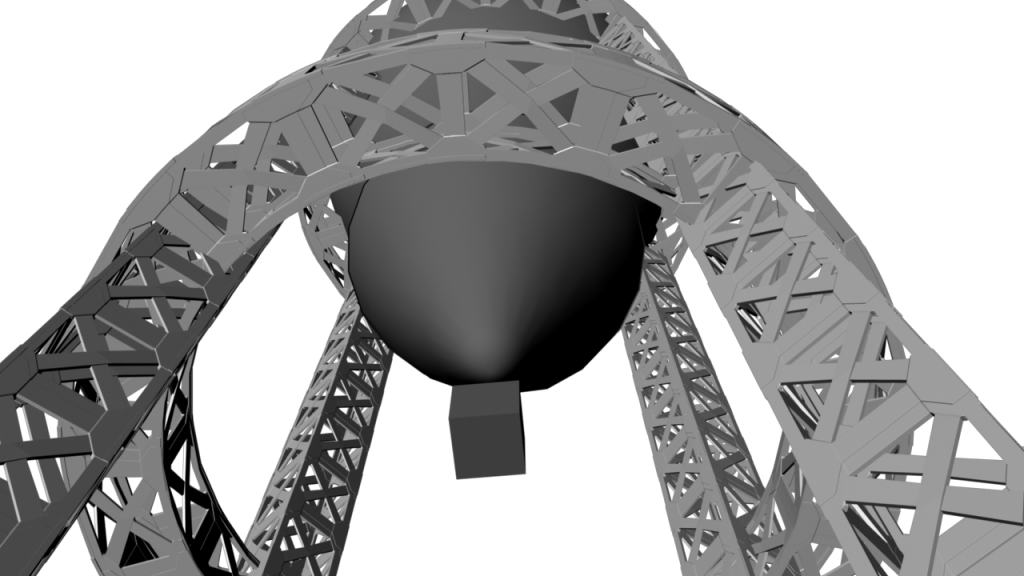
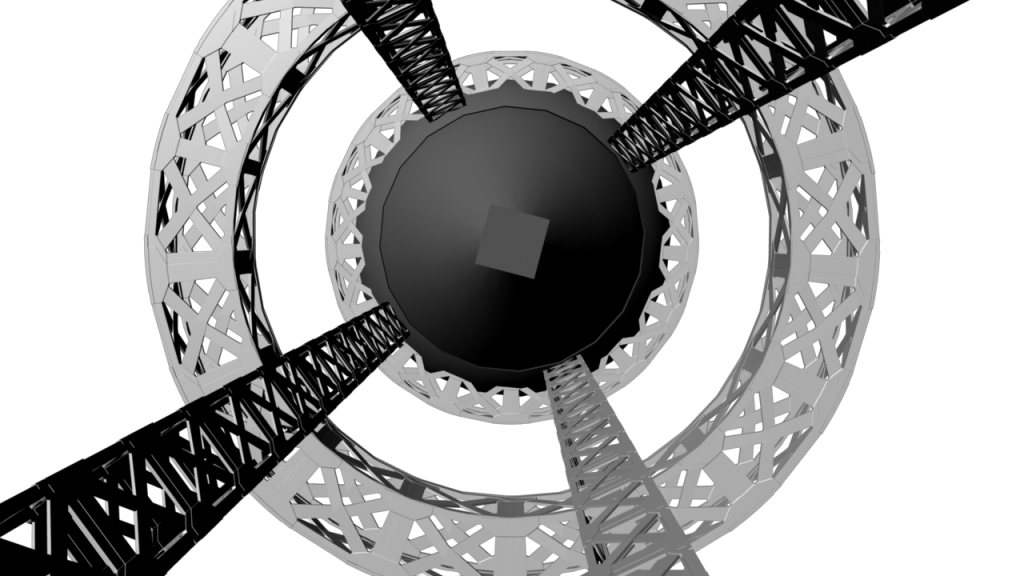
The standing structure of my Phineas Fogg stand was a bit of a problem because it didn't look strong enough to support a giant globe at the top as well as stable and safe enough for people to go up. Phil suggested I look at Victorian ironwork a lot more to help make the structure seem more real-life. I decided to model some girders in maya to help me understand their structure and then play around with placing them beneath a sphere which acted as the globe structure.
The first lot of girders didnt really work very well as two sides were not see through and so obstructed your view.
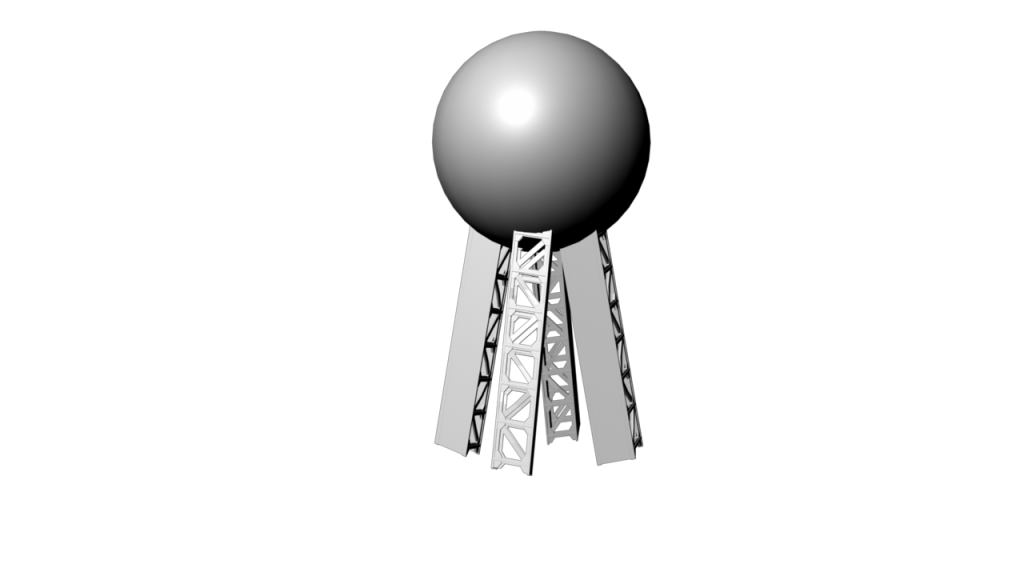
So I then modeled another one which is more 'transparent' and am going to experiment with this.
I also need to make the girder much much longer to really show the scale of the stand!!


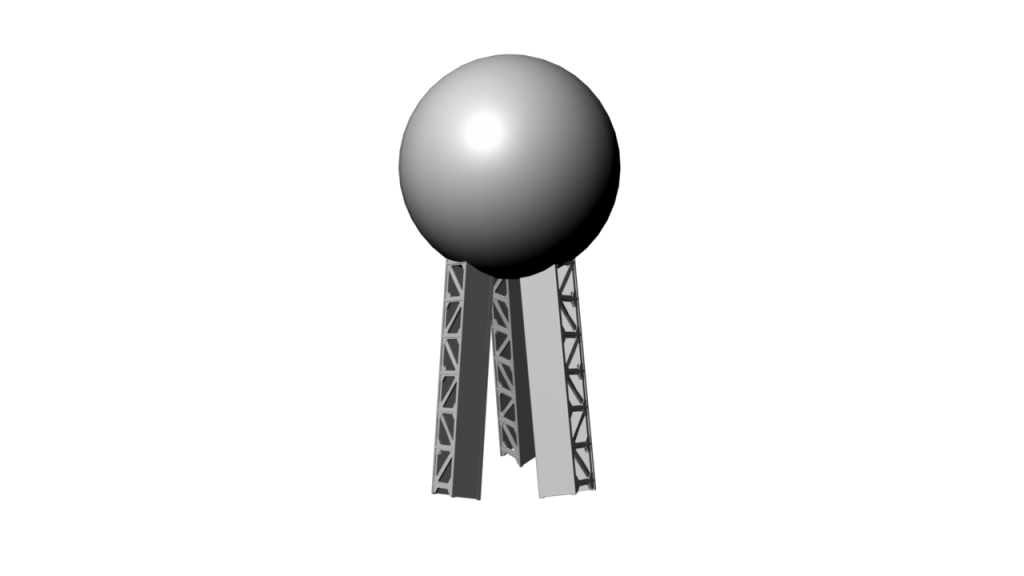
The first lot of girders didnt really work very well as two sides were not see through and so obstructed your view.
So I then modeled another one which is more 'transparent' and am going to experiment with this.
I also need to make the girder much much longer to really show the scale of the stand!!
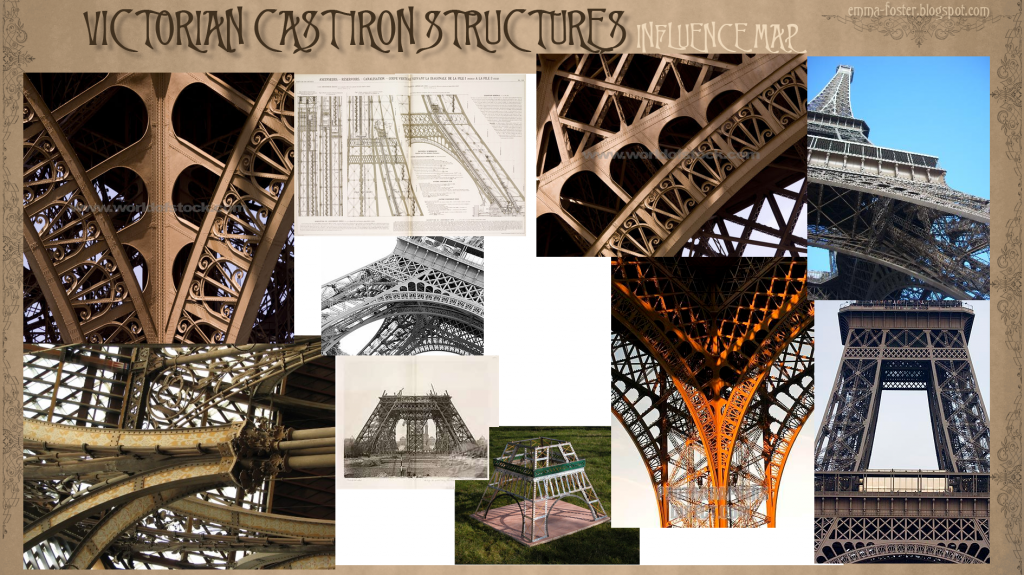
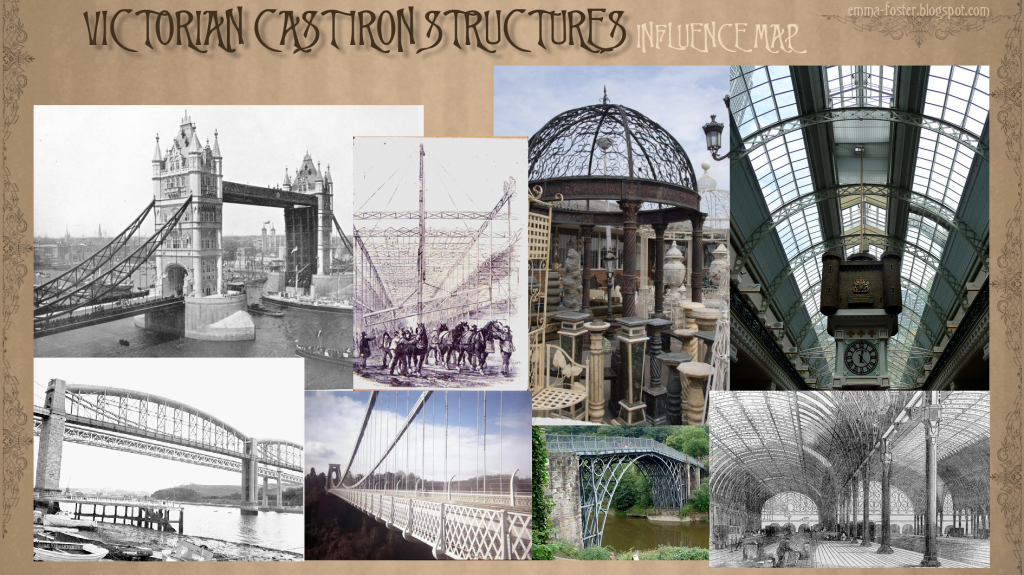
Influence Map: Victorian Cast Iron Structures
I have looked in more depth at the cast iron structures that the Victorians are so well known for. I especially looked at the Eiffel Tower because of the use of girders to make up the whole of the tower and the ability to still see though it which would be of use for my stand.
Sunday, 17 February 2013
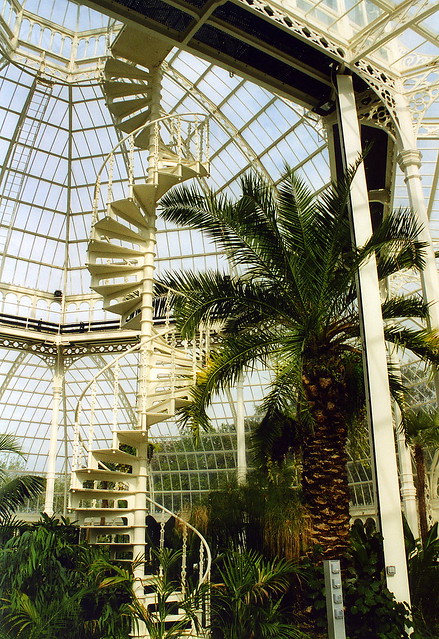
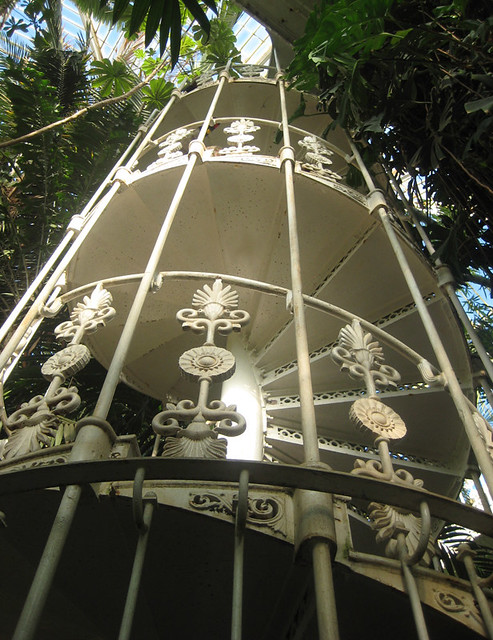
The Kew Gardens Palm House
To help me develop my stand better structurally as well as place it in the actual scene I looked more in depth at Victorian iron and glass structures but especially the Palm House at Kew Gardens because of its grand scale and beauty. The spiral staircases even have lots of structure detail and are helpful in figuring out a way to get the audience up the Phileas Fogg stand.

Subscribe to:
Posts (Atom)