cff

Friday 10 May 2013

Gallery Rendering Part 2: Render Layers

I've taken some screen shots  of the render passes in use in photoshop rather than uploading all the images as that would be rather a lot!! The I've uploaded the final composite.


Gallery Rendering Part 1: Facing Ratio Rim Lights


Thursday 9 May 2013

Adaptation: Maya Tutorial Links

Here is an archive of all of the maya tutorial posts I have put up together to help them be found easier. :)

Modelling 4: Games Modelling: Characters

Head Modelling:

Games Modelling: Head Part 1
Games Modelling: Head Part 2
Games Modelling: Head Part 3
Games Modelling: Head Part 4
Games Modelling: Head Part 5
Games Modelling: Head Part 6
Games Modelling: Head Part 7
Games Modelling: Head Part 8
Games Modelling: Head Part 9
Games Modelling: Head Part 10

Body Modelling:

Games Modelling: Body Part 1
Games Modelling: Body Part 2

Modelling 4: Games Modelling Part 2 - UV Layout

Games UV Layout Part 1: Upper Body (Shirt)
Games UV Layout Part 2: Lower Body (Trousers)
Games UV Layout Part 3: Lower Body (Shoes)
Games UV Layout Part 4: Upper Body (Hands)
Games UV Layout Part 5: Upper Body (Head)
Games UV Layout Part 6: Texture Space (UV Map)

Modelling 4: Games Modelling - Normal Maps

Normal Maps 1: From Geometry
Normal Maps 2: Using Photoshop & Nvidia
Normal Maps 3: Using Photoshop & Nvidia (Corridor)

Dynamics 1: Particles, Emitters & Forces

Sketching Particles: Clouds
Directional Emitter: Explosion
Omni Emitter: Fuse
Volume Emitter: Smoke
Curve Emitter: Fireworks 1
Curve Emitter: Shockwave
Curve Emitter: Water Foam
Curve Flow: Motion Path Dynamics
Emit from particles (Fireworks2)
Emit from surface 1 (Barrel)
Emit from surface 2 (Can Dissolve)
Active Passive Rigid Bodies (Bowling Alley)
Particle Collision (Rain)
Particle Collision (Metal Objects Sparks)
Volume Emitter: Space Travel (Bonus Tutorial)

Dynamics 2: Goals, Instances, & Sprites

Instancing Part 1: Direction Control (Robots)
Instancing Part 2: Scale Control (Bubbles)
Instancing Part 3: Rotation Control (Meteors)
Instancing Part 4: Object Index Control 1 (Shapes)
Instancing Part 5: Object Index Control 2 (Crowds)
Instancing Part 6: Aim Direction (Arrows)
Instancing Part 7: Aim Direction (Rockets)
Instancing Part 8: Rotation Types (Pointers)
Instancing Part 9: Instances & Paint Effects (Trees)
Instancing Part 10: Animation Cycles (Fish)
Instancing Part 11: Animation Cycles (Robots)
Instancing Part 12: Animation Cycles (Spiders)
Goals Part 1: Mud Drop
Goals Part 2: Controlled Mud Drop
Sprites: Pixie Dust

Dynamics 3: Intro to Dynamic Bodies

Active/ Passive Bodies: Stand In Object (Chain Links)
Active/ Passive Bodies: Hinge & Spring Constraints (Catapult)
Active/ Passive Bodies: Nail Constraint (Newton's Cradle)
Active/ Passive Bodies: Pin Constraint (Earing)
Soft Bodies Part 1: Flesh
Soft Bodies Part 2: Cloth/ Marble
Soft Bodies Part 3: Snow
Soft Bodies Part 4: Water
Soft Bodies Part 5: Bubbles
NCloth Part 1: Flags (NCloth, Collider , & Nucleus)
NCloth Part 2: Netting (Indirect Deformation)
NCloth Part 3: Bouncy Castle (Cache Blending)
NCloth Part 4: Rope Bridge (Transform Constraints)
NCloth Part 5: Custom Presets & Component to Component Constraint (Balloons)
NCloth Part 6: Tearable Surface Constraint (Marbles)
NCloth Part 7: Weld Adjacent Borders Constraint (Candy Bag)

Lighting & Rendering 2: Intro to Mental Ray

Mental Ray: Transitioning for Maya Software to Mental Ray
Mental Ray: Optimisation
Mental Ray: Motion Blur Methods
Mental Ray: Depth of Field Methods - Part 1
Mental Ray: Depth of Field Methods - Part 2
Mental Ray: Displacement
Mental Ray: Final Gather
Mental Ray: Global Illumination
Mental Ray: Caustics
Mental Ray: Mia_material_x
Mental Ray: Physical Sun & Sky
Mental Ray: Portal Lights
Mental Ray: HDR (High Dynamic Range) Images Part 1
Mental Ray: HDR Images Part 2 (HDR Gallery Rendering)

Lighting & Rendering 3: Intro to Mental Ray Cont..

Fake SSS & Self Illuminated Shaders
Gallery Rendering Part 1: Facing Ratio Rim Lights
Gallery Rendering Part 2: Render Layers

Fake SSS & Self Illuminated Shaders


NCloth Part 7: Weld Adjacent Borders Constraint (Candy Bag)


NCloth Part 6: Tearable Surface Constraint (Marbles)


Monday 6 May 2013

Wood and Plant Texture Edits

As Alan suggested I have gone back to my stills I have already created and brought some colour back into the railway wood and tree trunks. The railway is not as black now but still allows the ironwork structure to pop and I think the tree trunks are looking a bit better also however, I unfortunately do not have a lot of control over the texture for them. I've just had to play around with the ramp for that but the twigs connecting to the leaves just will not go any lighter unless the tree trunks become too similar in colour to the ironwork :(
So if I ever decide again to drop some palm trees into my Maya scenes I'll be sure to make sure I save time to make my own textures!

Original (Too dark)
 
Edited


Adaptation CD Artwork

I had a lot of fun making this CD artwork and brought in some of my concept art to really make it fit my world.

CD Design
 
CD Case


Sunday 5 May 2013

Sepia Tests

For my digital set video my stills are going to start off as sepia like old Victorian photographs and then the colour will be pulled back into them so I've been playing with my first rendered still at getting the right sort of sepia effect as it sometimes can be quite difficult to get right. Here are my tests and final result.


In this one I even managed to figure out how to add a vignette! :)


Sneak Peak at my First Rendered Still!

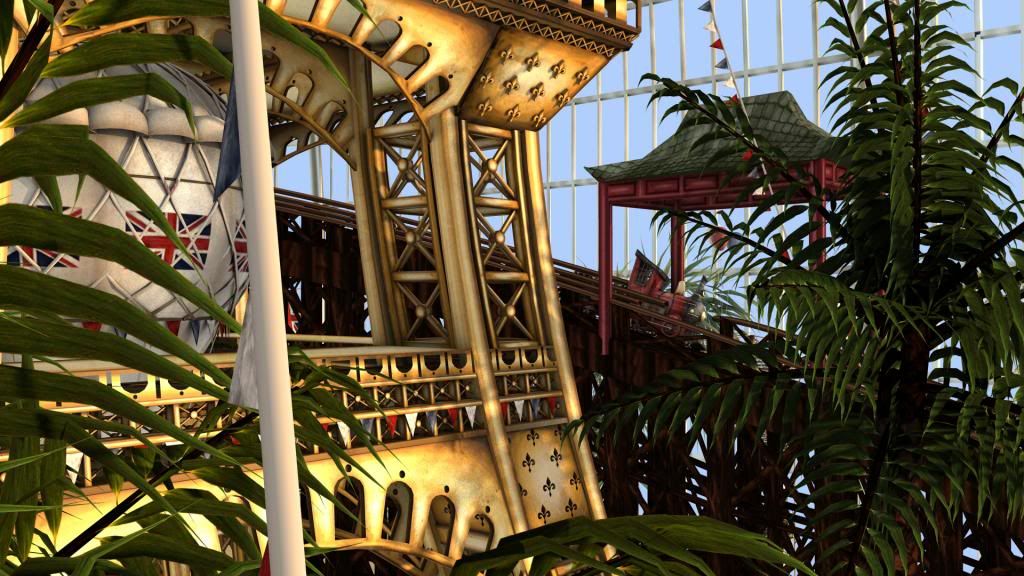
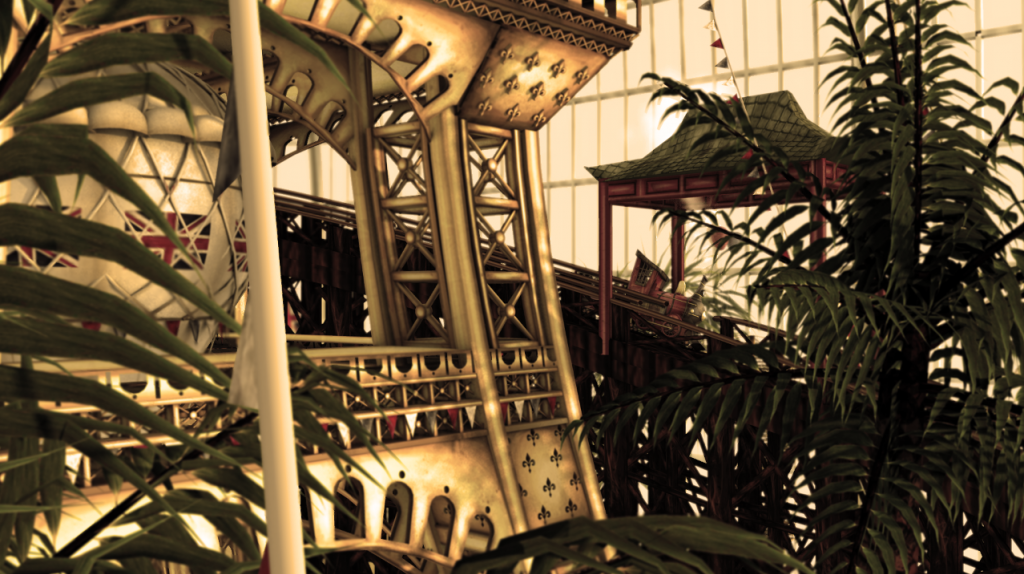
I've rendered out and composited together all the render layers for my first still. I spent a fair amount of time on it to get it right and give me an idea of how to go about the others. Placement of the camera took the longest as after deciding I wanted a still of the steam train going past the tea house switchback railway tower I then had to get it to fit with some nice mix of foreground, mid-ground and background elements. This would help add depth and when I pan in/out in after effects will really help add interest. It was also something I remembered was key from the interim crit.
Depth of field then popped my train into focus like I wanted and then some particle steam which I ended up doubling up on layers for when compositing because it wasn't popping out like the train.
 
Let me know what you all think!
 
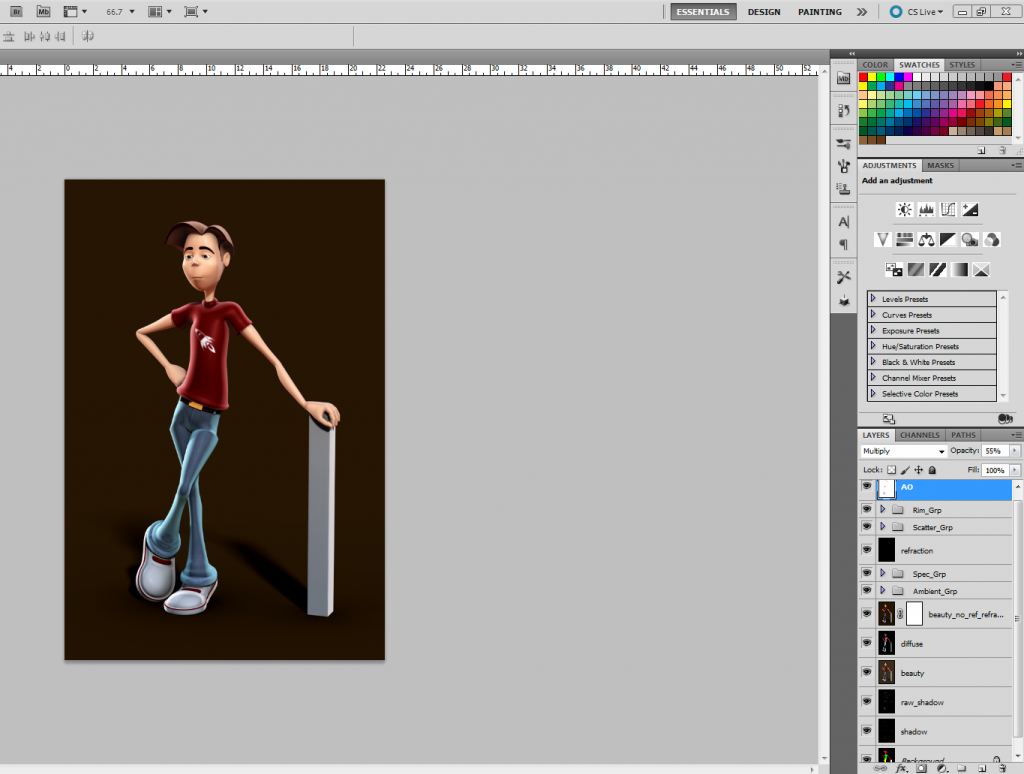
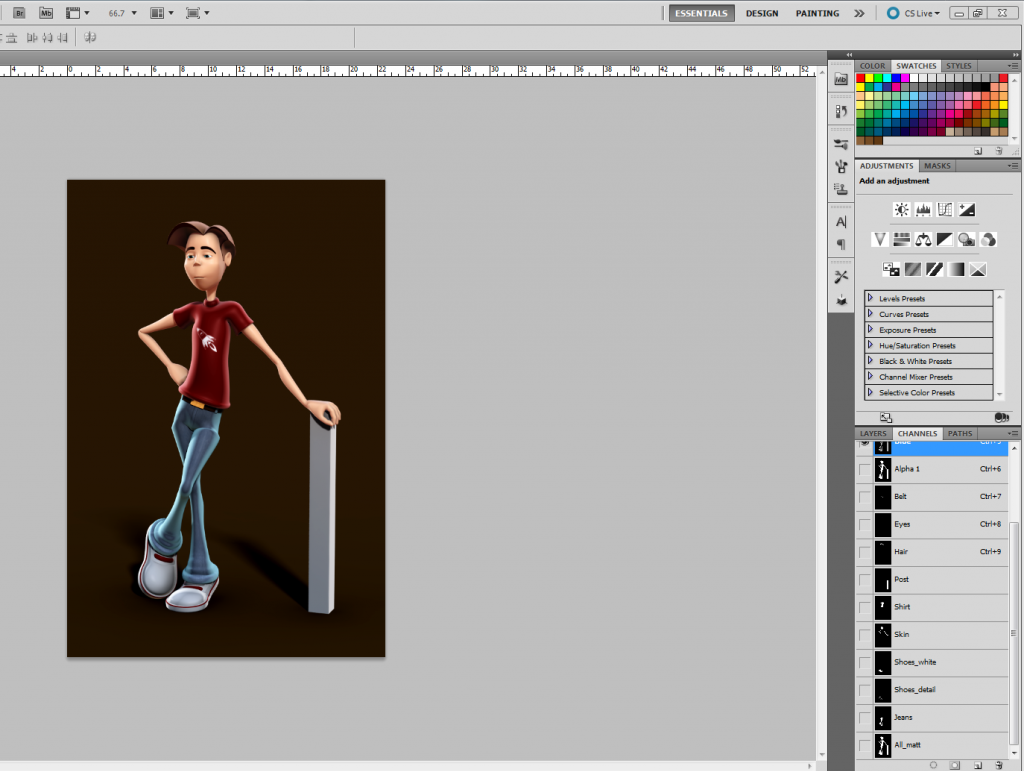
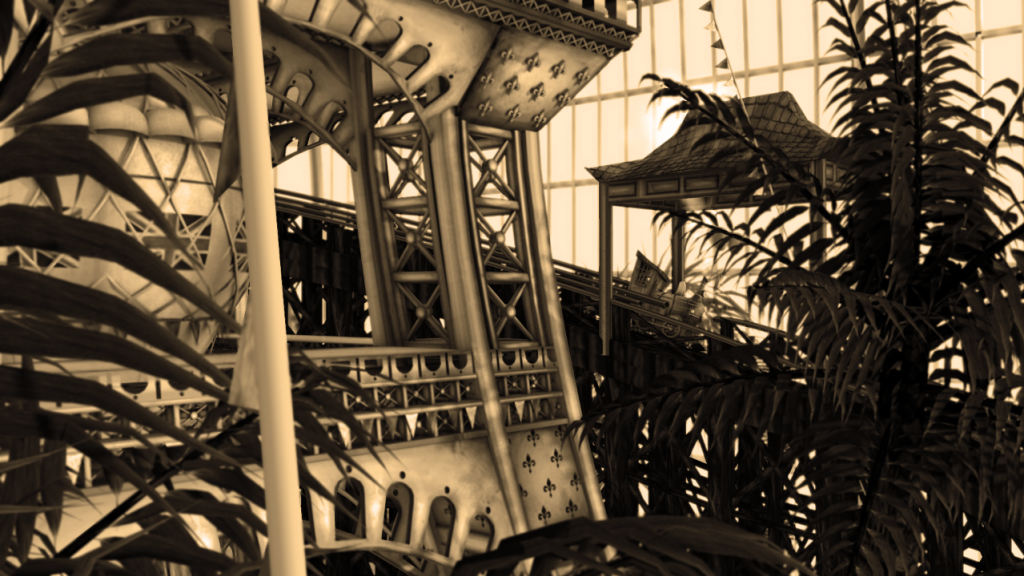
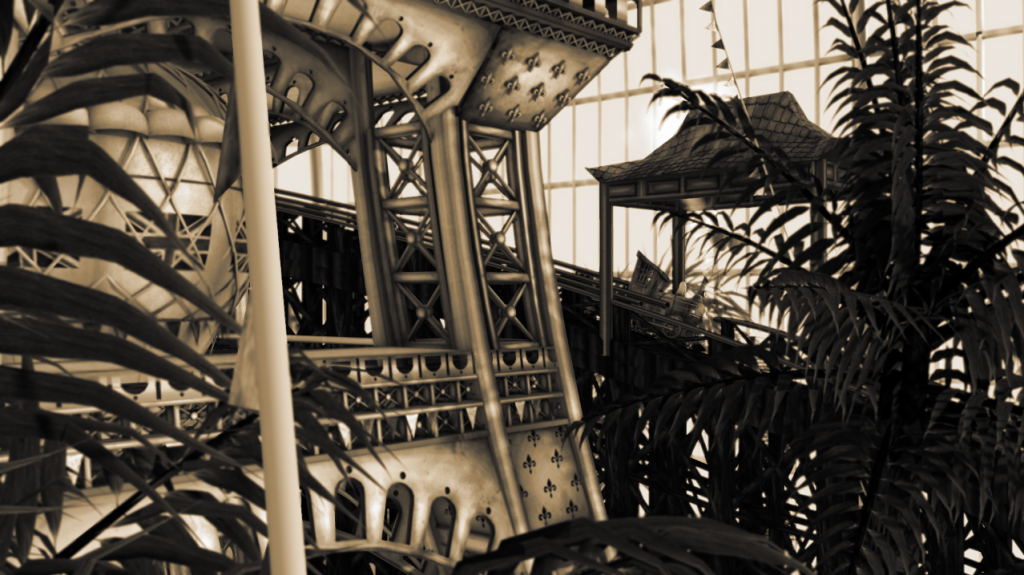
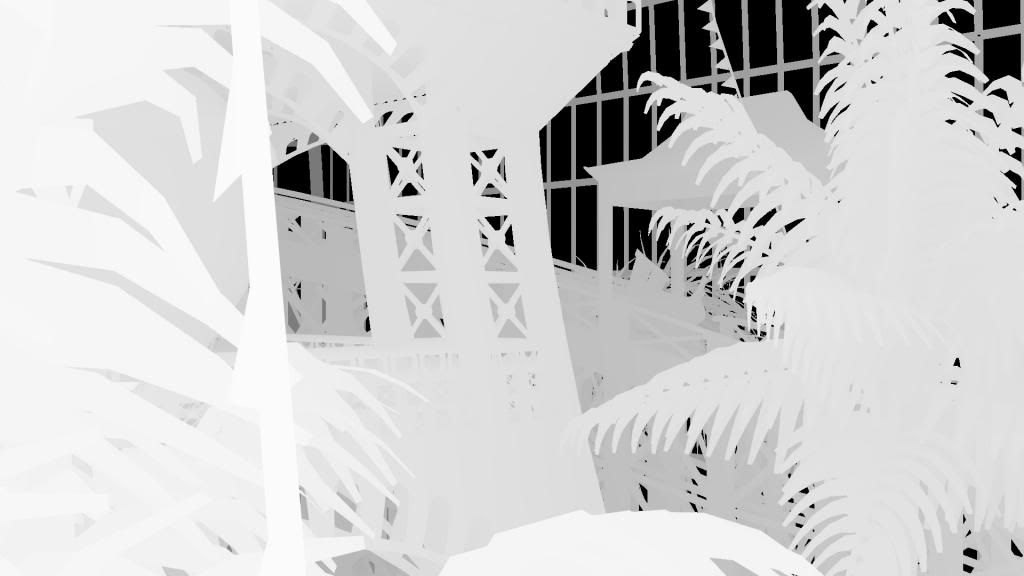
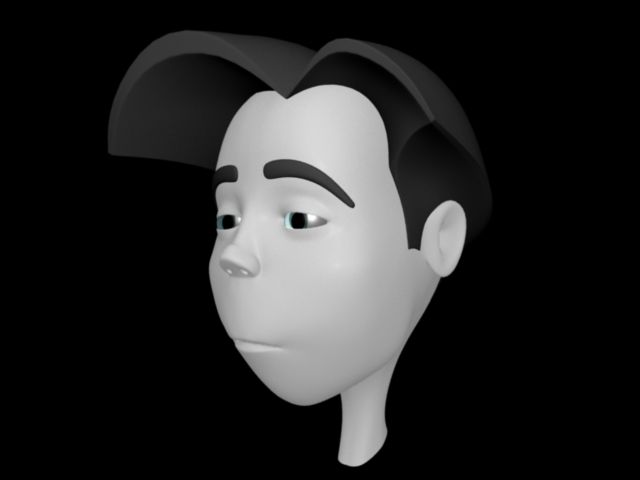
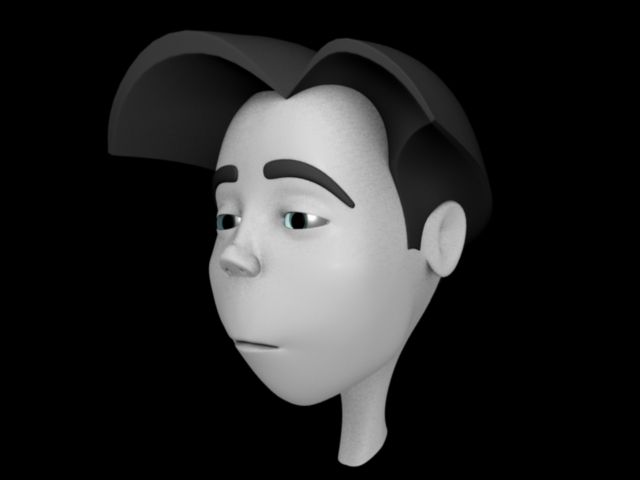
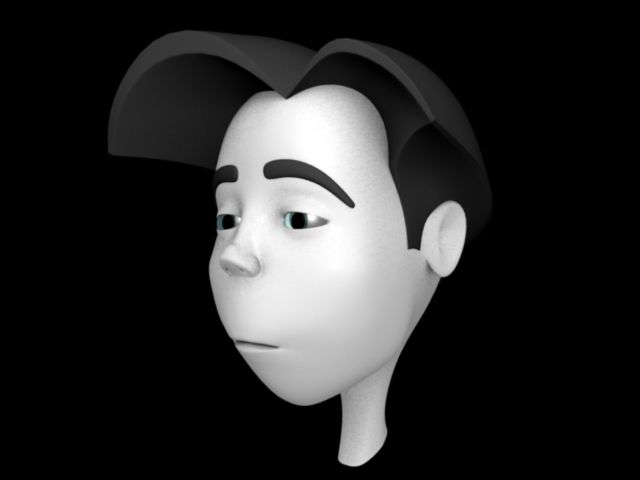
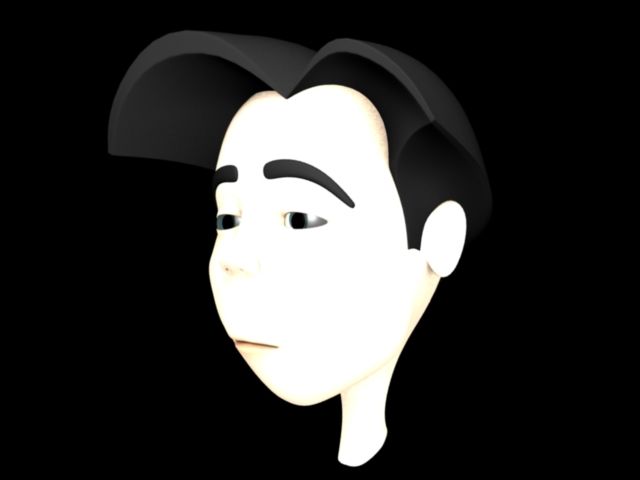
Render layers used...
 
Beauty Pass
 
Light Wrap Pass
 
Camera Depth Pass
 
 
Particles Pass