cff

Sunday 28 April 2013

Window Frame Impact on Lighting

As part of today's list of work I textured the window frame which has made a really nice difference in how the lighting is perceived. Also a happy accident with the balloon where I have no idea what I did to get it like that happened so now the balloon has popped out of shadow!


Saturday 27 April 2013

Texturing Update- Fogg's Balloon Textured :)

One of the key props of my digital set, Phileas Fogg's balloon which he supposedly used on his adventures... but actually didn't is finally textured!


UV Map
 
Texture Map
 
I also did another light test to see how the balloon's appearance was reacting towards the lighting. Right now you can only see the detail of the bunting and a faint suggestion of the union flags but not the correct colouring of the balloon so this is what I'll next have to work on when it comes to lighting.


Friday 26 April 2013

Lots of Lighting Tests!

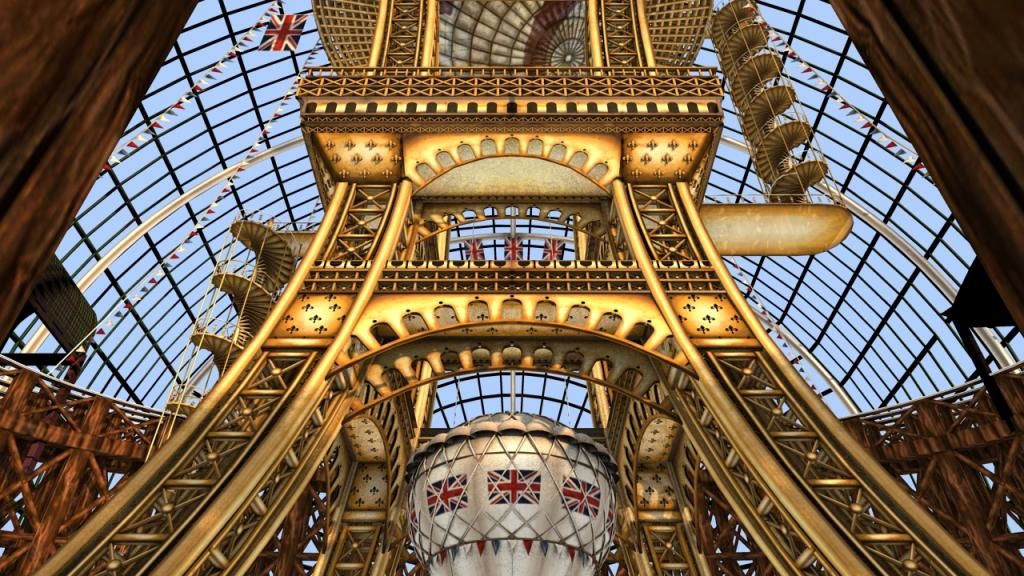
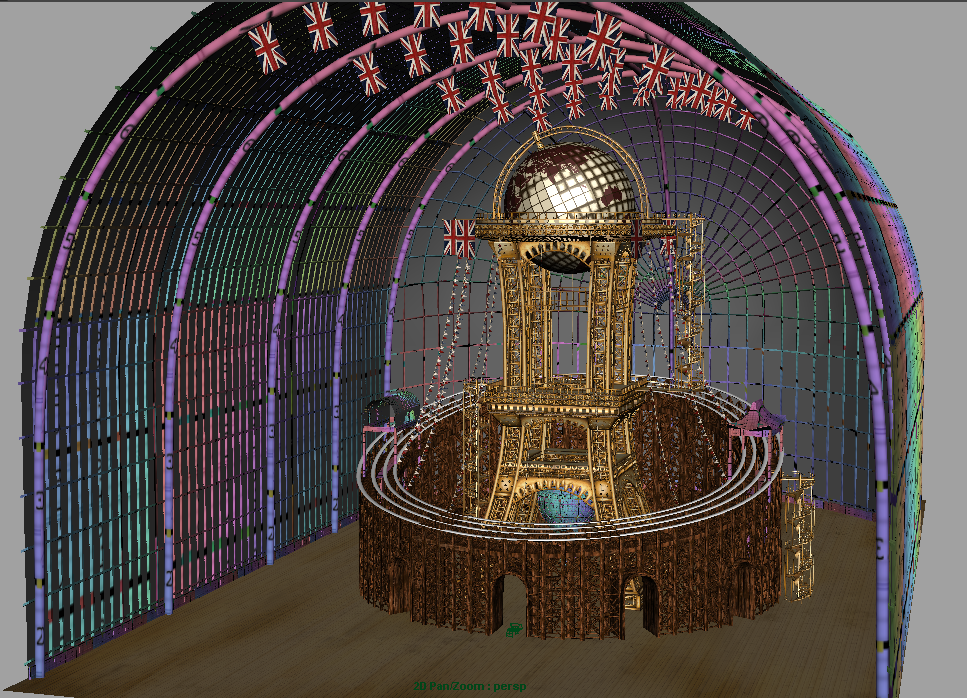
I've been trying to get my lighting for my digital set sorted while I have a break from texturing and after some advice from Alan about the sort of set up I should be looking for to create a majestical lighting I have done lots of tests.

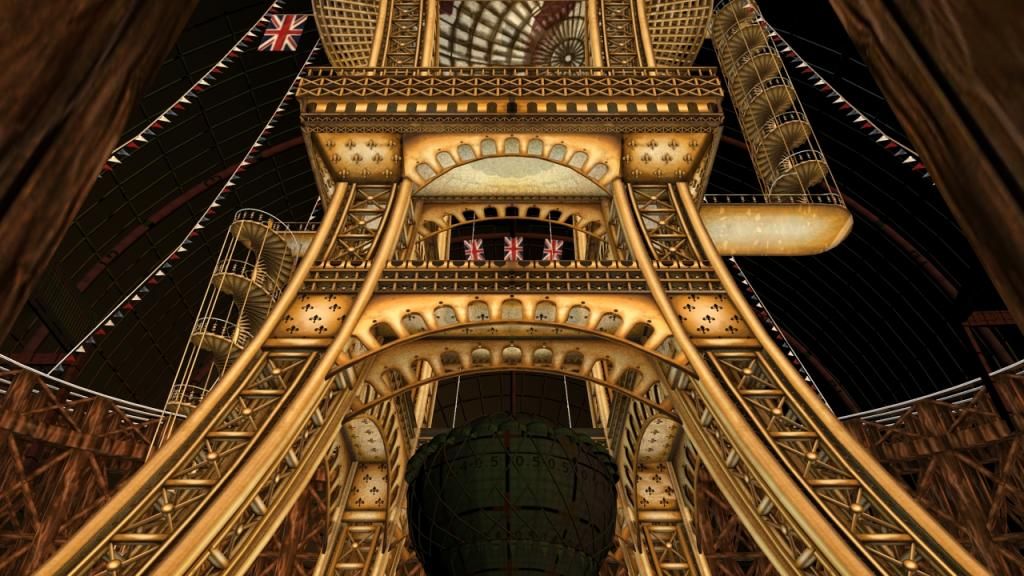
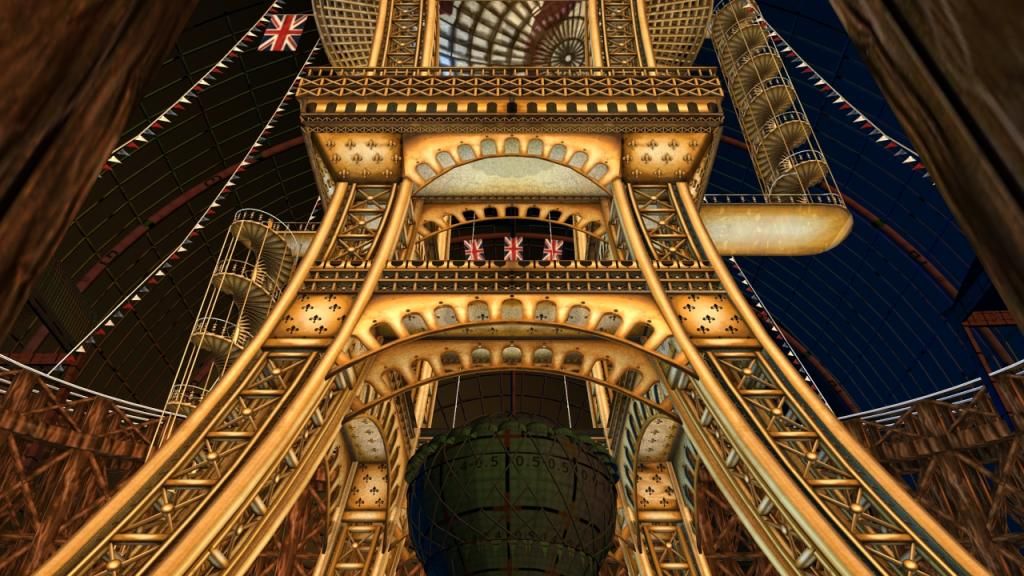
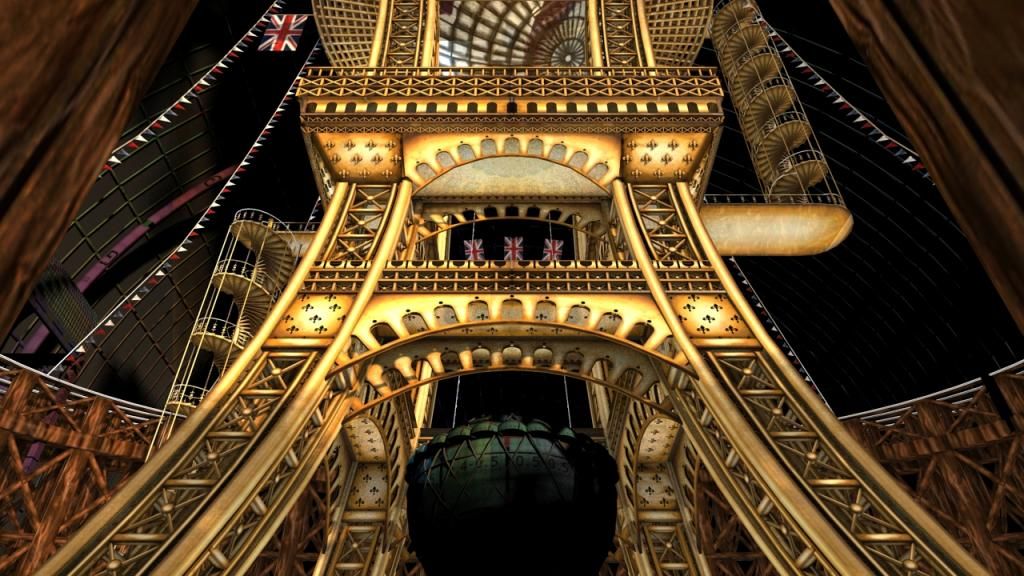
Original with 1 spotlight
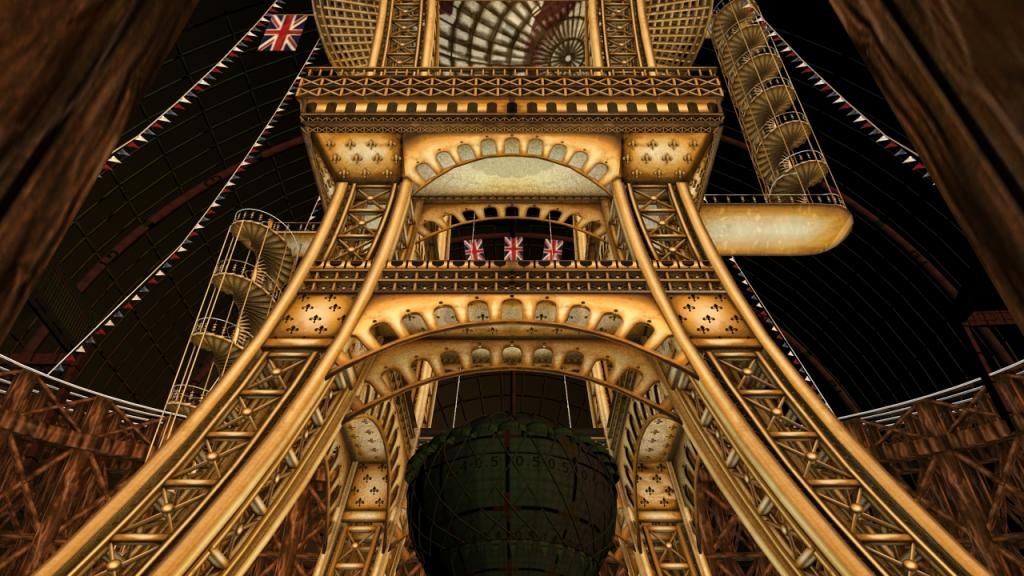
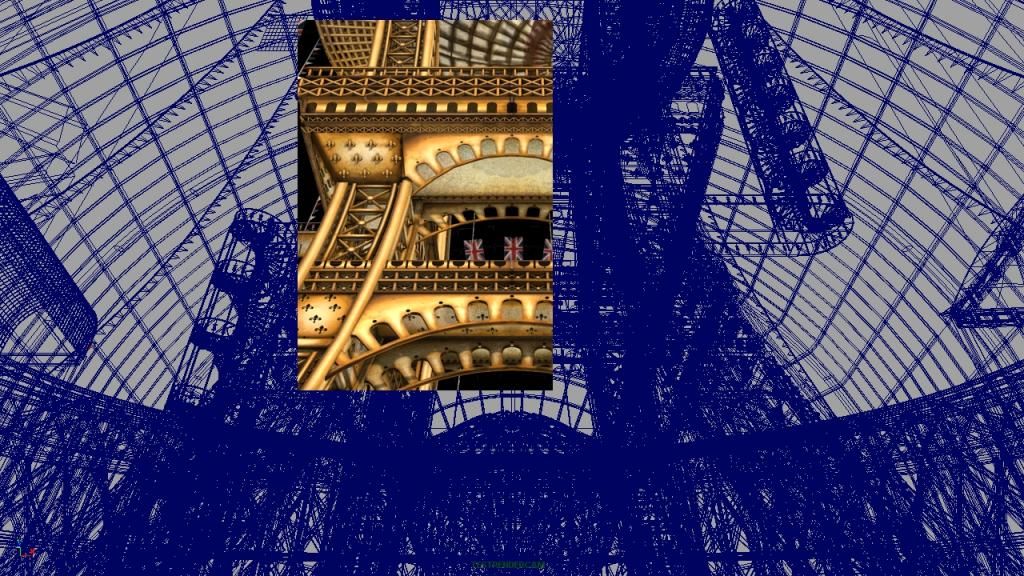
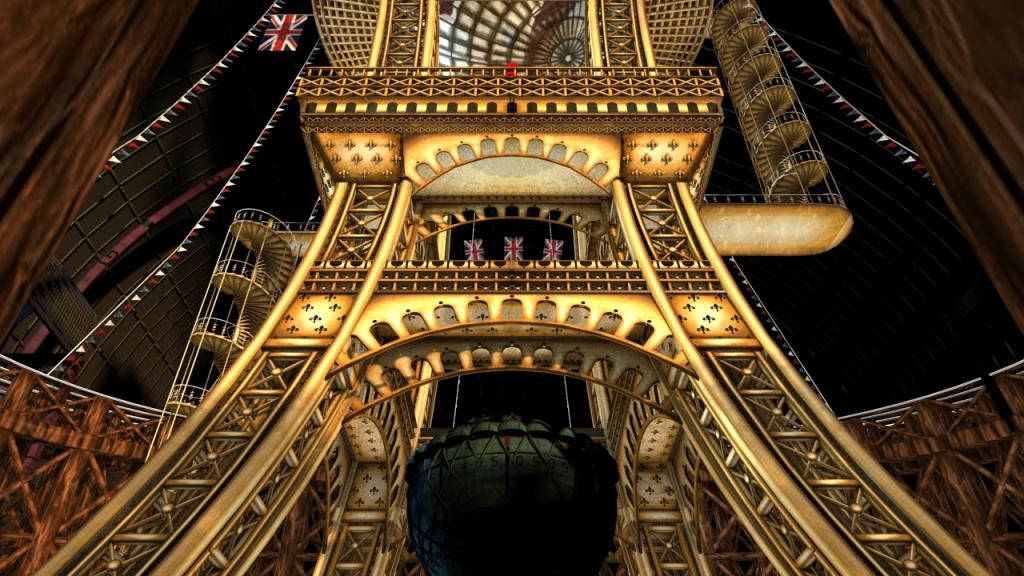
Orange directional light with spotlight
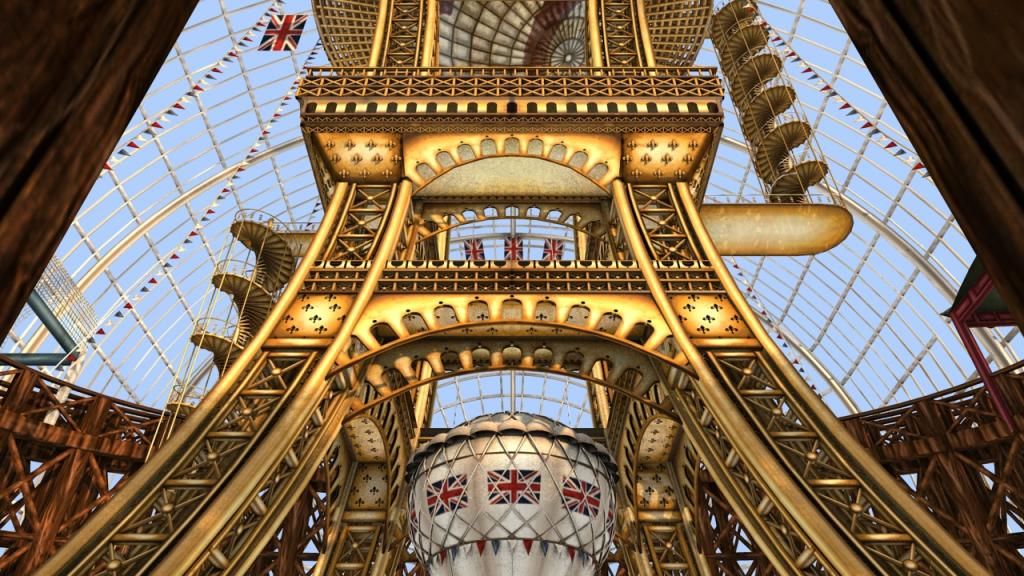
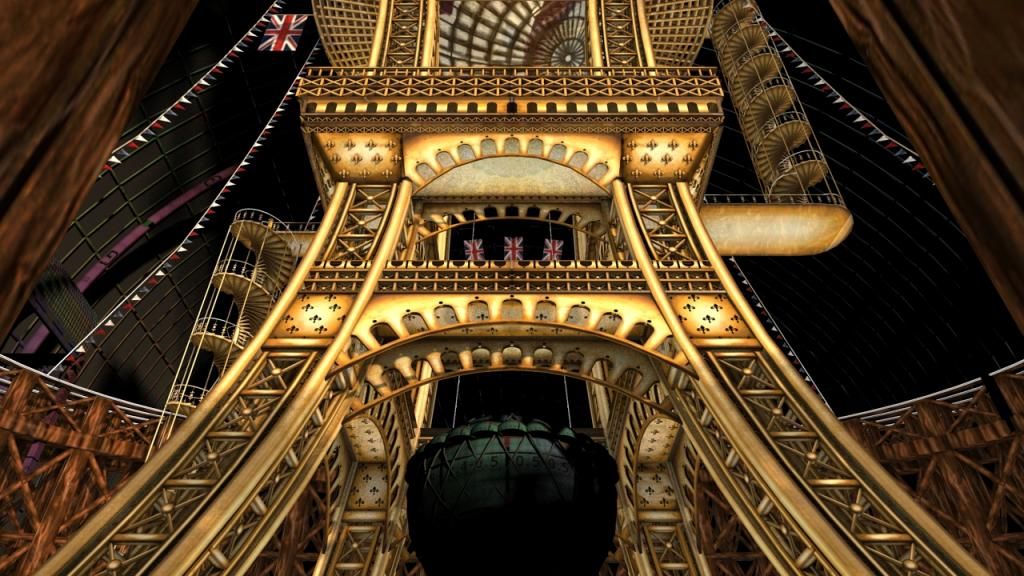
Orange directional light (spotlight removed)
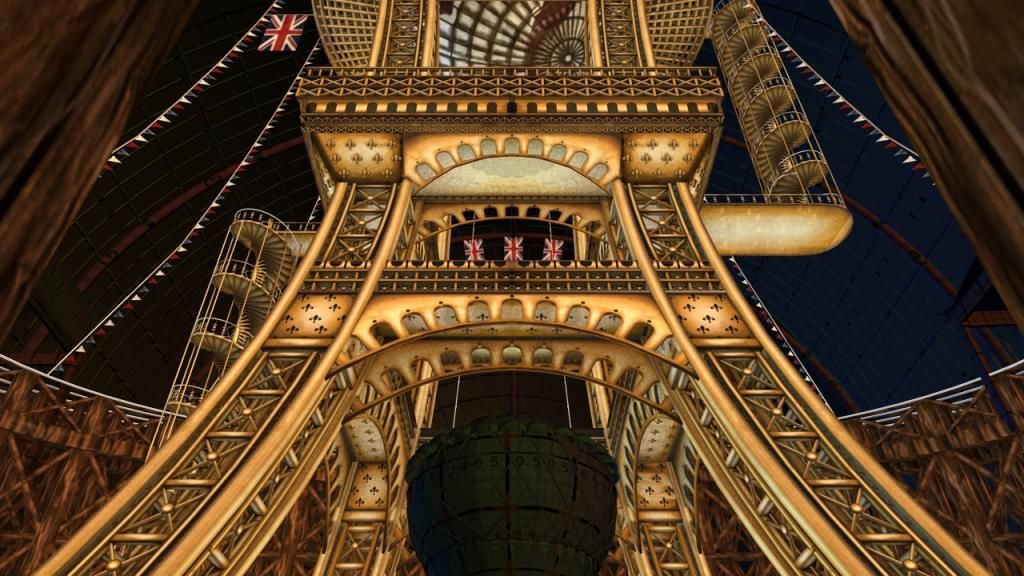
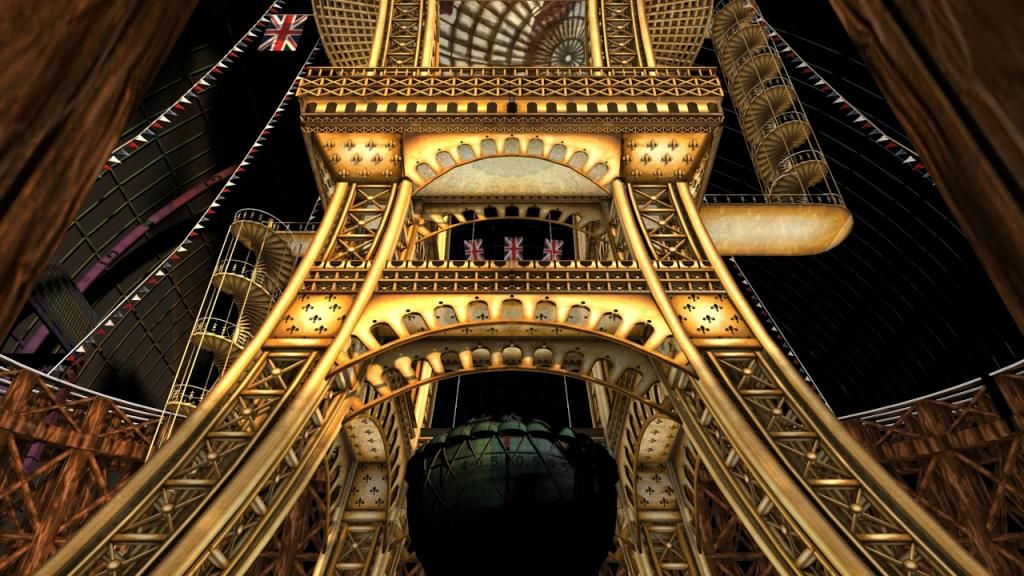
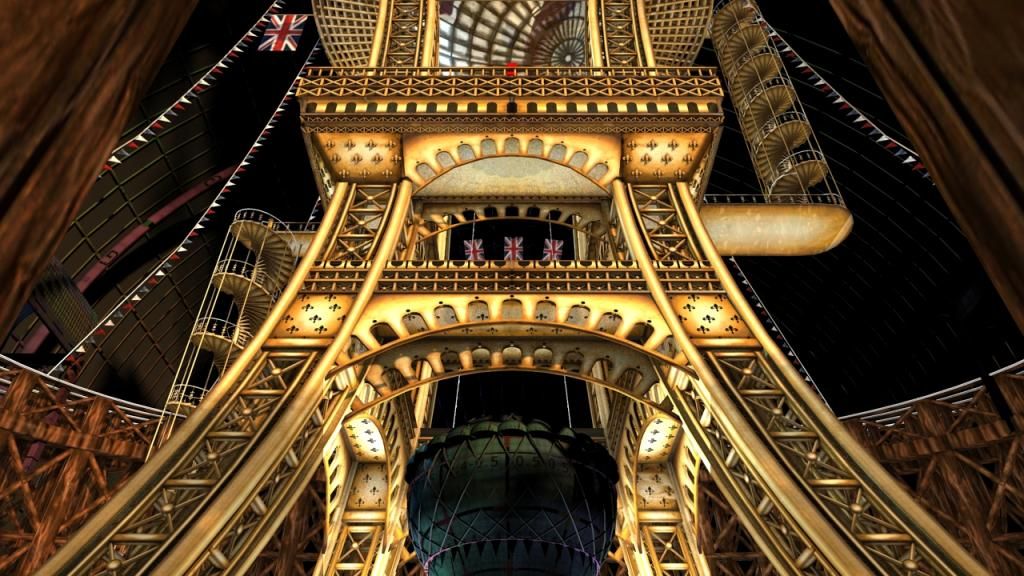
Blue directional light added
Blue directional light moved
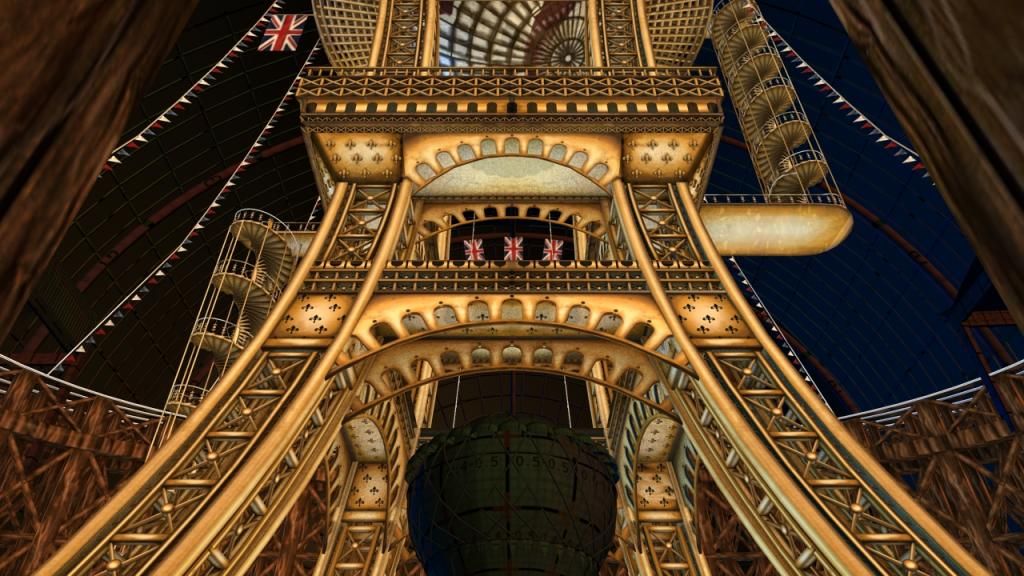
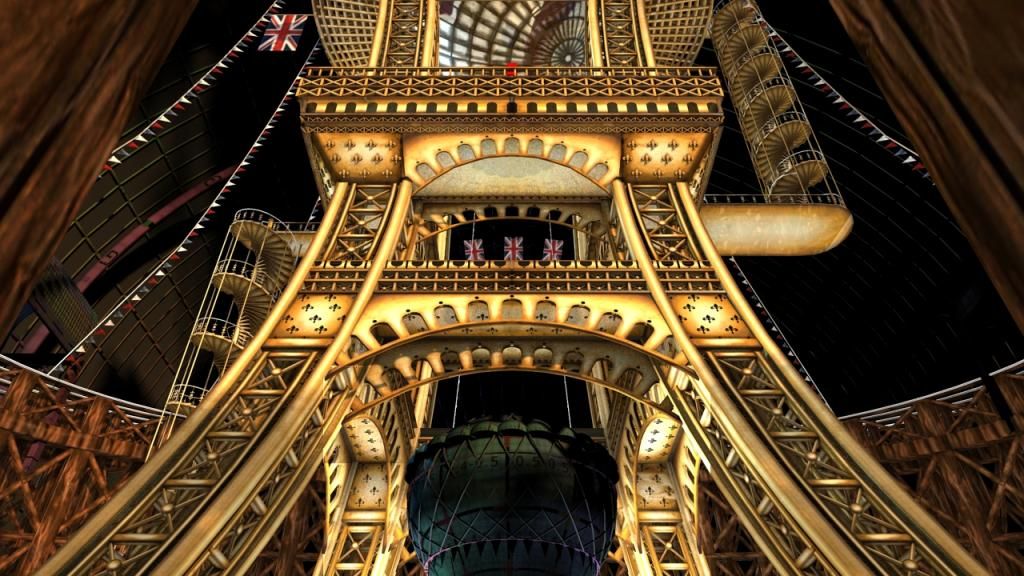
Changed shade of blue light
Intensity of orange light increased

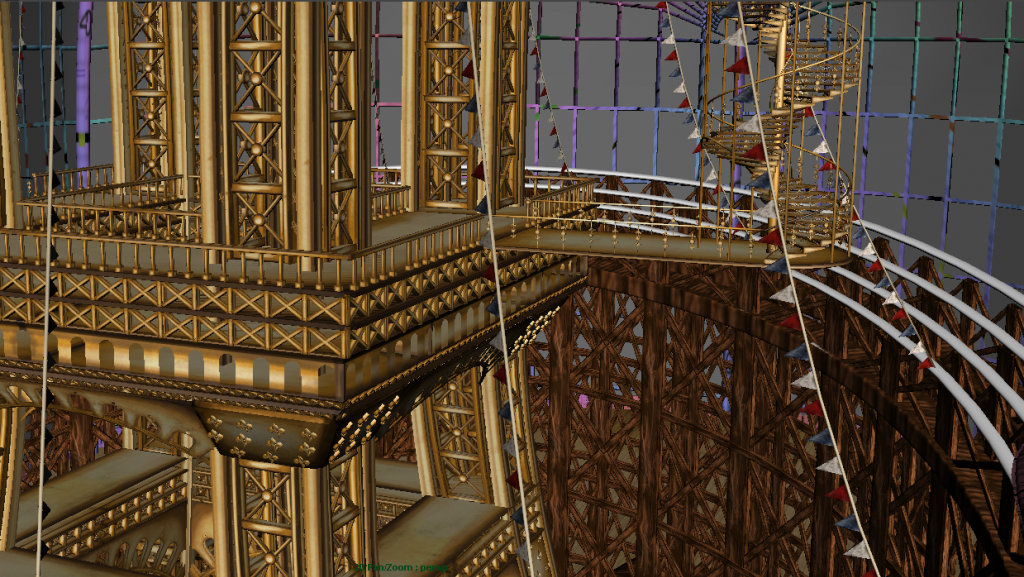
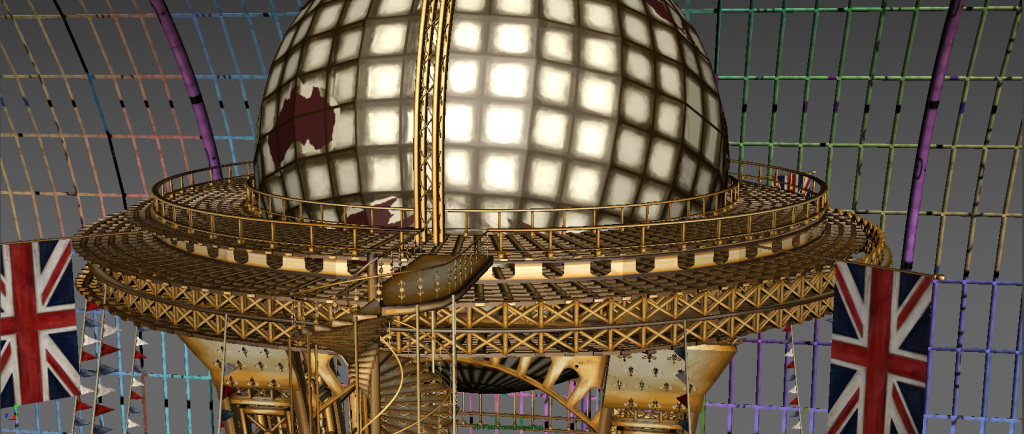
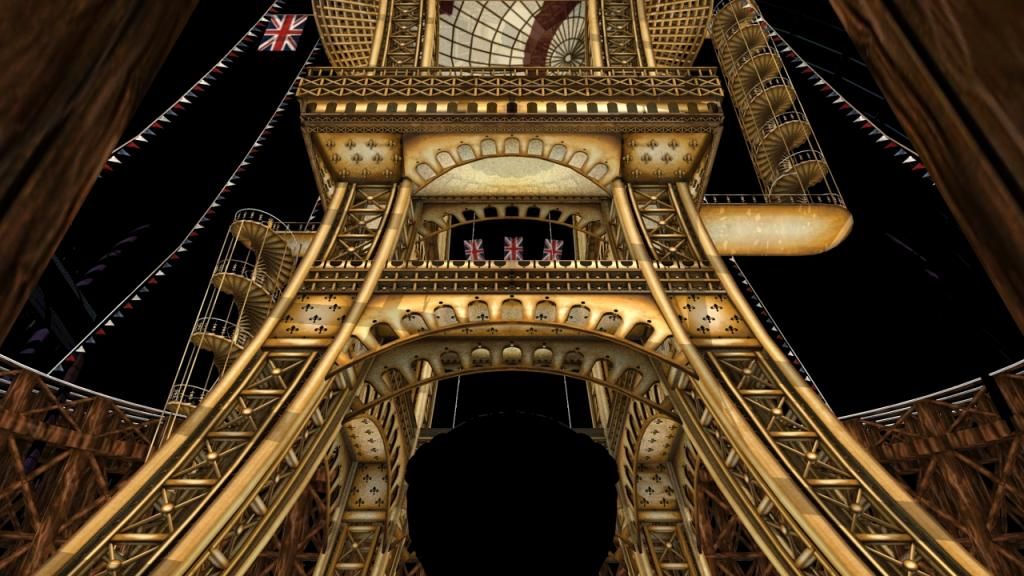
After these tests the rest of them involved adding a couple more blue lights and disconnecting them from certain objects such as my background window or the rest of the scene for duplicated sets of lights. It was just a case of playing around with light settings afterwards to see what it could look like.


Thursday 25 April 2013

Texturing Process & Test Render

I'm still being a texturing busy bee but my globe texturing is coming to an end and then that leaves me with my windows, my balloon and towers left to do. Then to set dress with some plants and a few more props to stop it looking so empty.


Something that has been worrying me was how long it would take for my renders to complete because I have such a detailed scene so with help from Alan we sat down and started looking at how we could minimise the times. Some of this involved changing materials such as mia-x to blinns. Afterwards I did a text render of a key shot I want in my animation to see how long it took remembering that the settings are pretty minimal right now.


Monday 22 April 2013

Stand Finally Textured!

I know it's been quiet on here but fear not I've been painting away on the graphics tablet. The main stand element of my digital set is finally finished texturing. It has eaten up a fair amount of my time but it is the biggest part and I feel it needed the most attention what with all of its little details. Hopefully with the extremely helpful tips from Jordan the rest of the set will follow along nicely and I'll be lighting by late this week. Currently working on making those Union Flags pop on screen and not look too flat, oh and make sure they are hanging right way round!!


UV Maps


Texture Maps


(This one is WIP)


Friday 12 April 2013

Modelling coming to a Close!

It's been a very long process but a process I can now look back on and be very proud of myself with! The modelling stage of my adaptation is coming to an end... you may be wondering where certain things are such as my steam train, snack carts and the plants are but fear not they have not been forgotten. While I move onto texturing these will gradually pop into the scene as right now I think it is best to get what I've got textured. This will allow me to combine the majority of my geometry and let Maya speed up a lot as I can just sense adding palm trees and all the little props right now is going to make Maya crash a lot more than it normally does. So for now here is my digital set modelled and UV mapped.
Get ready for an onslaught of texture map posts! :)


Tuesday 9 April 2013

Adding Globe Detailing

After a few days break away from the screen to focus on essay work and to stop my hand falling off I've gone back to work on the part that a few people have suggested needs adding to. The flooring is now more mesh-like which stops the big block of solid geometry detracting from the whole stand and the globe's cradle is more in fitting with the girders of the stand. Finally, the globe itself has been broken up into more faces and made to look like these 'faces' have been welded together. This will also be shown better through the texturing.


Friday 5 April 2013

Modelling Update

Just thought I'd pop up some screenshots of some of the modelling I've been doing and to show I've not been hiding :) It's taking quite a while to get the modelling done but I have been UV mapping as I go along and hopefully the more tricky parts are starting to lessen.


I had a little play with deforming my switchback railway shape as I wasn't sure a solid circle was best for it but after I did this it looked too flat so I went back to the original. Which is in keeping with other circular elements of the stand.


Add the archways into the railway was very tricky and took up a lot of my time but it was very worth it in the end.
 
 
Another very tricky element but it's all finished up and even connected to the rest of the stand!
 
 
I've started modelling the towers of the railway where you can switch between the sides. One of them will show the beginning of the journey (Charing Cross station) while the other is of more oriental theme in the shape of a tea house.