cff

Sunday 29 June 2014

NEW DESIGNERS APPROACHES.


It has been a very busy month and a half in preparation for the New Designers exhibition later this week. There has been lots of tweaking, re-rendering and designing going on and now that I am pretty much ready for the event I can show what I have been up to!

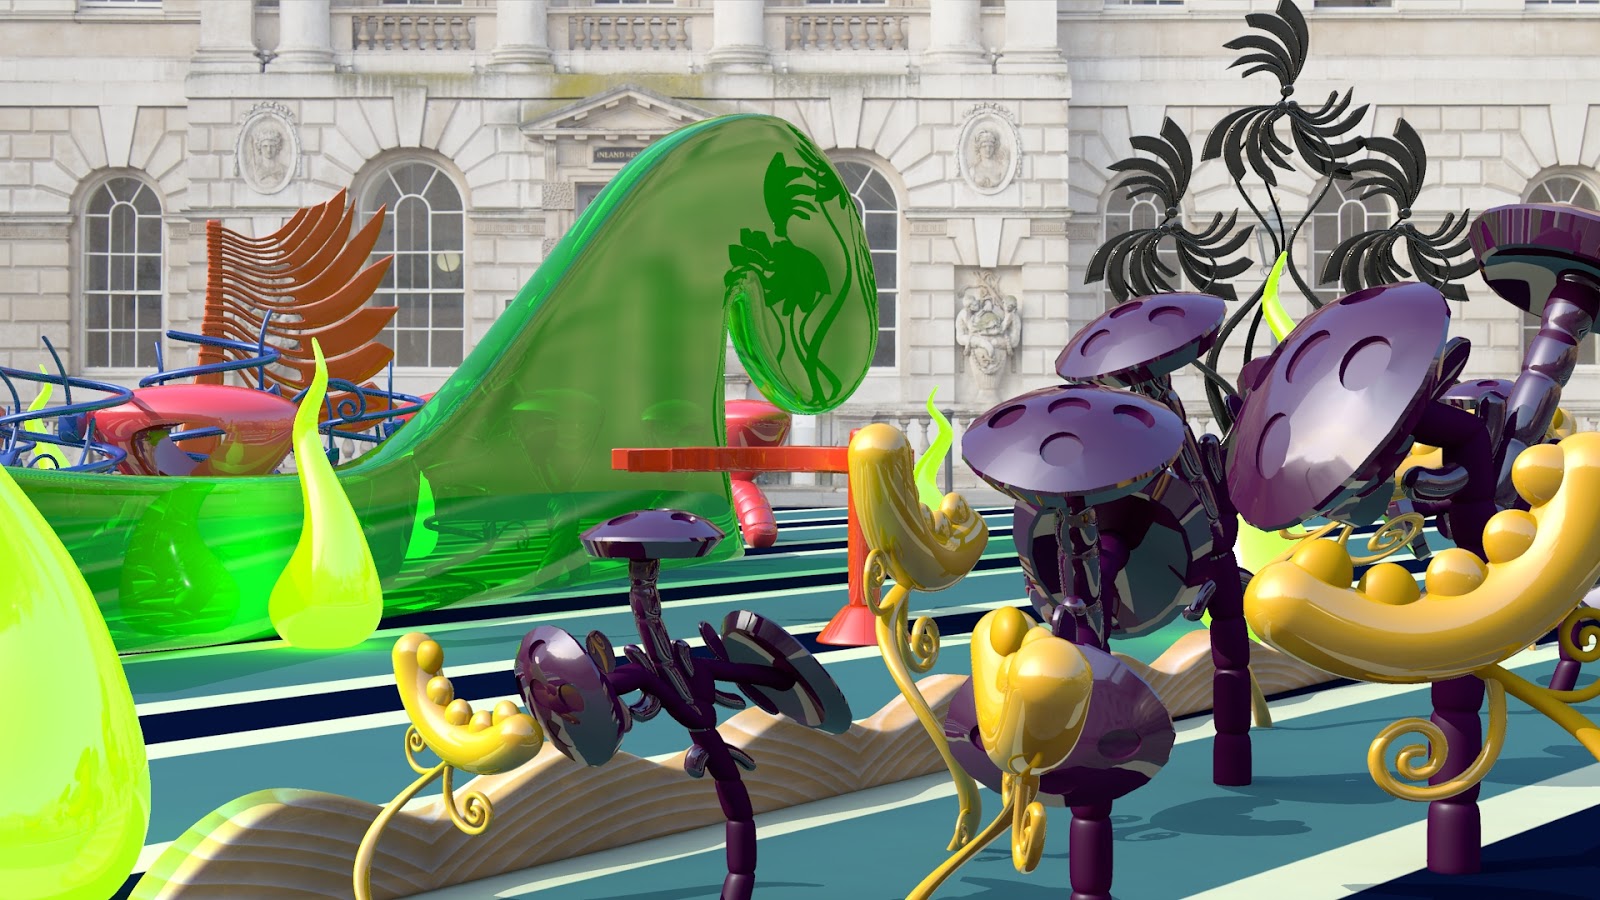
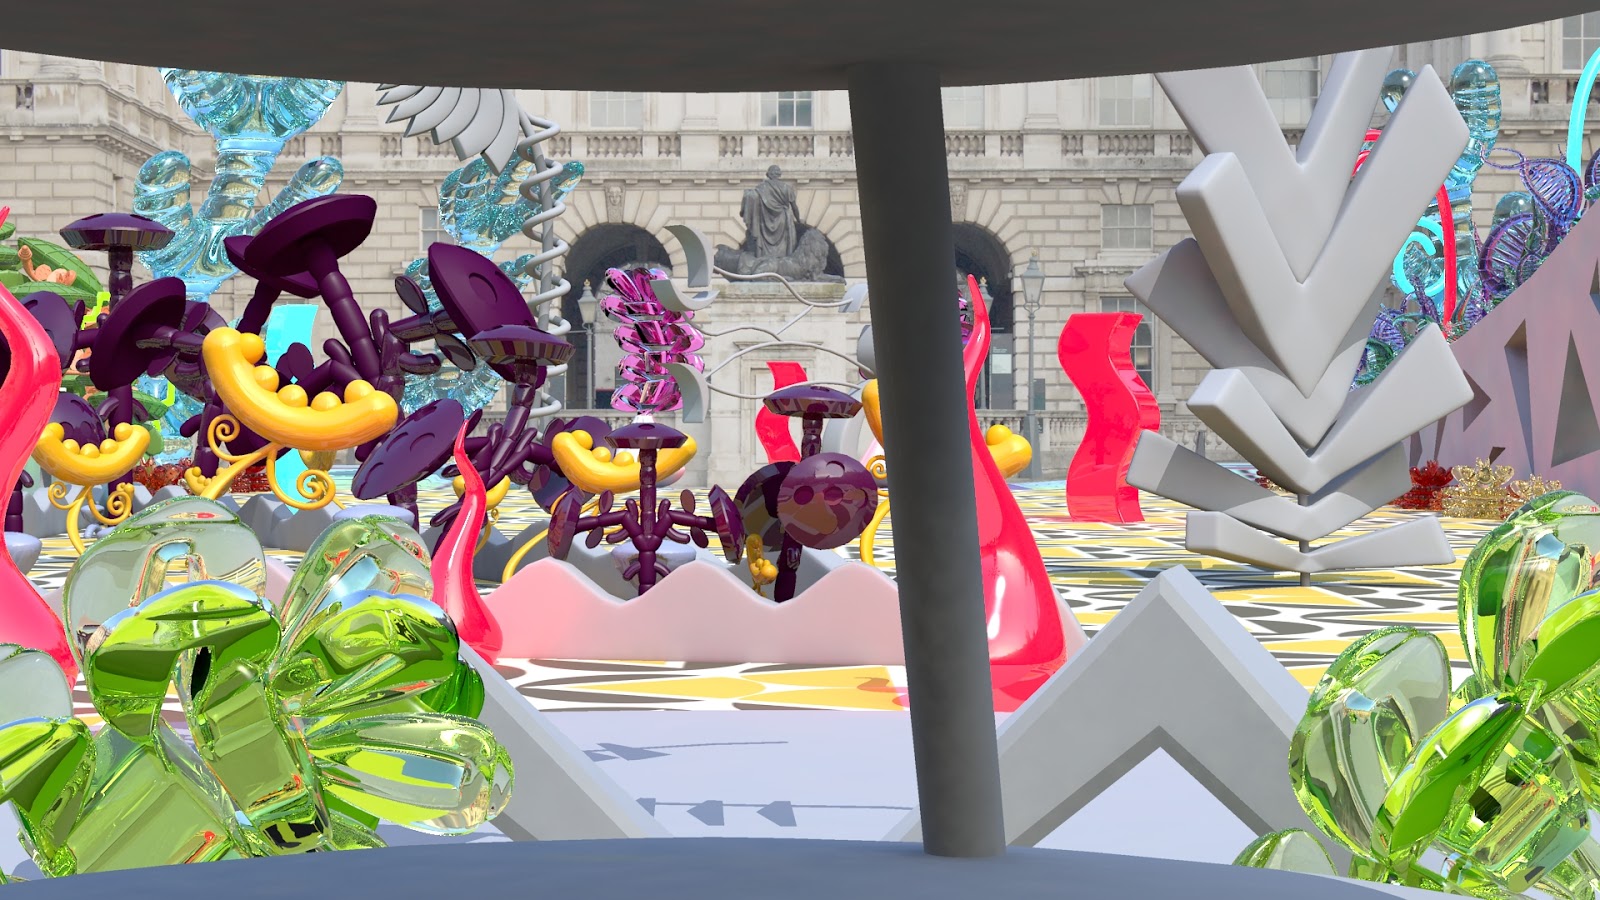
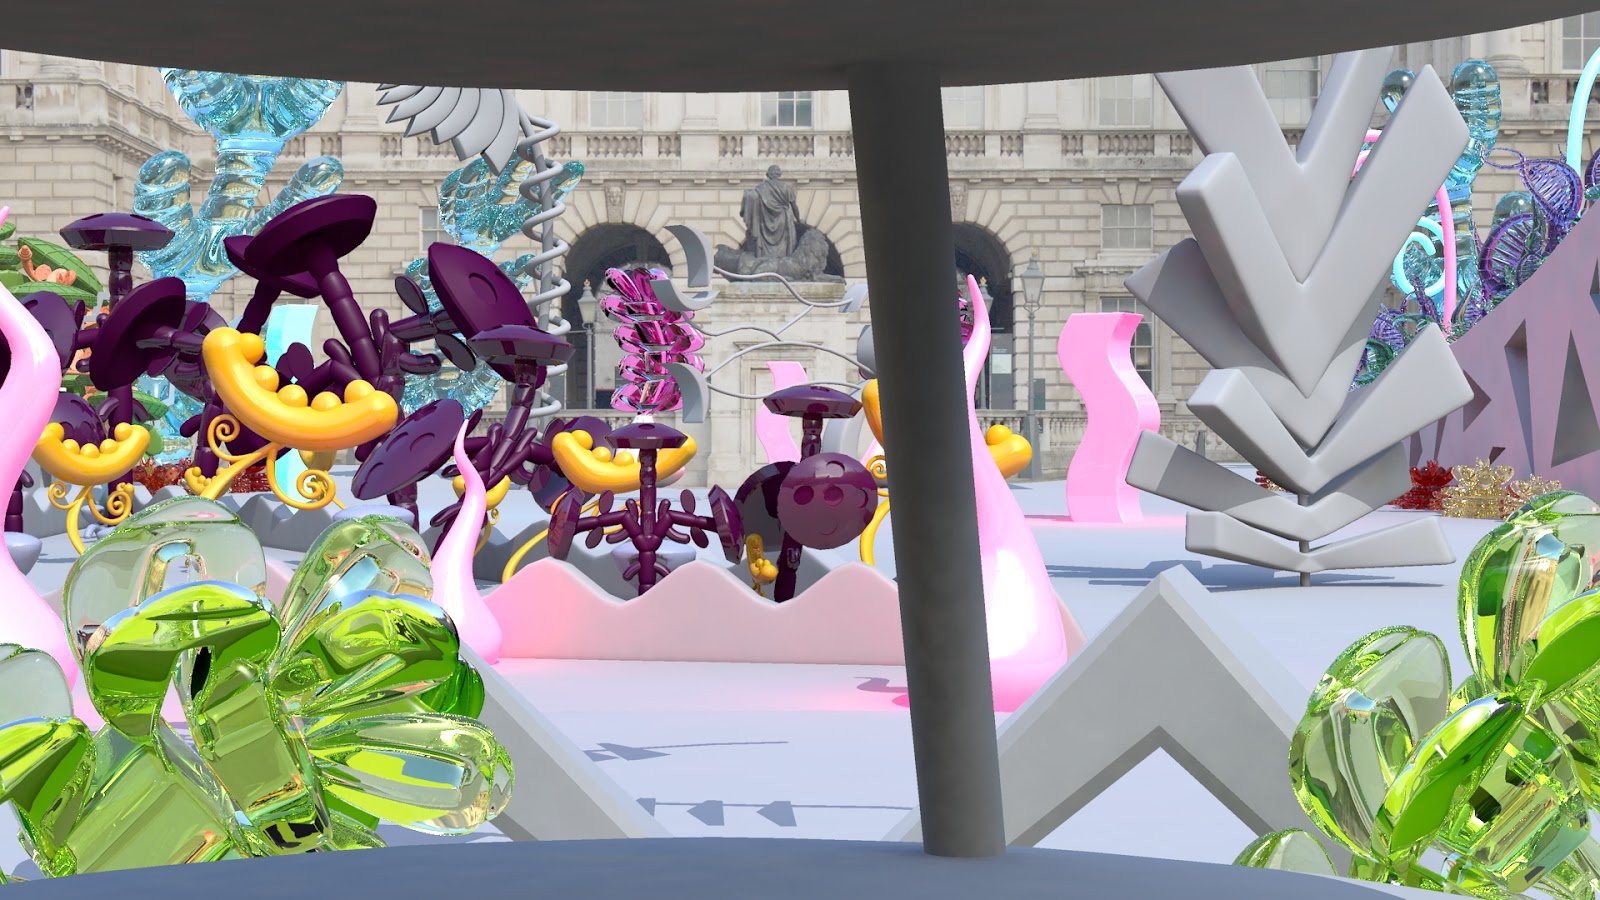
The main piece of work I have been focusing on was redoing my whole animation! This needed to be done because I really wanted my animation to have the tracked footage I originally set out to include as this would make the animation feel even more realistic. 
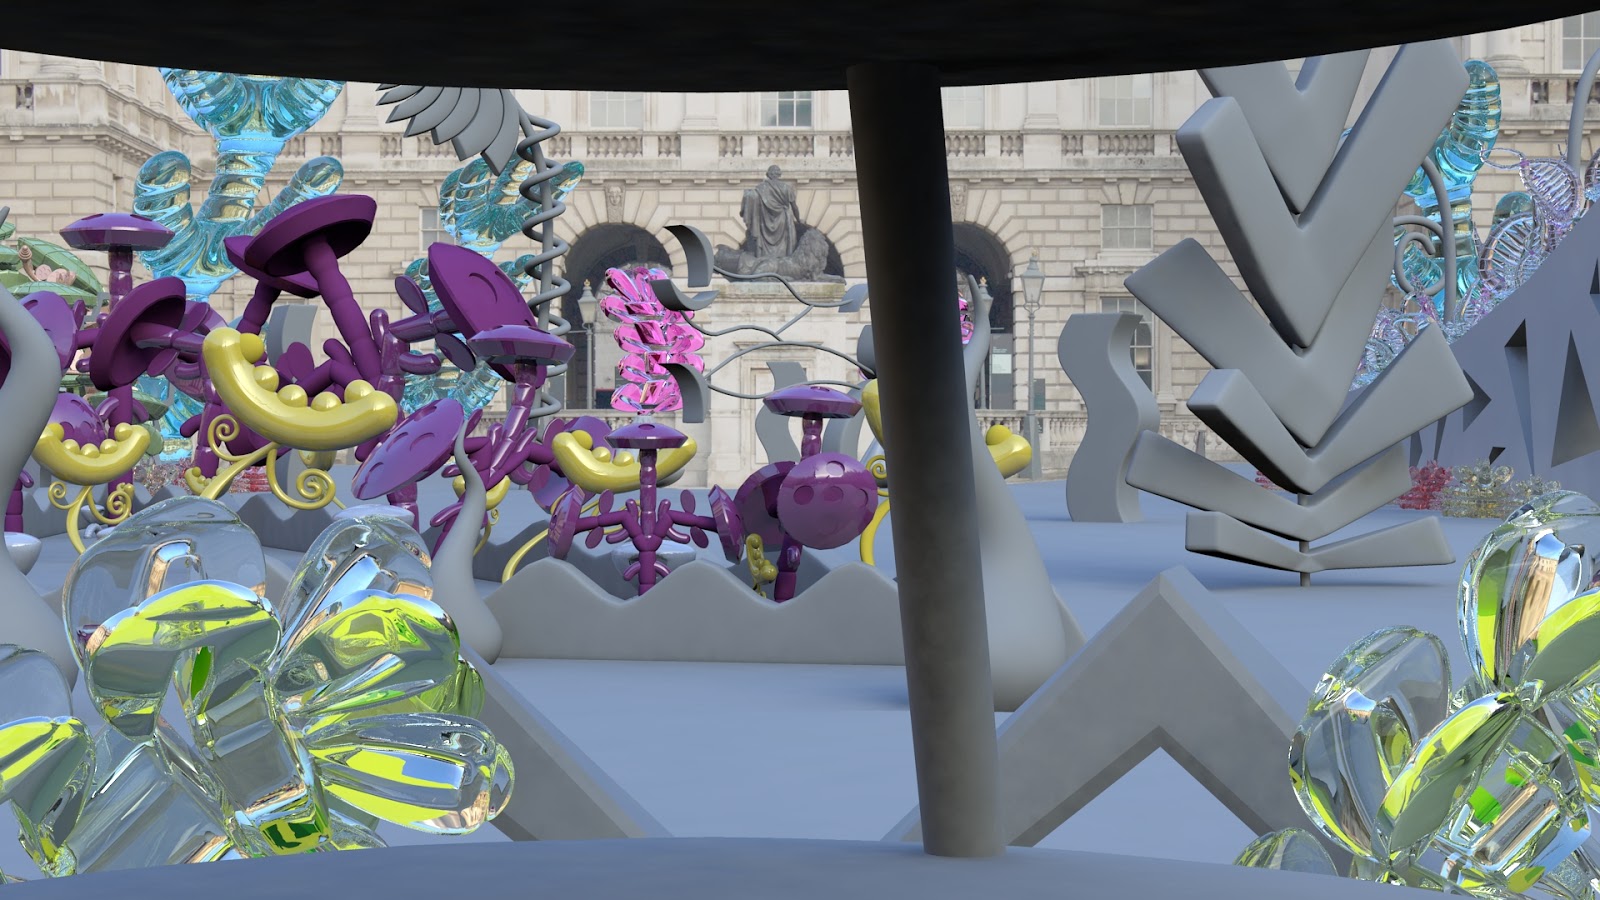
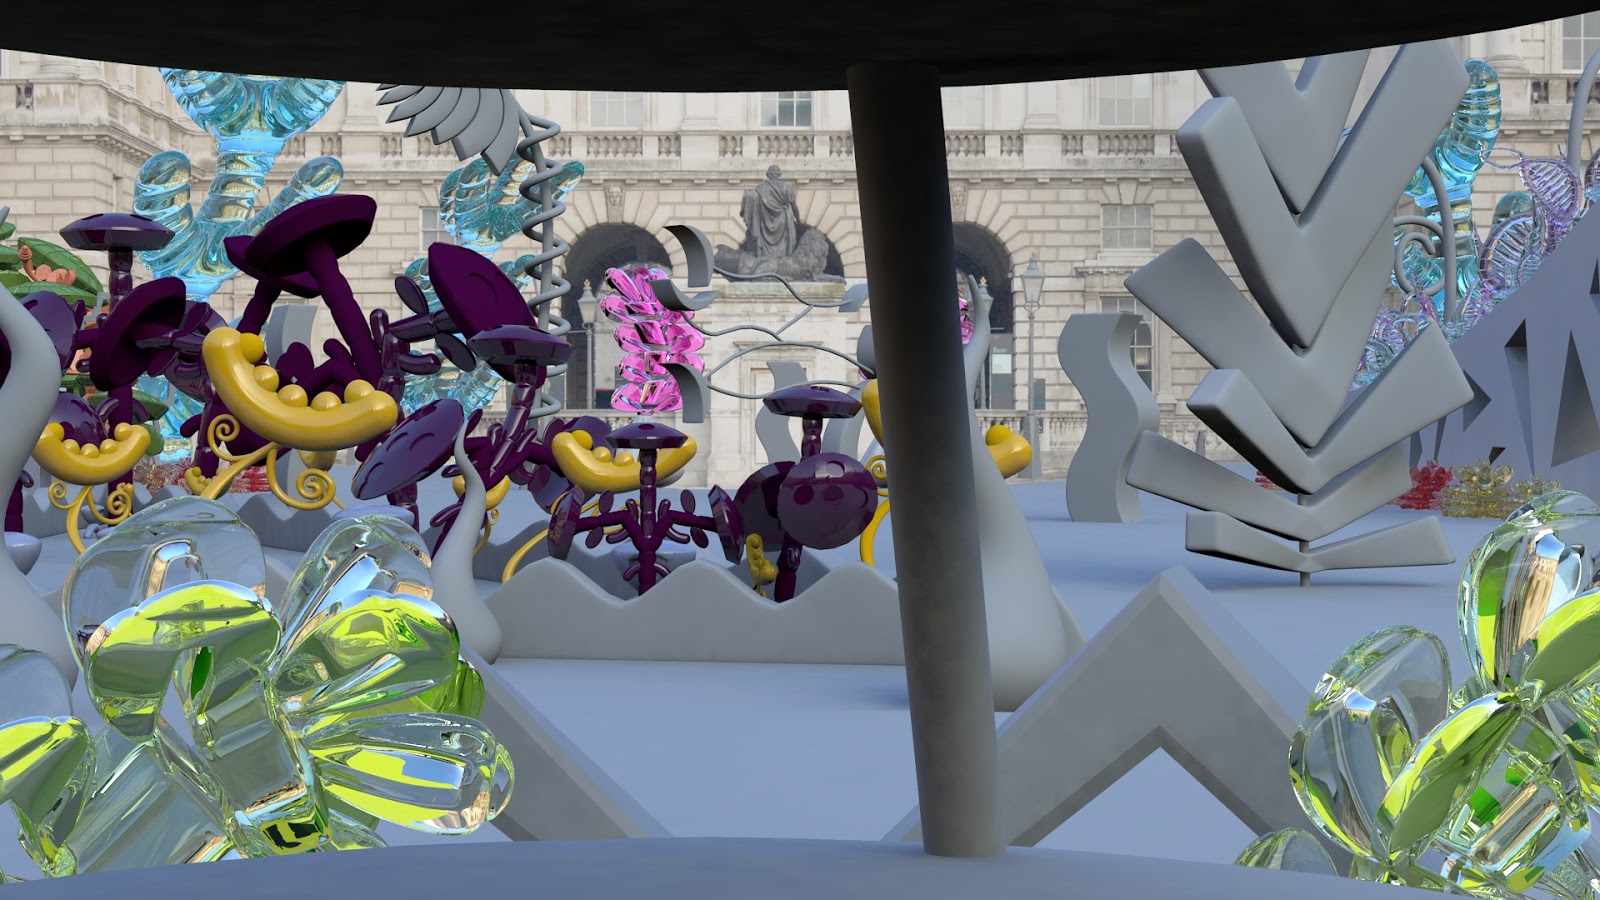
Below is the finished result with tracked footage!


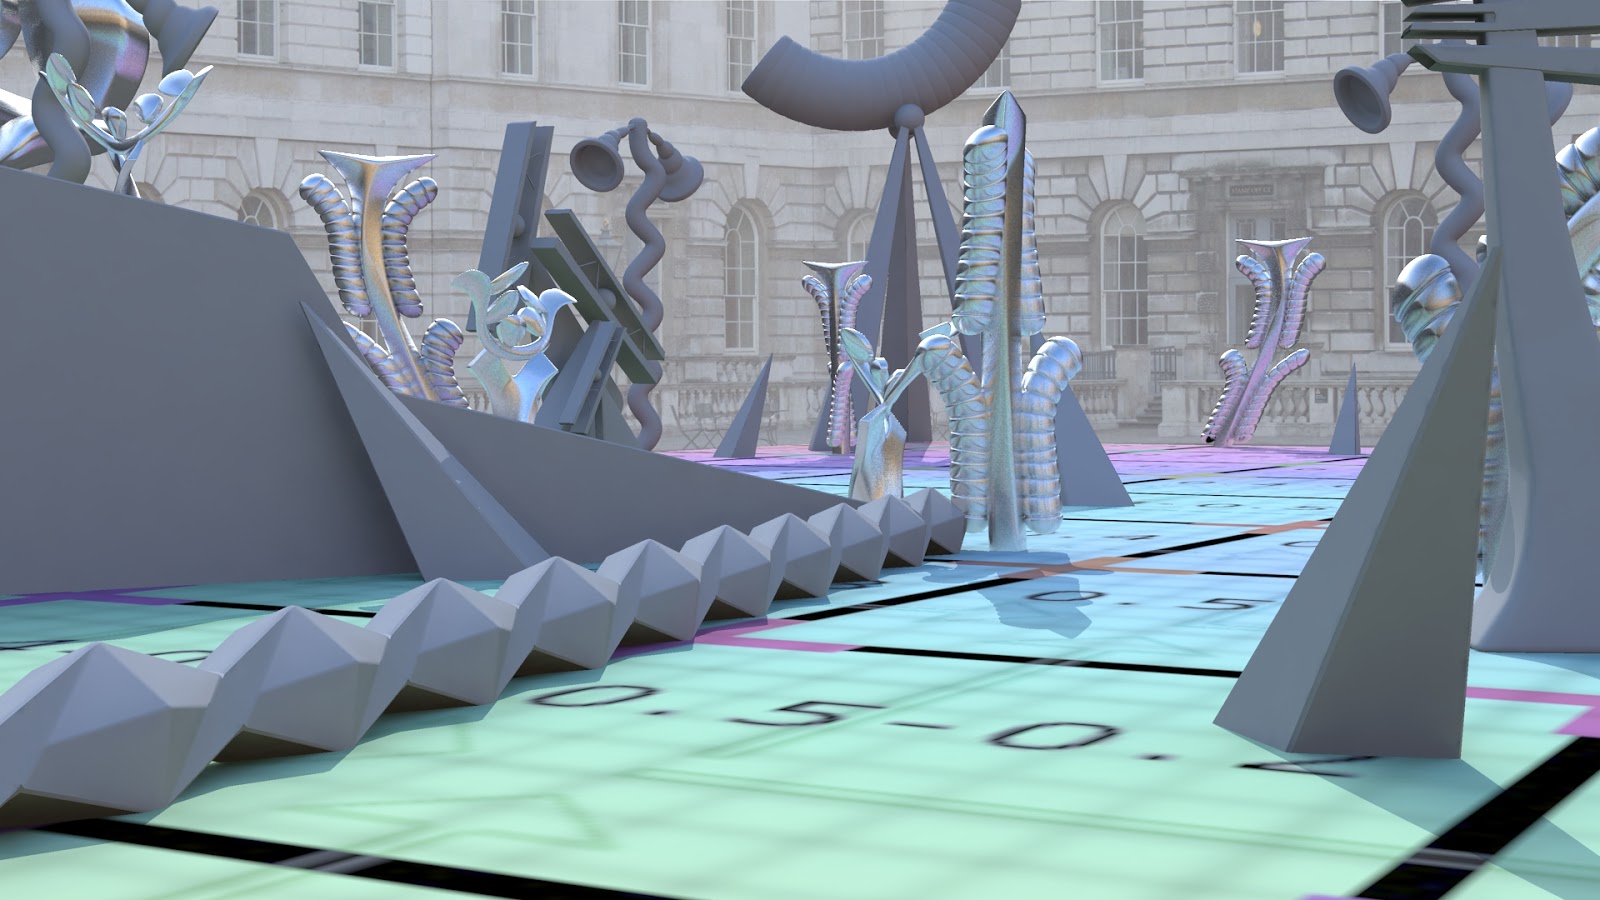
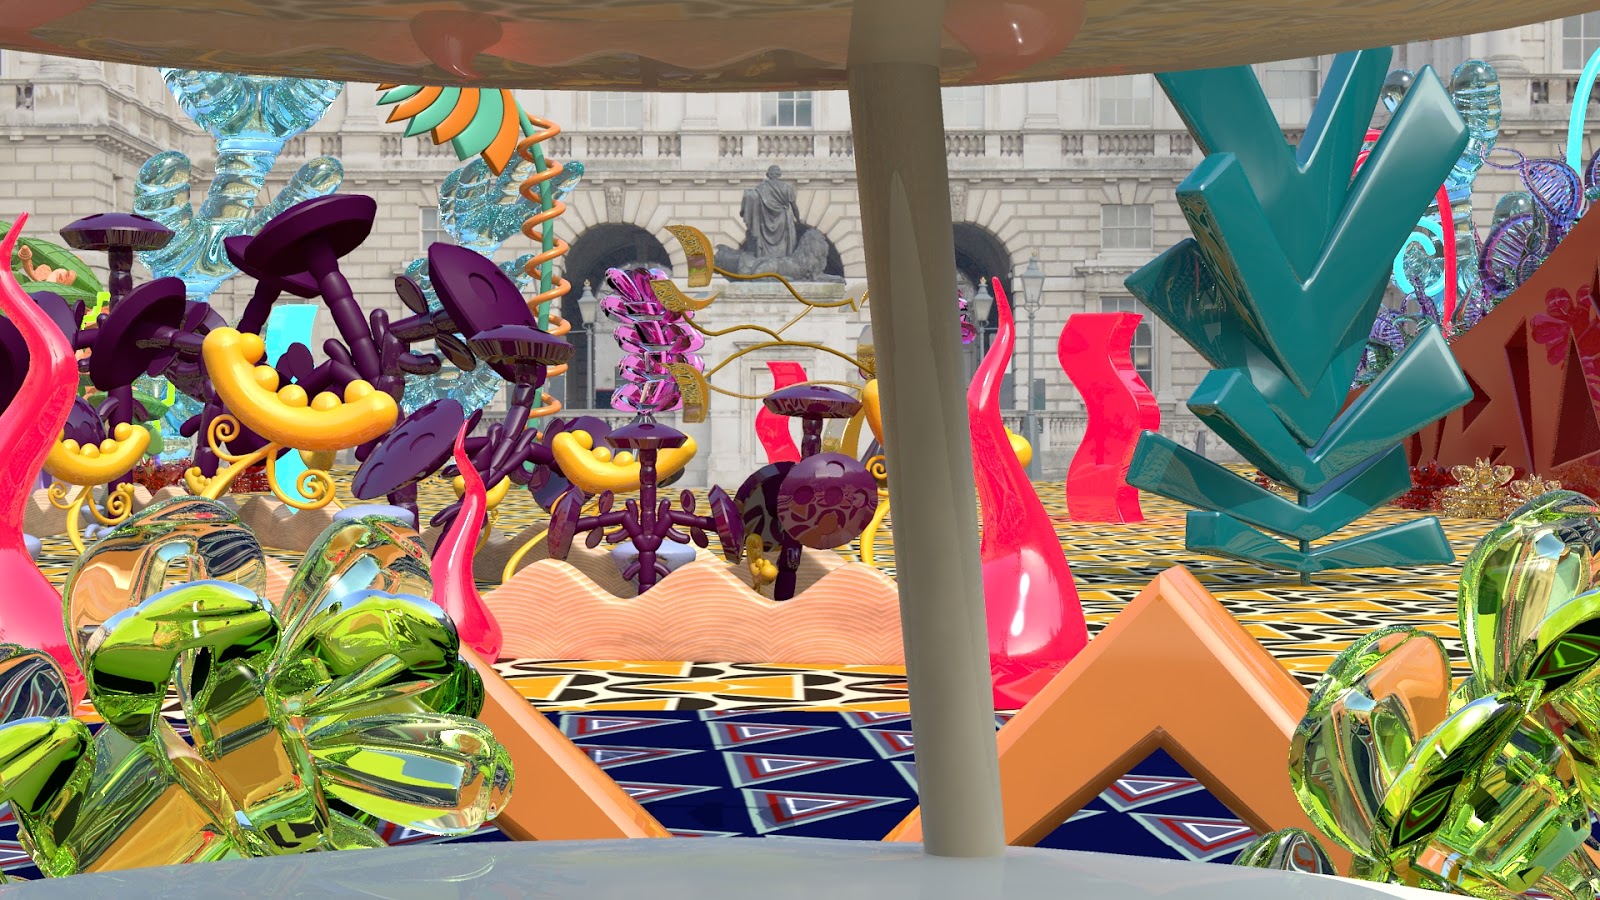
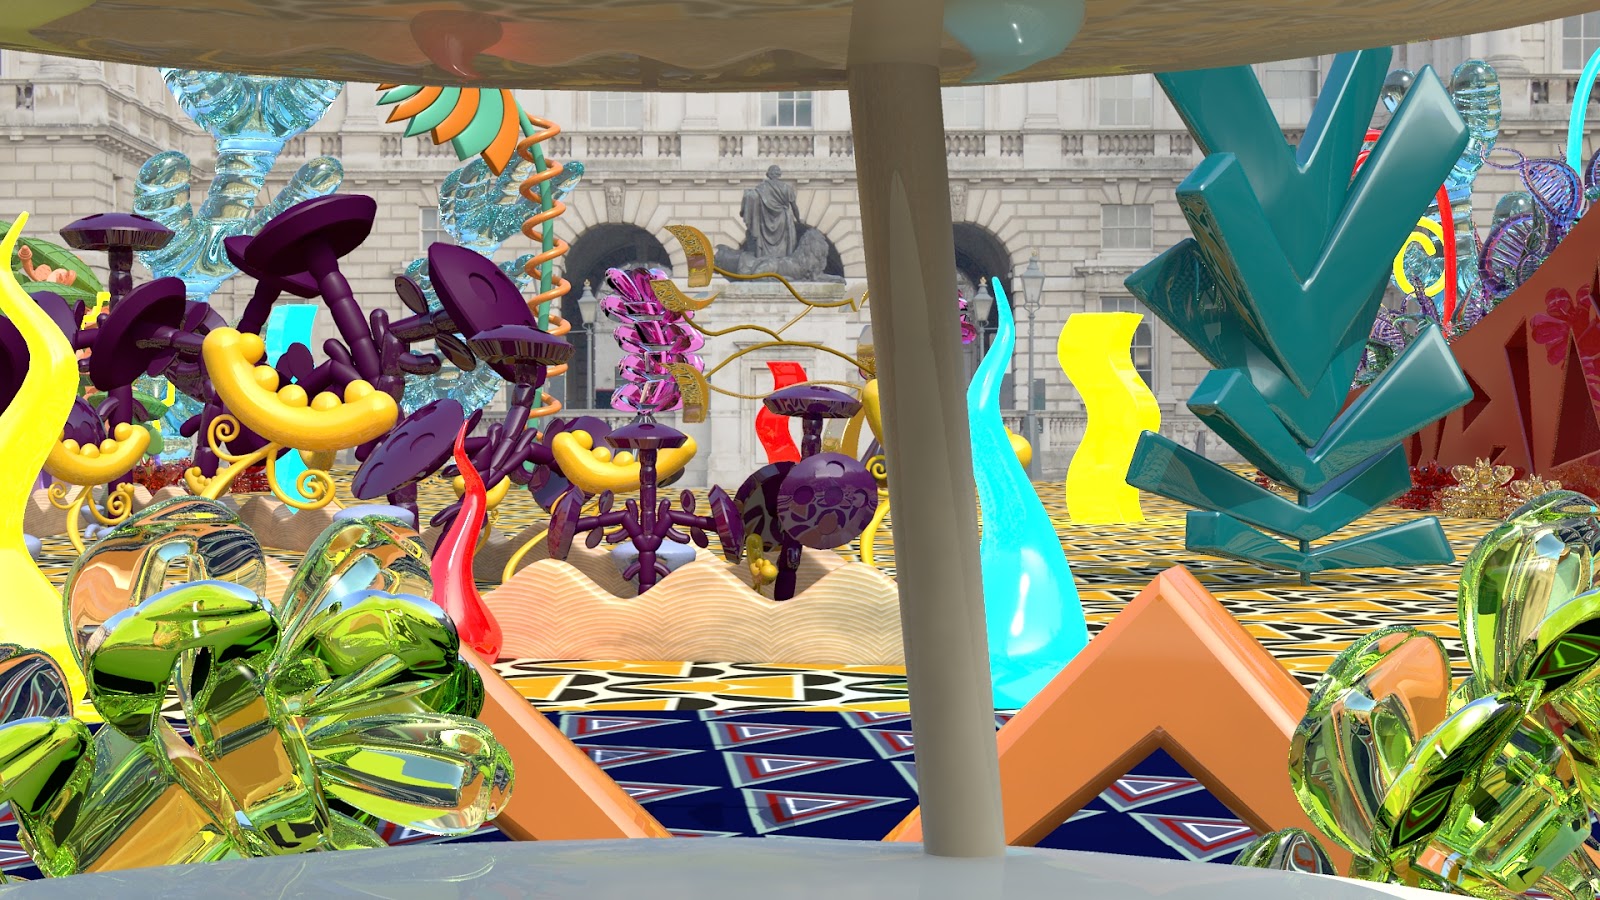
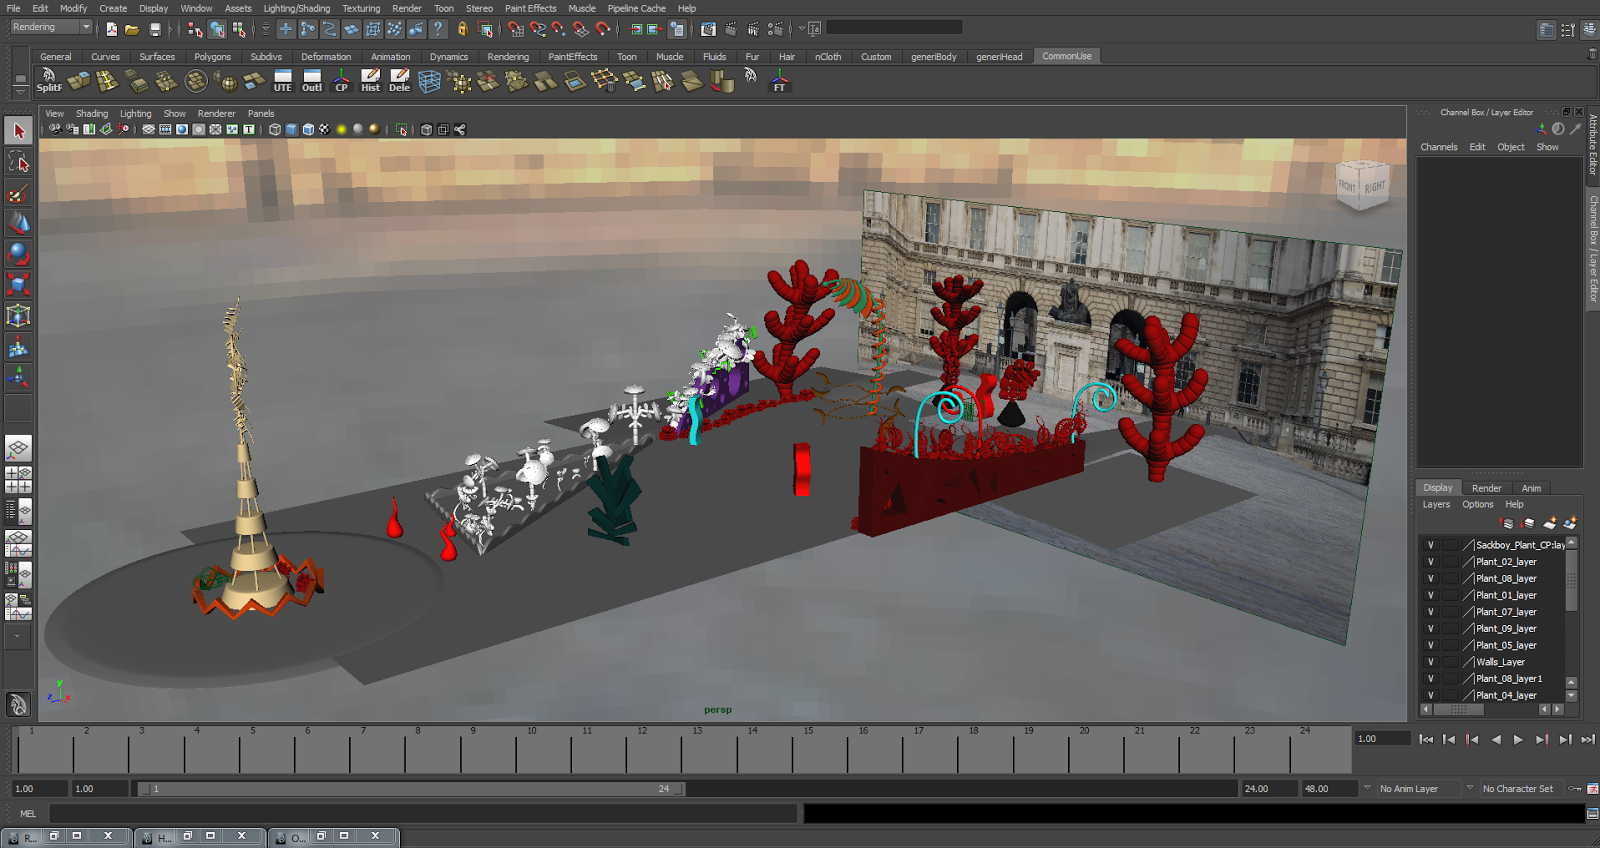
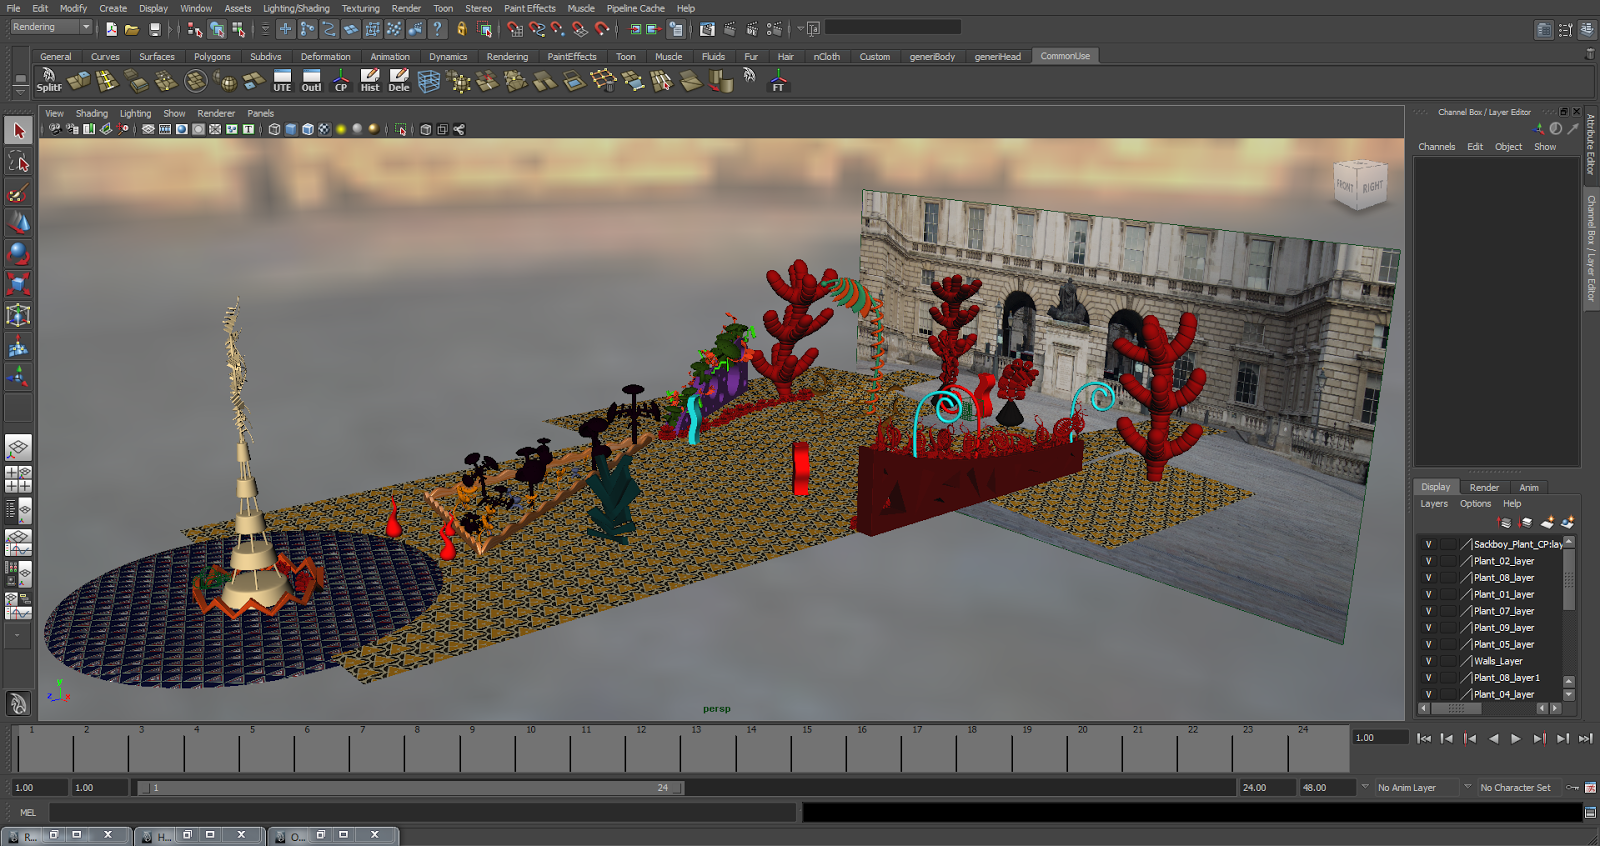
I then needed to complete two slideshows to sit alongside where the main film would be shown. These slideshows focused on exhibiting several of the plant elements in the animation in more detail.These slideshows had to be put together with the components on their sides as the screens they will be shown on will be hung up in a portrait orientation.


The last piece of work to edit was the demoreel. I didn't have much to change for this, it was about making it flow better so I swapped the order of my Around the World in Eighty Days and The Cell Cycle pieces as well as deleting any wireframe/untextured turnarounds which were in there as I didn't show any wireframes of my other pieces of work featured.
 

Thursday 8 May 2014

TECHNICAL PAPER.

CD | CD CASE ARTWORK.

Here is the artwork for my CD and case. I decided to just stick a still of one of my scenes on the CD because I think it speaks for itself. I made a border and lowered the opacity so that I could put my name and details on there otherwise it all sank into the colour and wasn't very easy to read.


Wednesday 7 May 2014

SCENE 3 PROGESSION.

My third and final scene is finally finished! I have set some of this to render at uni but unfortunately did not have enough PCs to render the rest on so I will be setting this up tomorrow over the ones which are finished and fingers crossed I will be able to get it all rendered by tomorrow evening so I can take my time compositing it all properly!

This scene has some repeated elements in it from other scenes as it sits as an in between for them both but I really wanted to show the sculptures in this one as they are quite different to the other two scenes and it is important to show the most interesting three scenes out of the whole courtyard for the moment.


SCENE 2 PROGRESSION.

Here are some shots of my second scene progressing to show how I worked it all out and made adjustments to make things fit into the scene better. This scene is rendering as we speak and it is just my final scene left to complete before I can composite it all. Please excuse the gap in the progress, this was when my computer at home decided it had had enough of cooperating with me and would no longer render the scene similarly to my first one so the gap between is me going by instincts with the arrangement of things, then I adjusted this accordingly.


Sunday 4 May 2014

Linear Workflow & HDR- Scene 2

One of the first things I wanted to do when starting scene 2 was to set up my HDR and linear workflow pretty much straight away as this was something I didn't do with the first scene which meant I was working with the wrong lighting and colours for quite a while.

With HDR (Before linear workflow) Like my last scene it is very blue and definitely incorrect.

Linear workflow now set up, everything is bleached out but this will change once the textures are assigned. A lot of the blue from the HDR has been taken out but there is still some left.


Remembering what Alan said I've added a directional light where the sun is on the HDR image, this has added my shadows and corrected the colours further. Now the only thing incorrect is the image plane in the background but this doesn't matter as it will be removed and added below everything else in After Effects.

Saturday 3 May 2014

Render Layers Composited Test

I wanted to make sure I was achieving the right results before I set my scene to render so using my render layer stills I composited them into After Effects. Apart from a few minor issues which have been corrected since for the rendering as well as removing the foreground sculpture I am happy with the effect I am getting. I think the blur using the depth pass still needs some tweaking but I will finalise this properly for hand in.

Fitting the Light Animation to the Scene

The difference between the lights exported into an unlit scene like the previous post and my final piece is that the animation cannot be shown through the lights completely disappearing so I needed to adjust the colour of the lights beneath the glow colour to make sure they looked like they were flashing in daylight while still being visible. Before I made changes to this there was barely any change to the way the lights looked when on and off that there wouldn't be a point to animating them.

(Lights are on. Before adjustments were made the lights looked similar when animated as off.)

(With adjustments. The lights just look like coloured tube lighting and you can tell the difference between on and off with the red wave light which is on and off.)

Animating the Lights

Yesterday before I set up my renders I spent some time animating my decorative lights. I wanted a variation so while the green ones are static, the blue ones flash and the red ones involve the light glow moving up and down. I had never done this before so I was really happy to actually get it to work!

I decided to export my lights into a separate scene because I knew I would have to render some sequences out to check the speed and that the animation was working. If I had done this in my final scene I would still be waiting for a sequence!

Once I was happy I just imported the lights and animation back into the scene.

I decided that the blue lights were not flashing quick enough in this test.


I liked the speed of the red lights in this so made no further changes to it.


I was a lot happier with the speed of the flashing lights now but wanted to try out them all flashing at different times.


Alternating the flashing and gradients seemed more interesting and dynamic so I decided to go with this. To do this I had to duplicate the shaders and move the animation for each along the graph editor to different times.

Friday 2 May 2014

Small Adjustment to Scene

I have made a small adjustment to my first scene based on feedback I have received. This is the removal of the foreground sculpture because people felt that it would only work there if my camera was going to pan across and past it. As this is not possible for the deadline but might be for New Designers I am removing it. It doesn't seem like removing it has changed the look of the scene so this is a good sign!

Before adjustment.

After adjustment.

Final Render Layers

Part of setting up my scenes was to figure out what render layers I would need. I knew I may need a depth pass and an ambient occlusion was always an option but this could take a lot of time to render. Alan suggested I render each of these render layers out for one frame to see whether they were reasonable to render out. The ambient occlusion was way too high varying between 8-10 minutes but after lowering the samples it is now down to a reasonable time to render out.

I have ended up with four render layers, now including a matt pass as this pass is used to help stop my glass plants losing their reflections to the alpha channel in the beauty pass. Instead the beauty pass uses the matt pass alpha channel to cut out the black background.

Beauty Pass- 4mins 23secs


Ambient Occlusion Pass- 4mins 53secs

Luminance Depth Pass- 5secs

Matt Pass- 36secs

Thursday 1 May 2014

Adjusting the Neon Light Colours

I felt it was important to get some neon lights into my scenes as it would add a bit more interest and difference between the materials being used. Also one of the materials the Futurists used was neon tubing! If the garden was getting dark these would also light it up, unfortunately I can't show this but they still look nice glowing in daylight.

I have been experimenting with possible colours for the lights but some just didn't seem right to me. I finally settled on the last image in this post.


Wednesday 30 April 2014

First Scene Process- Maya Layout

My first scene is nearly ready for rendering, I just have a few things to fix and some things to try out but I will have to finish this off at uni tomorrow as my scene is wrecking havoc on my computer at the moment. I noticed that I had not yet put up some shots of my my scene in the maya viewport to show how it has been laid out.
Below are some screenshots showing my scene organised so that it lays out well for the camera and image plane. It looks very odd in places with some gaps but these do not show up in the render and objects further in the foreground cover up these spaces. I have learnt that these gaps are better off than placing objects in them which are going to not be seen in the shot as it stops my render times getting further out of control.


Tuesday 29 April 2014

Ground UV Mapped and Textured

I finally have a textured ground for my garden! Using Futurist shapes and inspired by their patterns I created my own pattern. Now that the ground is textured it really has made the scene look right, I just need to get rid of the grey on the rest of my untextured components and we'll be getting somewhere!

UV mapped ground.

First attempt at texturing. Pixelating and blurry texture needed making bigger.

Still blurry so UV snapshot made even bigger to 4096 to suit the larger scale of the ground.

Much better but not happy with the pattern scale.

Scaled down the pattern to a more reasonable scale.

Textured the rest of the ground on the slope.

Adding the Neon Lights!

Throughout my test renders I have had these strange untextured shapes floating about my scene. I have now textured them to create neon lights! These will vary in appearance from constant light, flashing light and gradient light.

Thanks to Jordan we have improved the appearance of the lights to make them sit better with the other objects in the scene. I am really happy with how they are coming out because they add some really nice glows to the plants especially the glass ones.

The colours of these neon lights are just placeholders at the moment to check they are working.


Monday 28 April 2014

Linear Workflow Set Up

Throughout working on one of my scenes it has been bothering me that my 'glass' plants in the top right corner have last their vibrancy. Originally it was suggested that this could be due to my HDR image needing colour correction because of the strong blue colour it was omitting into my scene. I adjusted this but it didn't seem to resolve the issue. Today I asked Alan if it could be the fact I am not working in linear workflow that is causing the issue.

I decided to give this a go as even if it didn't resolve the issue it would still clean up the colours in my scene. After doing this it is shocking how different my scene looks!

Originally it was rendering like the below image. This shows the lack of colour in the top right glass plants and the coating of blue on everything.


This was then my process of setting up my linear workflow. At first my colours are all washed out but they gradually got better and the blue coating was beginning to go.

Beginning to gamma correct my shaders.

After this point the glass plants still seemed washed out so after some help from Alan it was decided that in order to get the colours back to as I had them in my Minor project I would need to adjust the gamma to a figure that gave me this result. This seems to be a strange characteristic to the dielectric shader.
I adjusted the gamma accordingly to several of my glass plants as they all seemed like they could do with a bit more pop.
This also seemed to fix another issue I was having where the green glass in the foreground had some parts appearing completely clear. They are now tinted and a bit more cloudy.
Finally I added a directional light into the scene where the sun would be (using my HDR dome as reference). This was a last minute addition after Alan pointed out that I had left one out when it was needed to work with the HDR. Adding this has definitely cleaned up the blue coating and given me some proper shadows to work with. I will have to play around with it until I am happy.