cff

Monday, 12 November 2012

Character Design: Experimentation with Heroine Faces

After I'd narrowed down the hairstyles I thought were most suitable from my previous thumbnails I went ahead and started playing around with proportions and shapes of my heroine's face. I'll be honest and say it started off pretty badly with #1 but I stuck with it and with the help of my trusty blue pencil lining in faint details to see whether it would work I've created 4 completely different faces which considering I've always struggled with this I'm very happy with!


Sunday, 11 November 2012

Development of Hero's Hair

I've done some more hair experiments trying to see which capture my character's personality best. I think the most successful are 6, 8, 10, 12, 13 and 14 as they have a more punky, spy attitude but feedback is welcome! :)


Hero Influence- Hairstyles

Now that my heroine's type of hairstyle had been narrowed down to a more short, pixie, bob type I have gathered some images of these sorts of styles that I really liked which I can use as a base and develop from.


Saturday, 10 November 2012

Character Design: Heroine Gun Prop Designs

In preparation for the last character design lesson I did some prop designs for my hero. A gun is probably the most obvious prop that she would need considering her job and genre so I thought I would start with that. After discussion with Justin we both decided that design number 4 was the most promising but I could make it more feminine by adjusting the shape slightly. Also, when I decide on the design of my heroine's outfit I can make them both link in design such as a corresponding stripe.


Character Design: Week 5 Exercises

For this week's character design lesson we looked at how poses can show a character's personality/emotion. We did a few starter poses with Justin especially looking at asymmetry, the poses were confident, shy/evasive and contemplation.


We started off by breaking up into groups and doing a bit of acting with the characters we lucky dipped. I was in a group with Anita and Sammy, we took turns drawing a pair. I actually really enjoyed it which considering I don't like acting and am really shy about it is great!

Here are my two drawings of the character pairs I got.

The first was a lunatic and a psychiatrist. I tried to make the asymmetrical lines visible in the lunatic to show there was something suspect about her and curved the psychiatrist's back to show her listening in depth. I think she needed to be a bit more curved though. The second was captain awesome and resentment boy so I curved and tightened up resentment boy away from the other character while captain awesome was loose curved out lines so very open.
 
 
We then took two existing characters and applied a scenario to them. I had the Incredible Hulk and Danger Mouse but I was really struggling with then so I broke them back down to their basic shapes and applied the lucky dip character types to them. So Hulk became a insistent salesman and Danger Mouse was a reluctant consumer. I then tried my own scenario with Danger Mouse being a eager overly friendly character and the Hulk being introverted and anti social.
 
Lastly I placed around with Danger Mouse's expressions to get me used to it for my character design.


Character Design: Week 4 Exercises

For week 4 of character design we looked at anthropomorphism of objects. We had to think of what qualities we would associate with objects from the room we were given and then make them express this through character.

I got a 
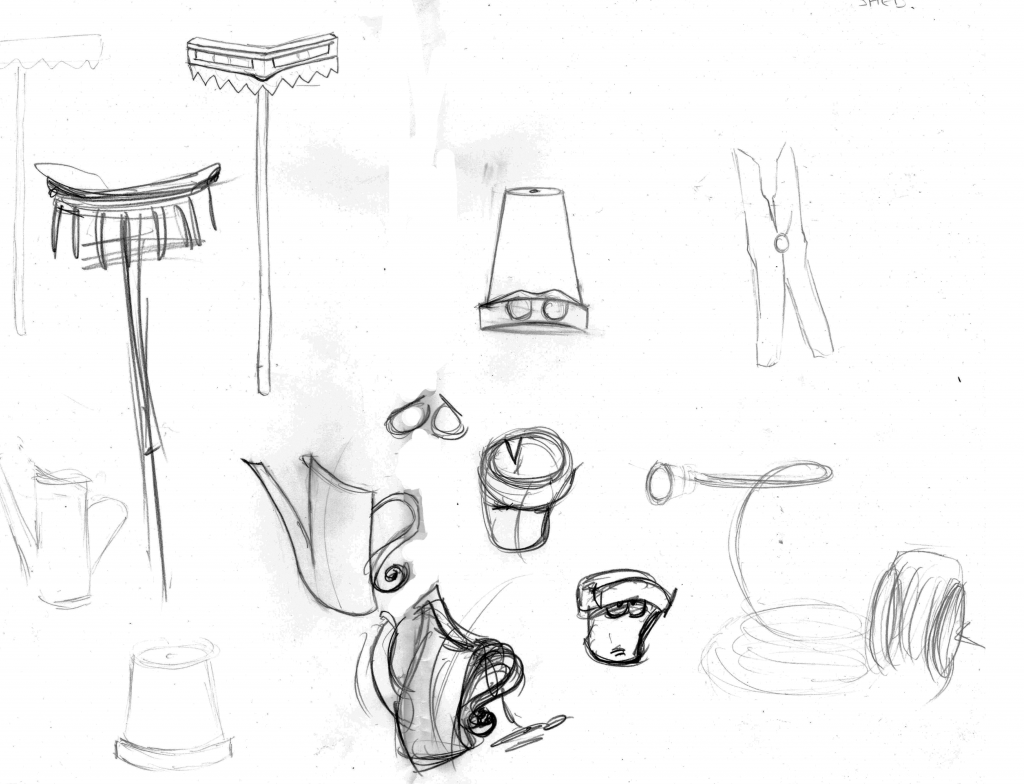
'shed' as my room so I looked at flower pots, gardening tools, watering cans, lawn mowers etc.. and thought about what I think those objects would act like if they were alive.
My first attempt at this turned into a bit of a pickle but Justin could see what I was attempting to do with some of the objects so after some tips I started afresh and did some more at home for some practise.

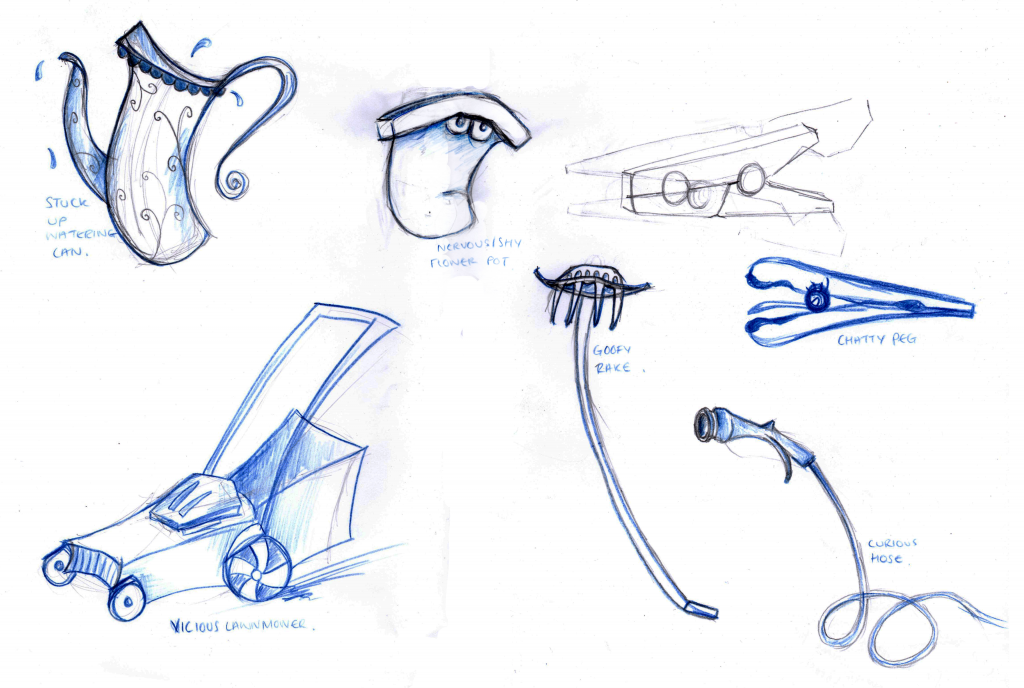
Attempt one. I was going for an angry rake because people hurt themselves on them but later talking to Justin realised the nature of being hurt by a rake in the media was clumsy/goofy so I changed this on my next sheet. I also wanted quite a snotty watering can and was thinking of a flower pot as hiding under it's shell so quite shy but it wasn't really working.
 
I'm much happier with these ones even though I still think the peg needs some work. I added pattern and frills to the watering can to make it look like it was too good to be used, more impractical. I also turned the flower pot up the right way and added a Wall.E influenced shape to the eyebrow. My rake also now has a goofy grin and stance.
 
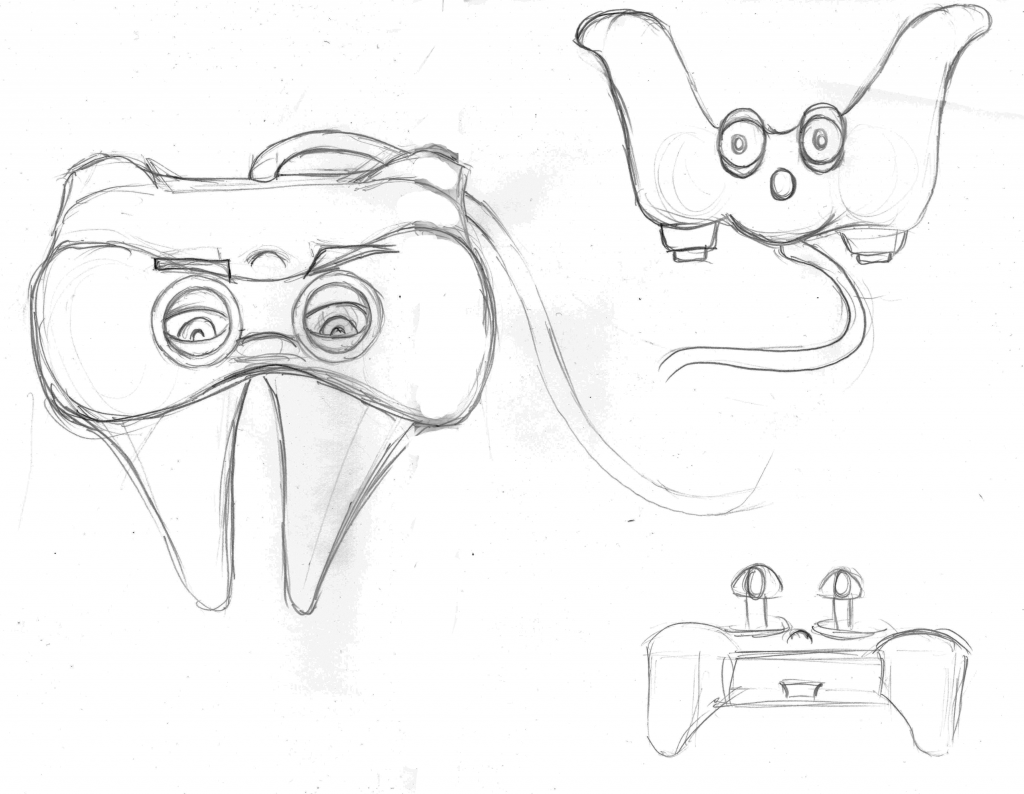
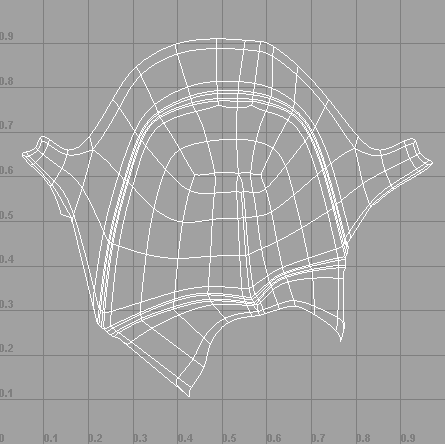
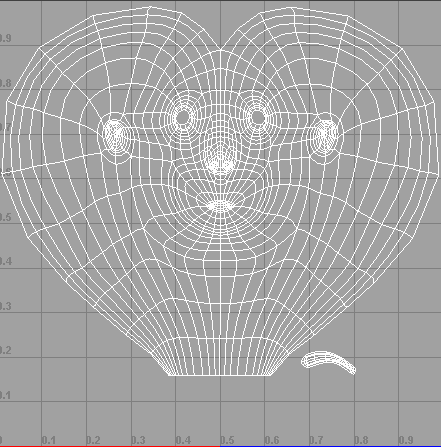
We were asked to bring in an interesting object to our lesson and we soon found out that we would be making it into a character. I brought in my PS3 controller as I thought it had an interesting shape to work with and then working on the idea of how a PS3's user may feel when playing created the below characters. My first one is overly tired from playing obsessively, my second one is over hyperactive and my third is sort of crab like, crawling/itching to play more.


UV Mapping Complete

After UV mapping the hair, eyebrows and belt it's all finished and time to move onto skinning/rigging.

UV Mapping Finished
 
Hair UV Map
 
Eyebrows UV Map (with head)
 
Belt UV Map (with trousers)