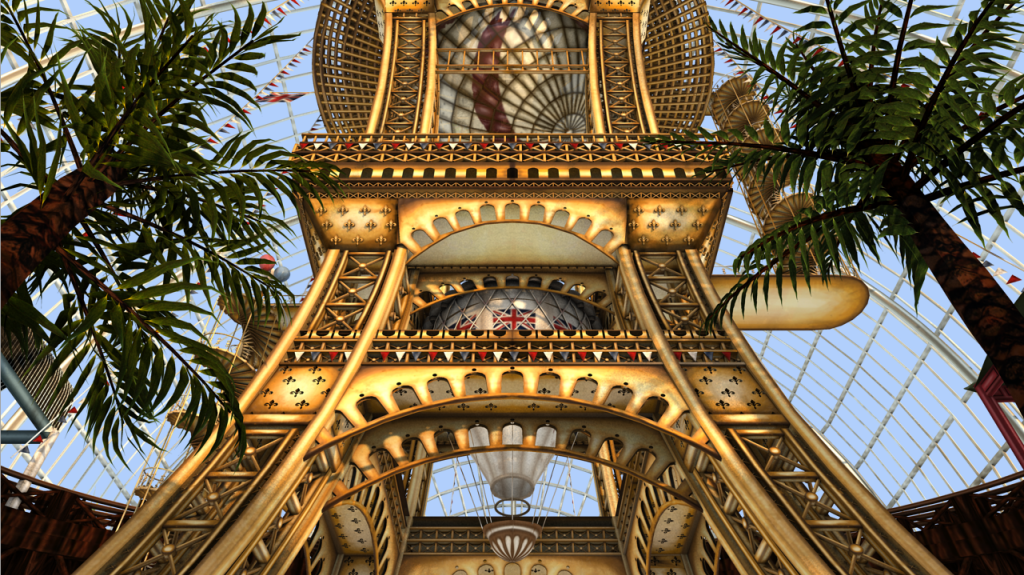
Firstly I rendered out the 'beauty pass' of a still that had a lot of important components in it as this would allow me to test these render passes out properly.
Beauty Pass
I'm pretty happy with this as it is and after upping the samples of all the ambient occlusions I had plugged into the occlusion nodes of my textures to 32 samples this has eliminated the previous dirty grain like quality I was getting on parts especially my shadows. So that's one improvement already as I felt that was really ruining my renders.
Next up was to improve the lighting even more with a quick cheat of another render pass that I could use during post-production to achieve the effect of the lighting really coming into the building. Alan had already shown me this earlier on in the week so now it was time for me to give it a go myself. :)
This render pass involves this image below...
The idea is to create a 'light wrap' for the sky of my scene by rendering out a render pass which consists of just the scene's camera and the lights and nothing else. The camera has been assigned a background (light blue in my case).
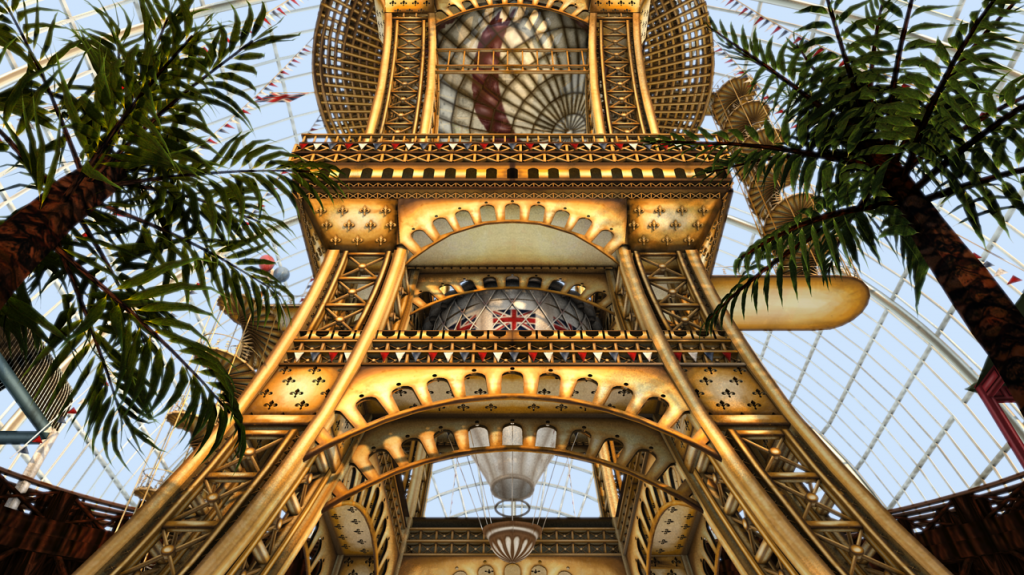
This background is layered on top of the beauty pass in post-production and then after selecting the alpha channel the selection is contracted a couple of pixels and then deleted leaving the 'light wrap' pass only where you see it through the window frames but a pixel or so more. this is then feathered and screened. Adjusting this until I was happy I ended up with this.
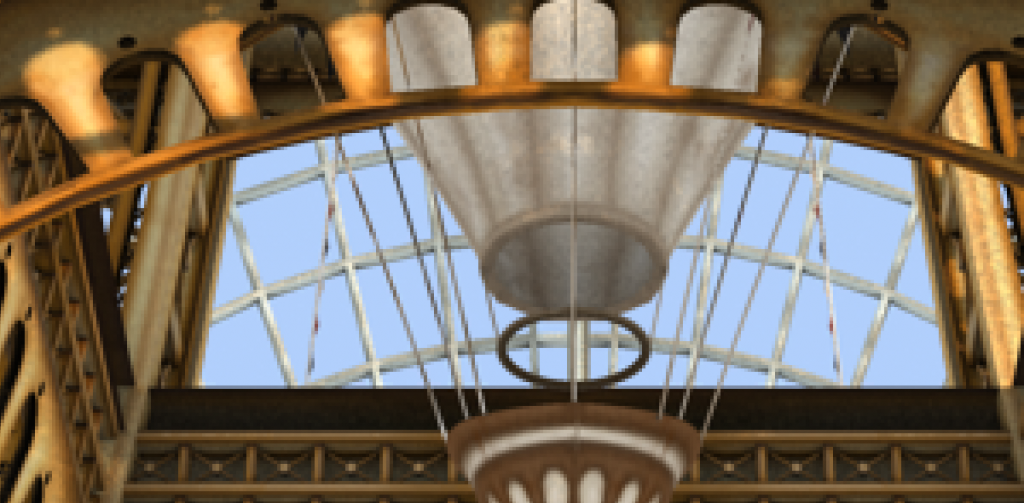
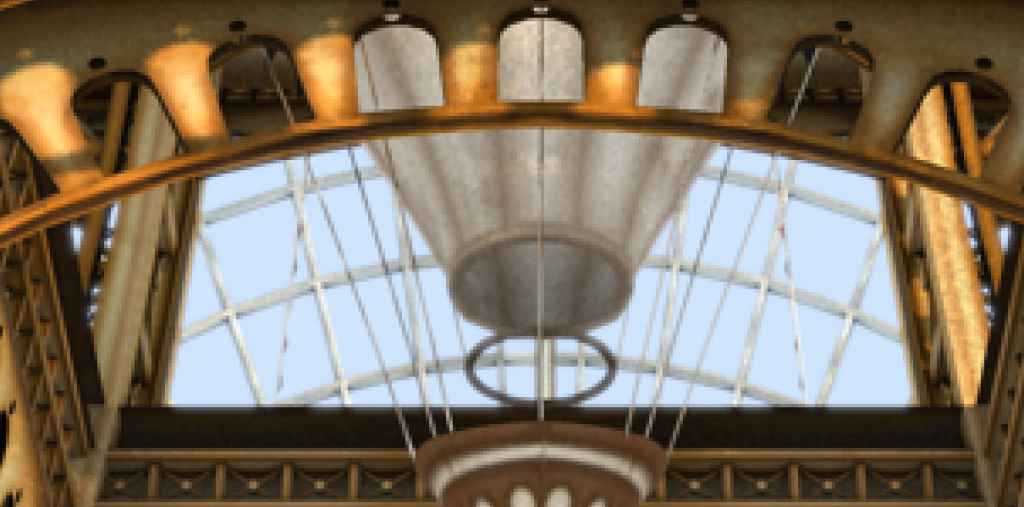
Here are two close ups showing before and after the light wrap was added so you can see how it makes the light hit and bounce off of objects in the scene.
Before
After


No comments:
Post a Comment